Feat of the Week: Hot Bluing
This week’s gunsmithing feat is hot salt bluing. The last two weeks, we spent 120 hours surface prepping twenty guns for bluing. This weekend we blued for eight hours straight and completed all twenty guns and their 1,000 parts. We can’t wait to tell you more about our setup and process. So let’s get started!

What is Hot Bluing?
Bluing is a finish for firearms which creates a colorful layer that prevents rusting and holds oil. The process creates a protective coating which is actually composed of black rust (iron trioxide). Unlike flakey red rust (iron dioxide), black rust has a tight molecular structure which impedes rust from forming on the metal.
Before we moved to our new location, a lot of our customers requested hot bluing. But because we didn’t have the space to do it, we used to outsource bluing jobs—the wait times were long and it cost our customers a lot of money.
So, now that we have a new shop with more space, we’ve begun offering in-housing bluing services.
Hot Bluing Setup
While we have a ton of space, we needed to find a way to temporarily seal the rest of the shop off from the hot bluing area. Because the bluing salts are caustic, we needed to separate the bluing set up from our mill and lathe—we can’t have our machines rusting. We considered a lot of options: building a room, using fans only, doing it outside, and making temporary plastic walls.
We finally decided to purchase a commercial tent with walls. Though it didn’t completely insulate the bluing setup, we were able to keep most of the fumes separate from the rest of the shop by using a fan to push all of the air out.
The tent was large enough to host our six tank process—and still give us plenty of room to move around. Our current hot bluing setup is a hybrid system using both electric tanks and propane-powered tanks. If you’re interested in learning more about our setup and bluing tanks, please read our blog on how we made them!

Safety First

Hot bluing is an extremely dangerous process so safety is important. The boiling water and heated tanks carry a risk of thermal burns, but there’s also a risk of chemical burn from the bluing salts. We have safety protocols in place to prevent burns and limit exposure to the bluing salts as they are a caustic and dangerous substance.
When the salt tank is boiling at a high temperature, it creates a mist containing the salts. And if those come into contact with organic material, they dissolve it. The salts, when they come in contact with skin, create a burning rash.
To limit burns of any kind, we wear a thermal and chemical resistant apron, gloves, and face shield, as well as rubber boots. Unfortunately, chemical burns from the salts are almost inevitable. But luckily, they can be neutralized with vinegar—which we keep on hand at all times while bluing.
The Hot Bluing Process
Hot bluing is a lengthy process which requires and incredible amount of prep time, organization, and attention to detail. Each step in the process is an important factor in the final result.
While most gunsmiths use four tanks (because it’s cheaper and easier), we use six in order to limit any risk, minimize errors, and provide the best results. I learned this six tank bluing process at Trinidad State’s gunsmithing school in my Firearm Metal Finishes class.
Surface Prep
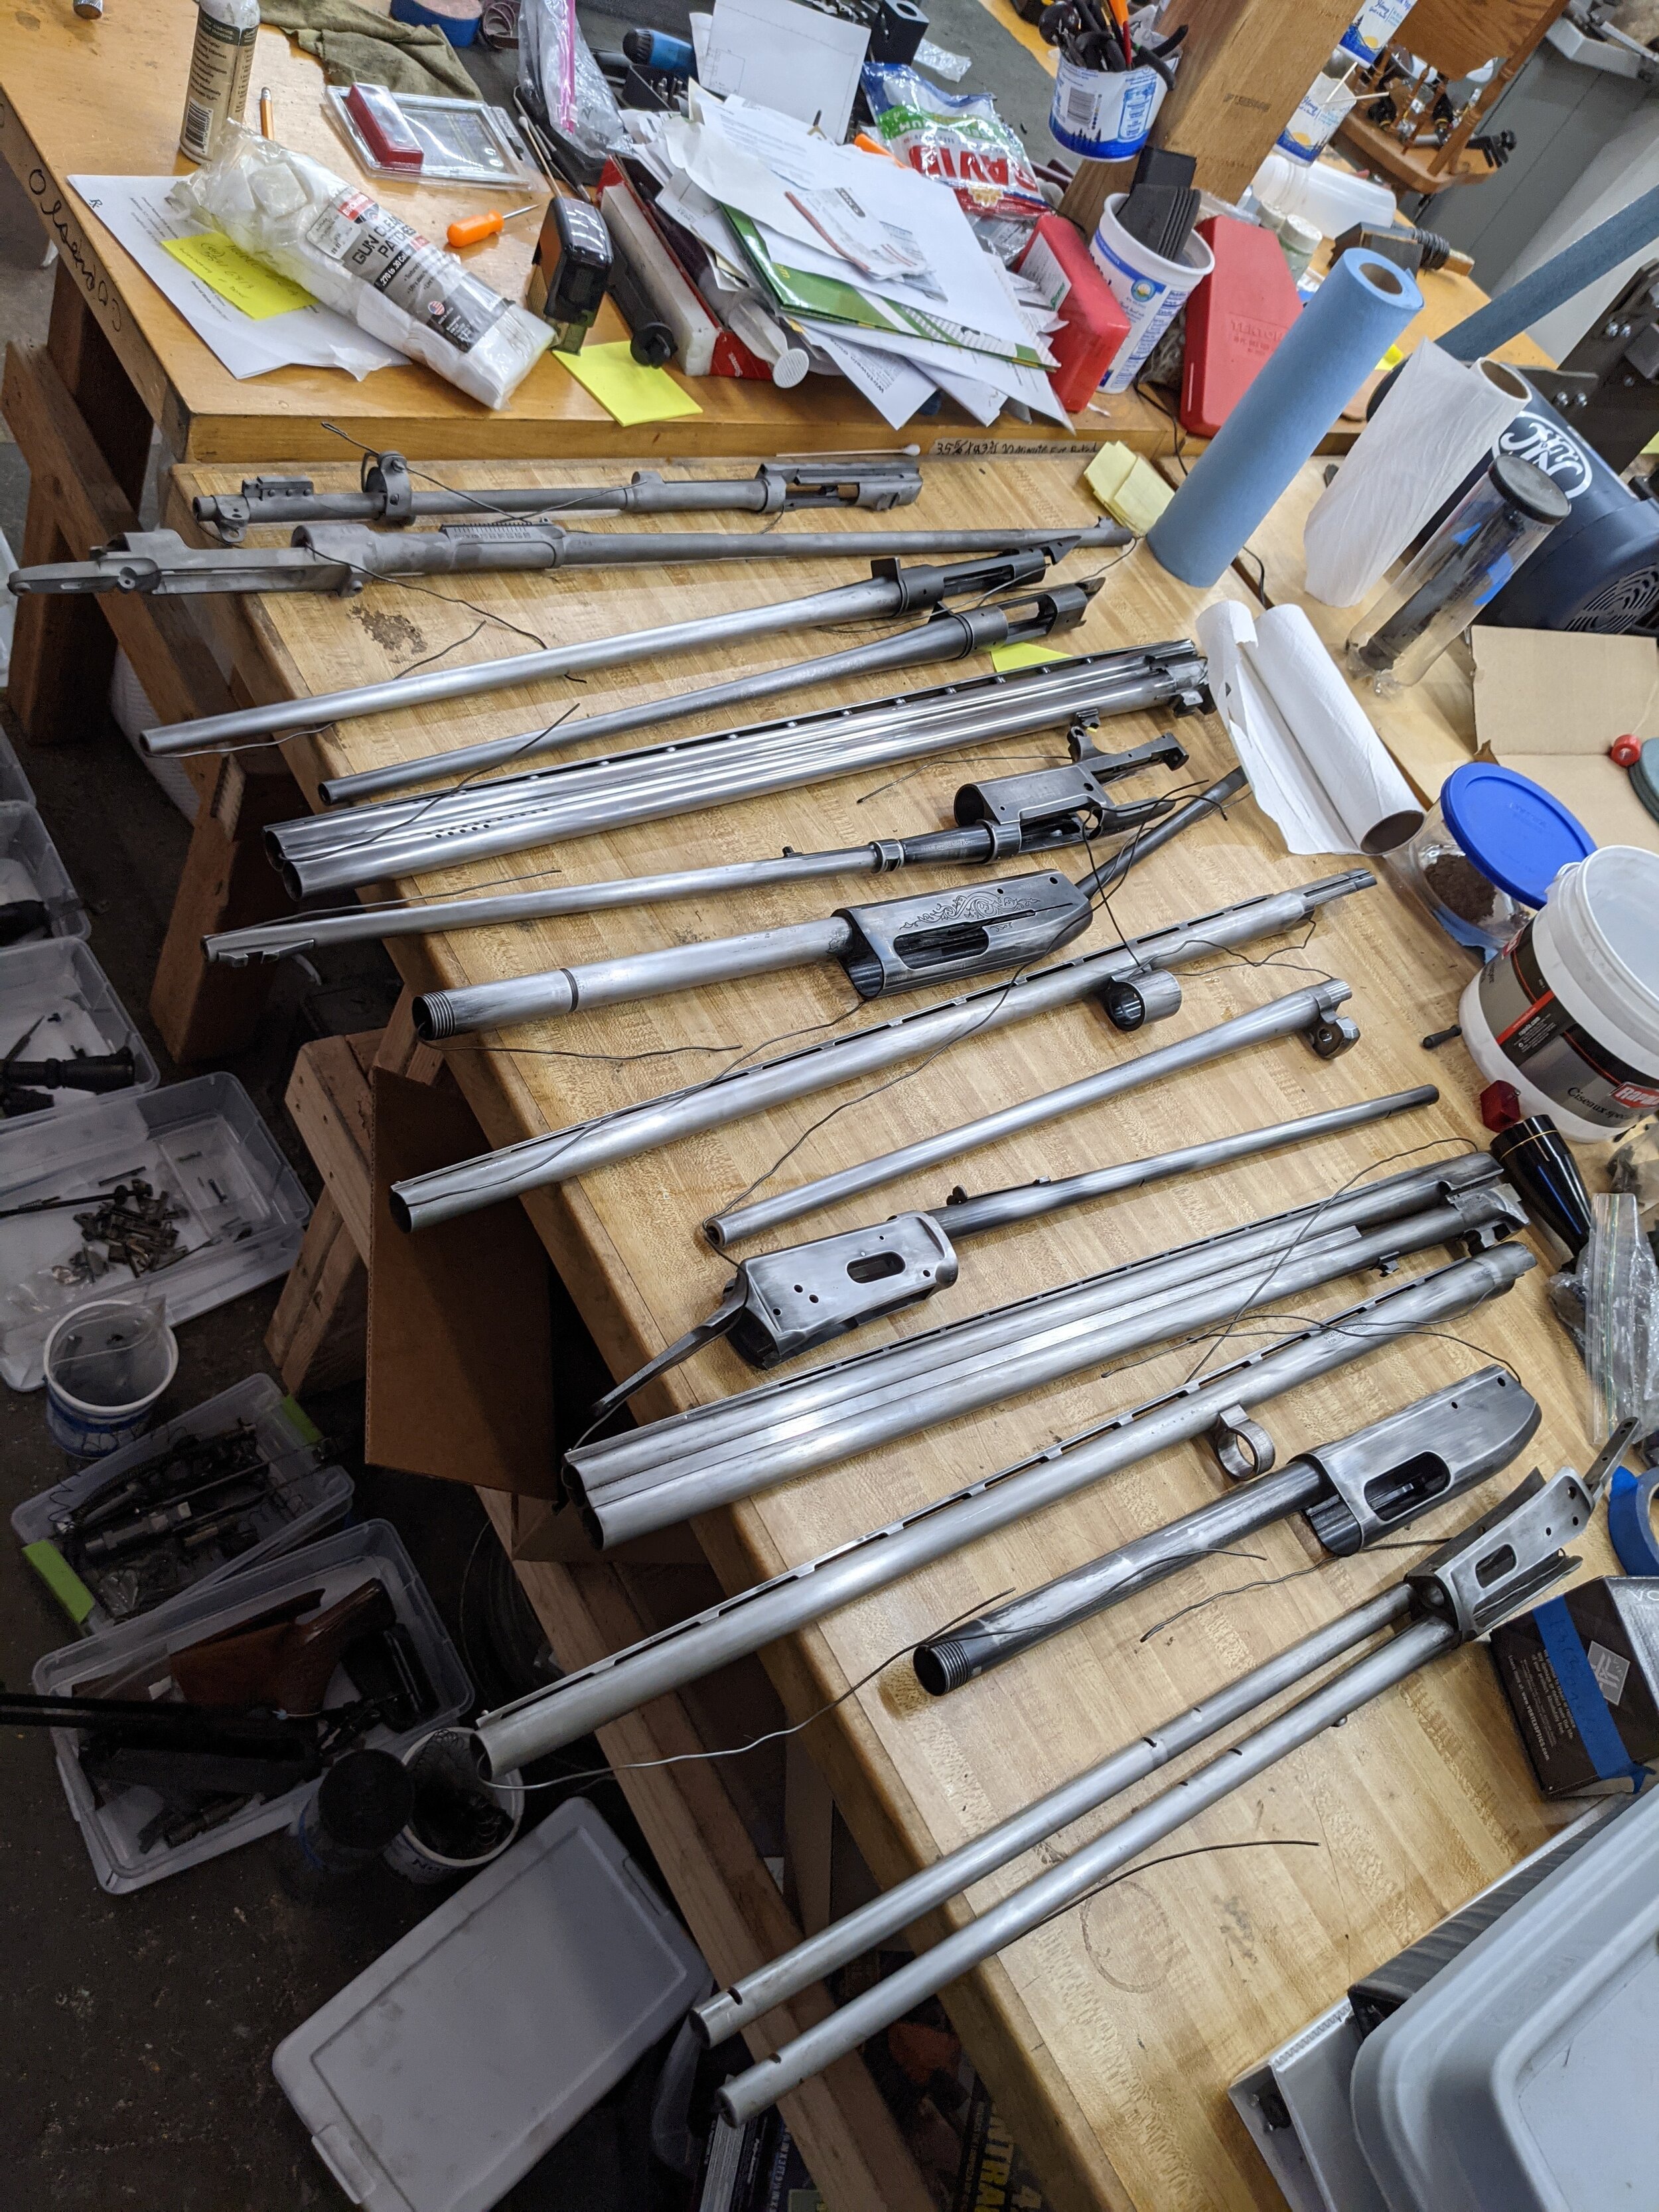
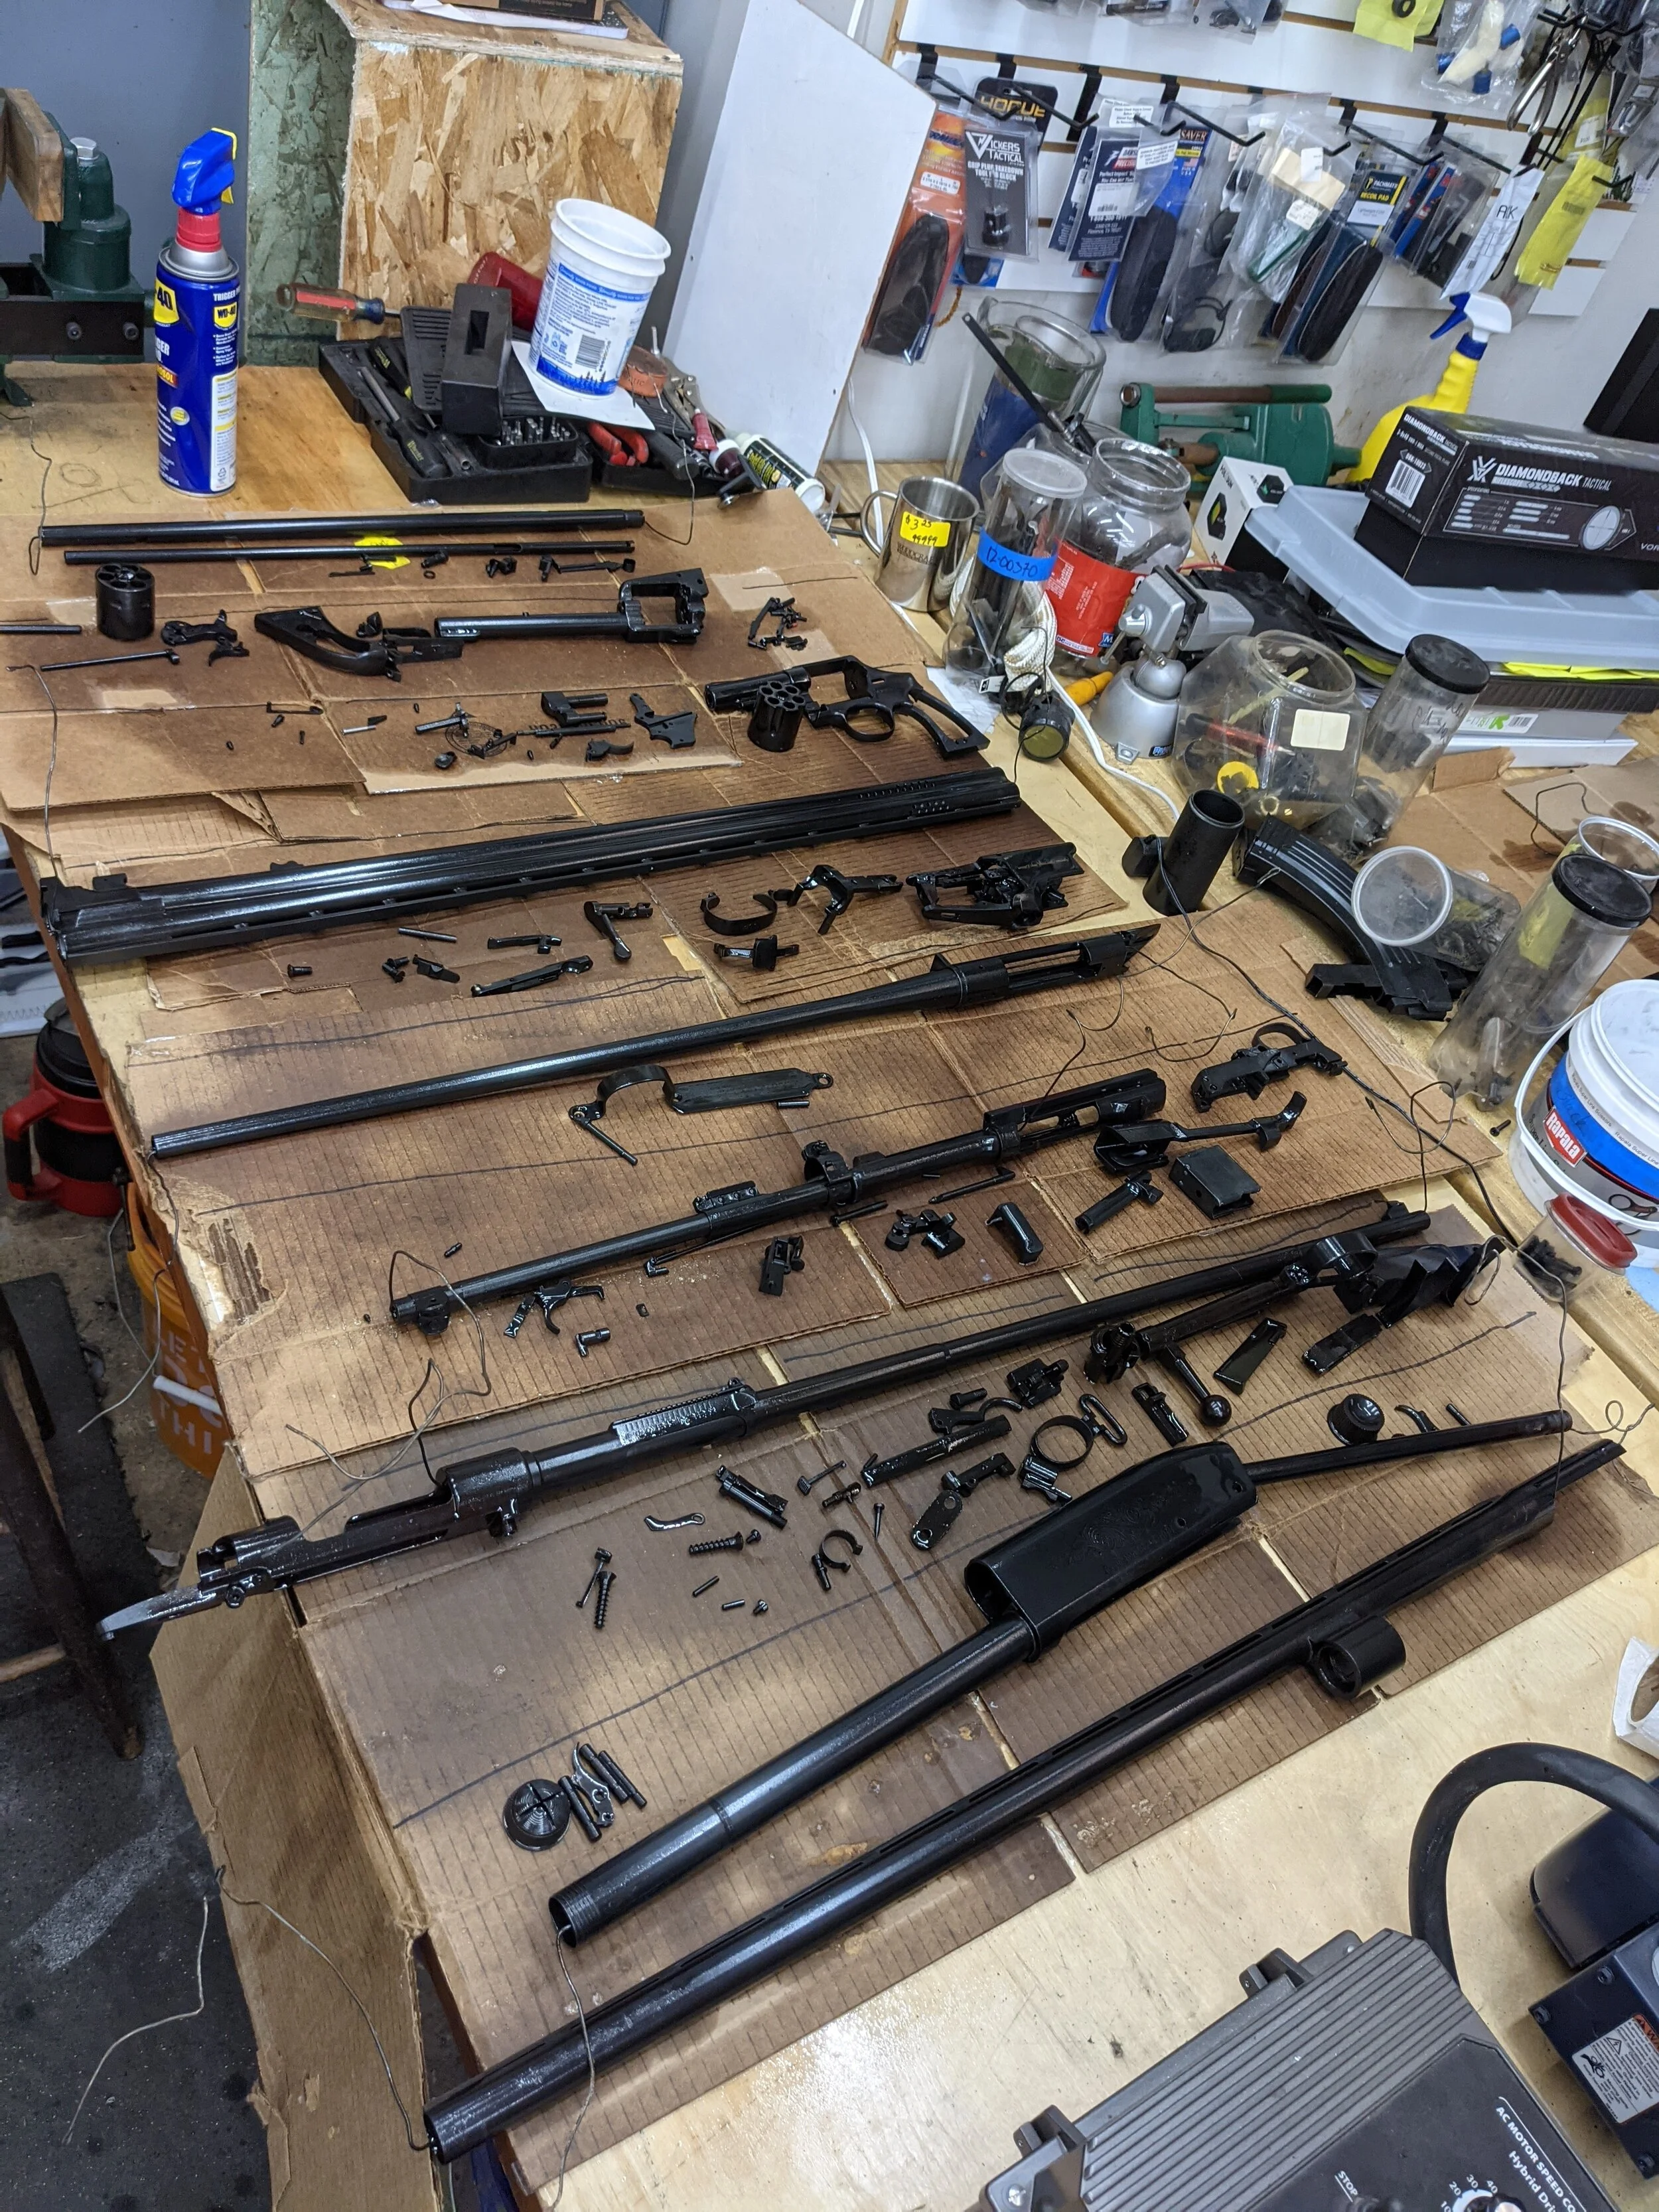
The surface prep of the gun is probably the most important step. If surface prep is done wrong or if corners are cut, the bluing won’t turn out well. This is why we spend 15 times more energy on surface prep than on the bluing itself.
First, we have to disassemble the gun and remove all rust, grease, and dirt. Every nook and cranny must be clean. Usually, each gun will get a Clean & Oil service. Then we will run it through the Ultrasonic Cleaner. Finally, we’ll hand polish it to remove any rust pits and scratches.
The polishing must be consistent. Otherwise, the bluing finish will be inconsistent. Typically, we will give each gun a 400 grit polish before bluing. This was the factory finish for most old guns and is considered to be the standard. Some customers, however, request a matte blue finish. In these cases, we bead blast the guns before bluing.
Keeping Track
With twenty guns to blue, we were working with about 1,000 parts. This is a lot to keep track of, and in order to ensure we don’t lose any parts in the tanks or mix them with other guns, we blue each gun in part batches. By doing one gun at a time, the final color remains consistent. If the salts change throughout the day and create different colors, we’ve eliminated the chance that the gun will have different shades.
Additionally, before moving anything into Tank 1, we count how many parts go into the basket. And when we finish the entire process, we count how many parts come out of the baskets.
Tank 1: The Degreaser
This first tank is used to clean the surface of the metal. We use a degreaser called Dicro-Clean. This removes everything from the gun—including anything we missed from our hours of surface prep. The parts spend 15 minutes in this tank at 170 degrees.
Tank 2: Cold Water Rinse
Then the parts move into the cold water rise for about one minute. This tank rinses off the degreaser. Without this tank, the Dicro-Clean could inhibit the function of the bluing salts on the gun. So, it is important to remove all of the degreaser before starting the hot salt process.
Tank 3: Bluing Salts

The third tank contains the caustic salt bluing solution. The parts go into this tank for 15 to 30 minutes—until the color is just right.
Because the salt tank needs to be 295 degrees (Fahrenheit), much of the hot bluing process is babysitting this tank and making sure it’s at the right temperature. The bluing salts cannot be above 298 degrees nor below 292 degrees. Otherwise, black rust won’t form, and red or green rust will form.
The difficulty in maintaining the correct heat comes from the ever changing boiling temperature of the water based on the ratio of salts. More salt allows the water to boil at a higher temperature, but as the water boils, it evaporates into a mist. This, then, increases the ratio of salts to water which therefore increases the boiling temperature of the water.
So, we have to constantly add water—which boils instantly creating a tiny eruption—to lower the boiling point and prevent it from getting over 298 degrees. But we also have to regulate the flame to make sure the water doesn’t get below 292 degrees. All the while trying to prevent the tank from boiling over onto the ground.
Tank 4: Cold water Rinse
After the bluing salts, we move the parts into another short cold water rinse. This cools everything down quickly and removes the bluing salts to stop them from acting on the metal.
Many gunsmiths only use one cold water rinse tank (to remove both the degreaser and the salts). But for us, it is important to have two separate cold-water tanks. Otherwise, the salts will contaminate the degreaser, and cross contamination will lead to poor bluing results.
Tank 5: Boiling Water Rinse
Then we move the parts into the boiling water tank which is set to 212 degrees (Fahrenheit). This rinses the gun a second time and removes any of the remaining bluing salts from the crevices of the gun. The parts spend 10 to 15 minutes in this tank.
Tank 6: Oil
This is the final tank in the hot bluing process. The water displacing oil removes any water from the gun and seals the bluing. The parts spend 10 minutes in the oil.
A lot of gunsmiths don’t use an oil tank—they’ll just spray it down with WD40. But we believe that the best results are achieved with this additional step in the process.
The Final Step
Finally, we count all of the parts in each batch to make sure we didn’t lose any. Then we lay the parts together in groups with the gun they belong to. We spray them down with WD40 to make sure no water is left on the gun. After that, we degrease them and put new oil on.
Once we’ve double checked our work and make sure nothing needs to be redone, we reassemble the gun and give it back to the customer.
Next Up
We hope you enjoyed this week’s blog. Thank you for following along! New feats are posted every Tuesday at 10am PST. Comment with any gunsmithing content you want to see!
If you loved the services you saw today, check out our online store! You can start shopping by clicking here. Or drop us a message here. We look forward to meeting you and gunsmithing for you.
Please subscribe to our blog below and don’t forget to follow us on social media!