
Feat of the Week: Glass Bedding
This week’s gunsmithing feat is glass bedding. A common service we perform on both hunting rifles and shotguns, glass bedding can improve accuracy. We can’t wait to share more about our glass bedding process. So let’s get started!
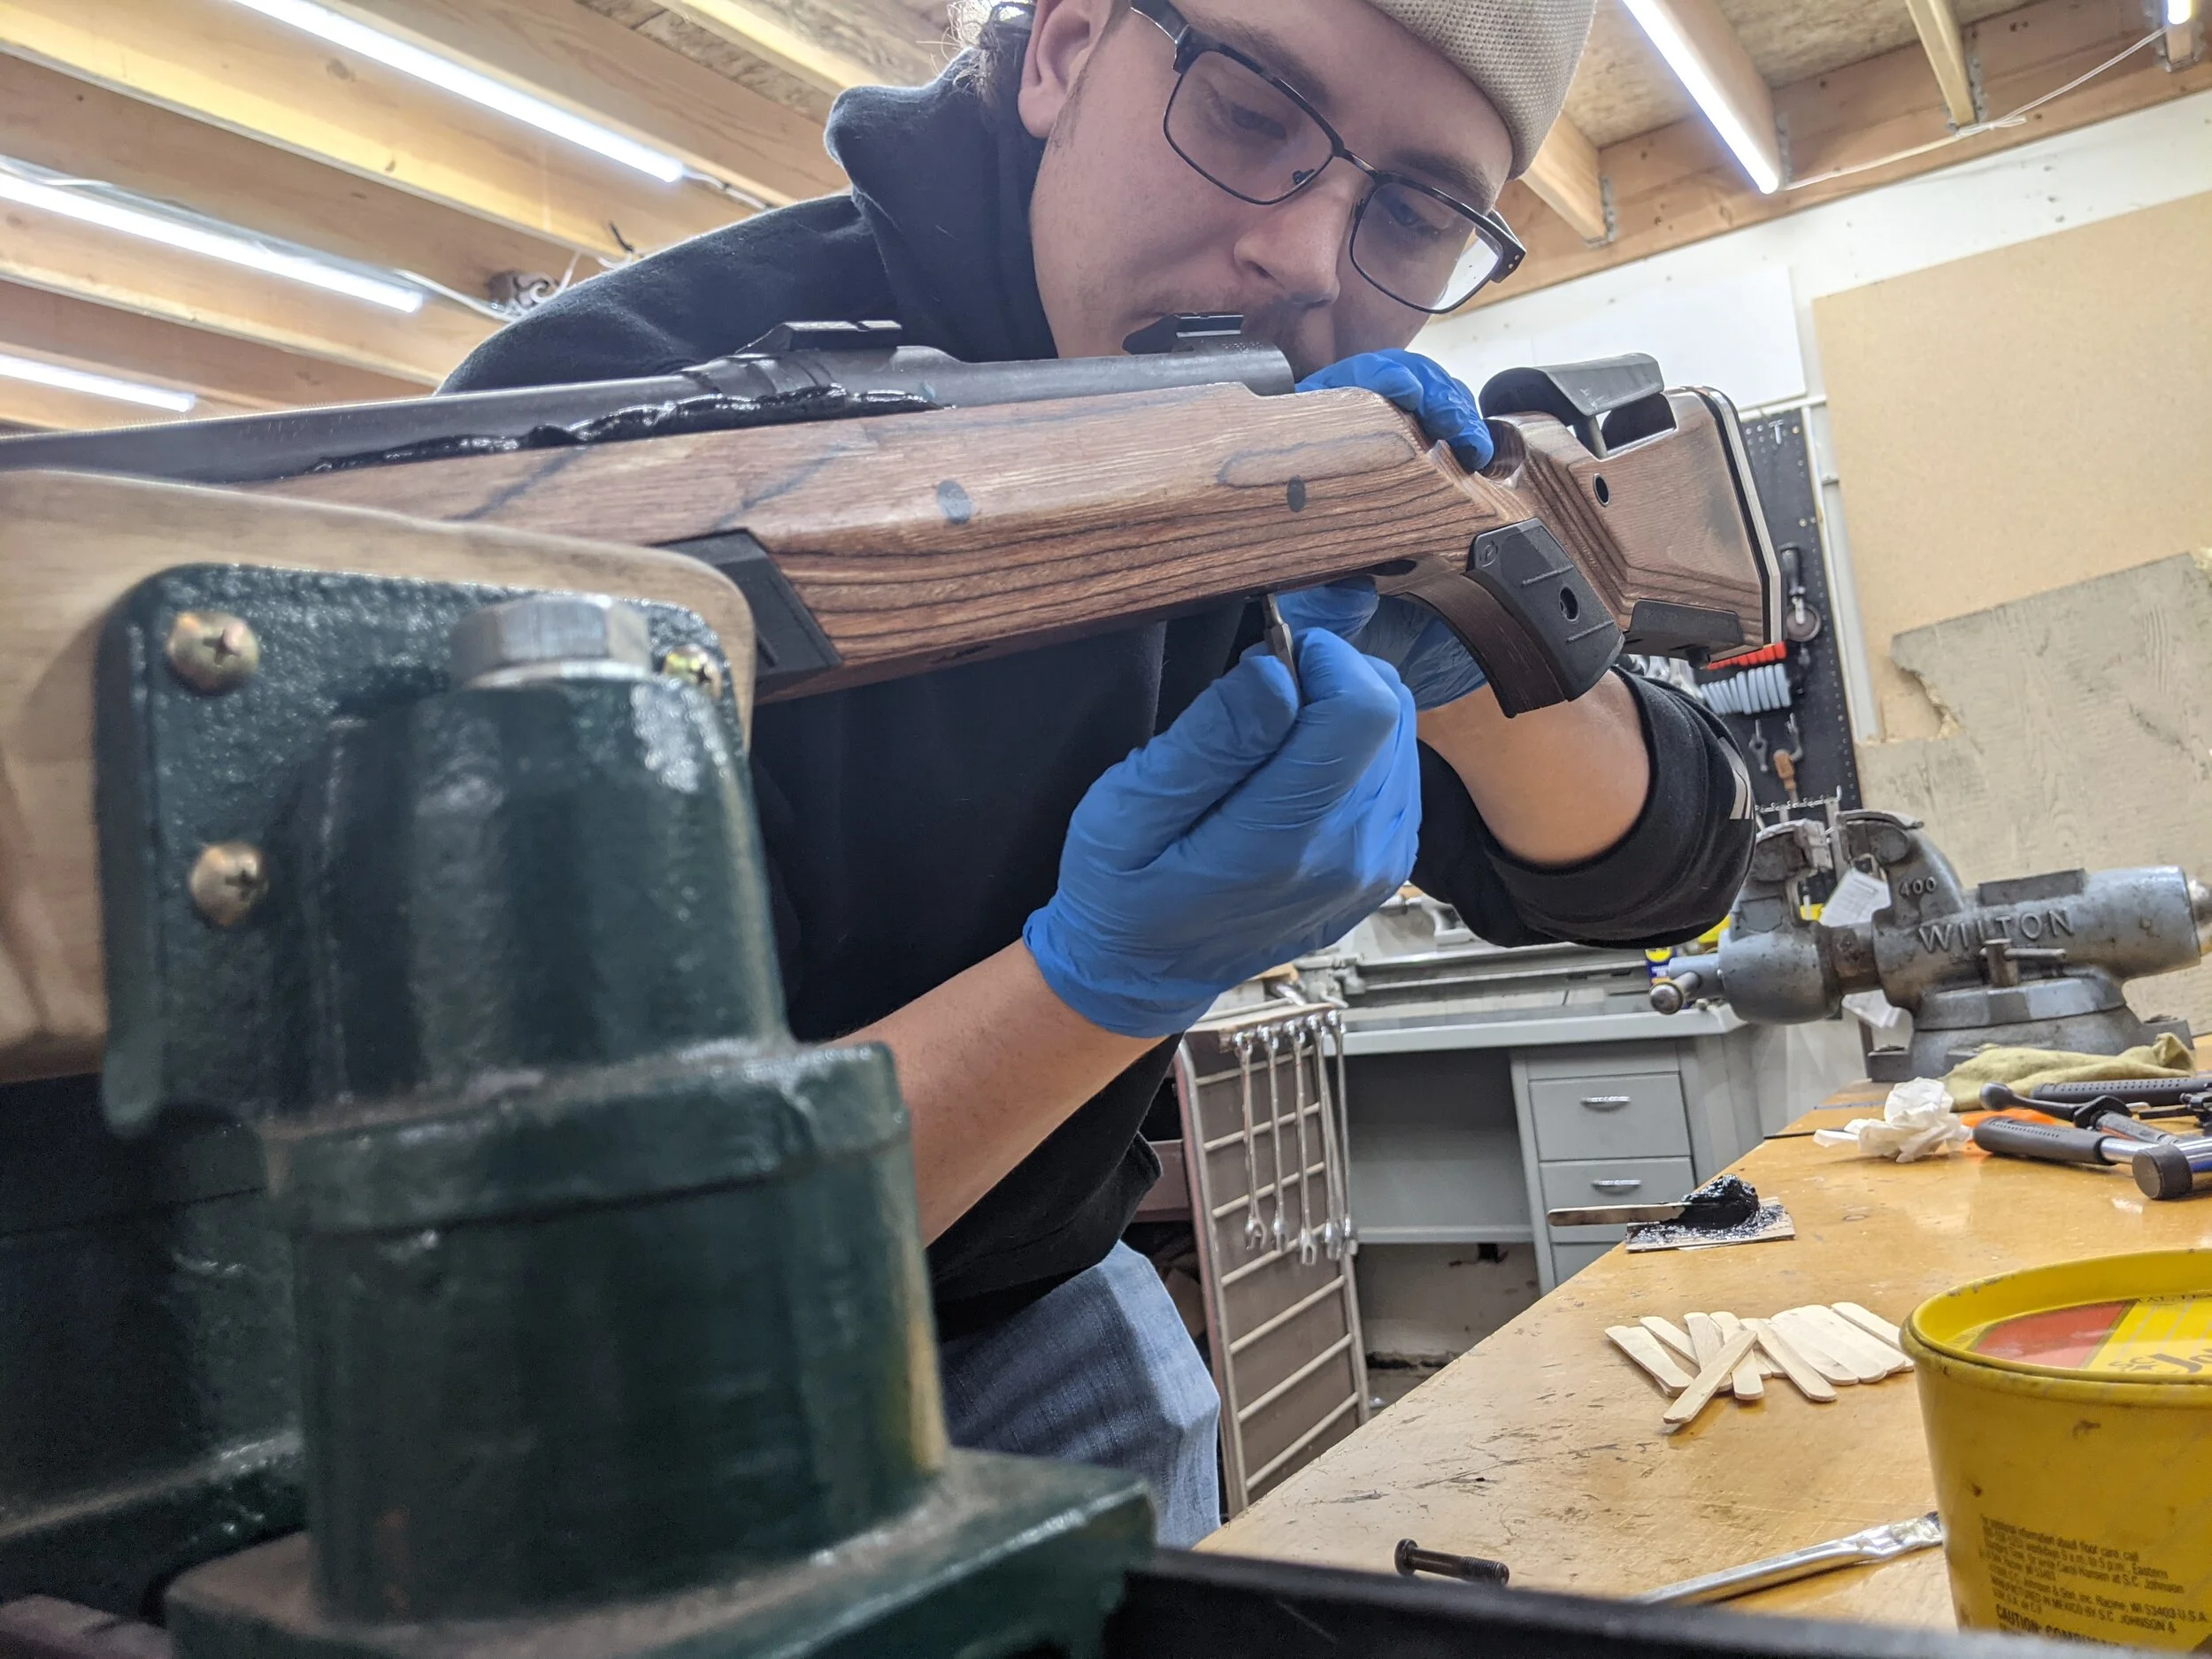
Floated Barrel Glass Bedding
What is Glass Bedding?
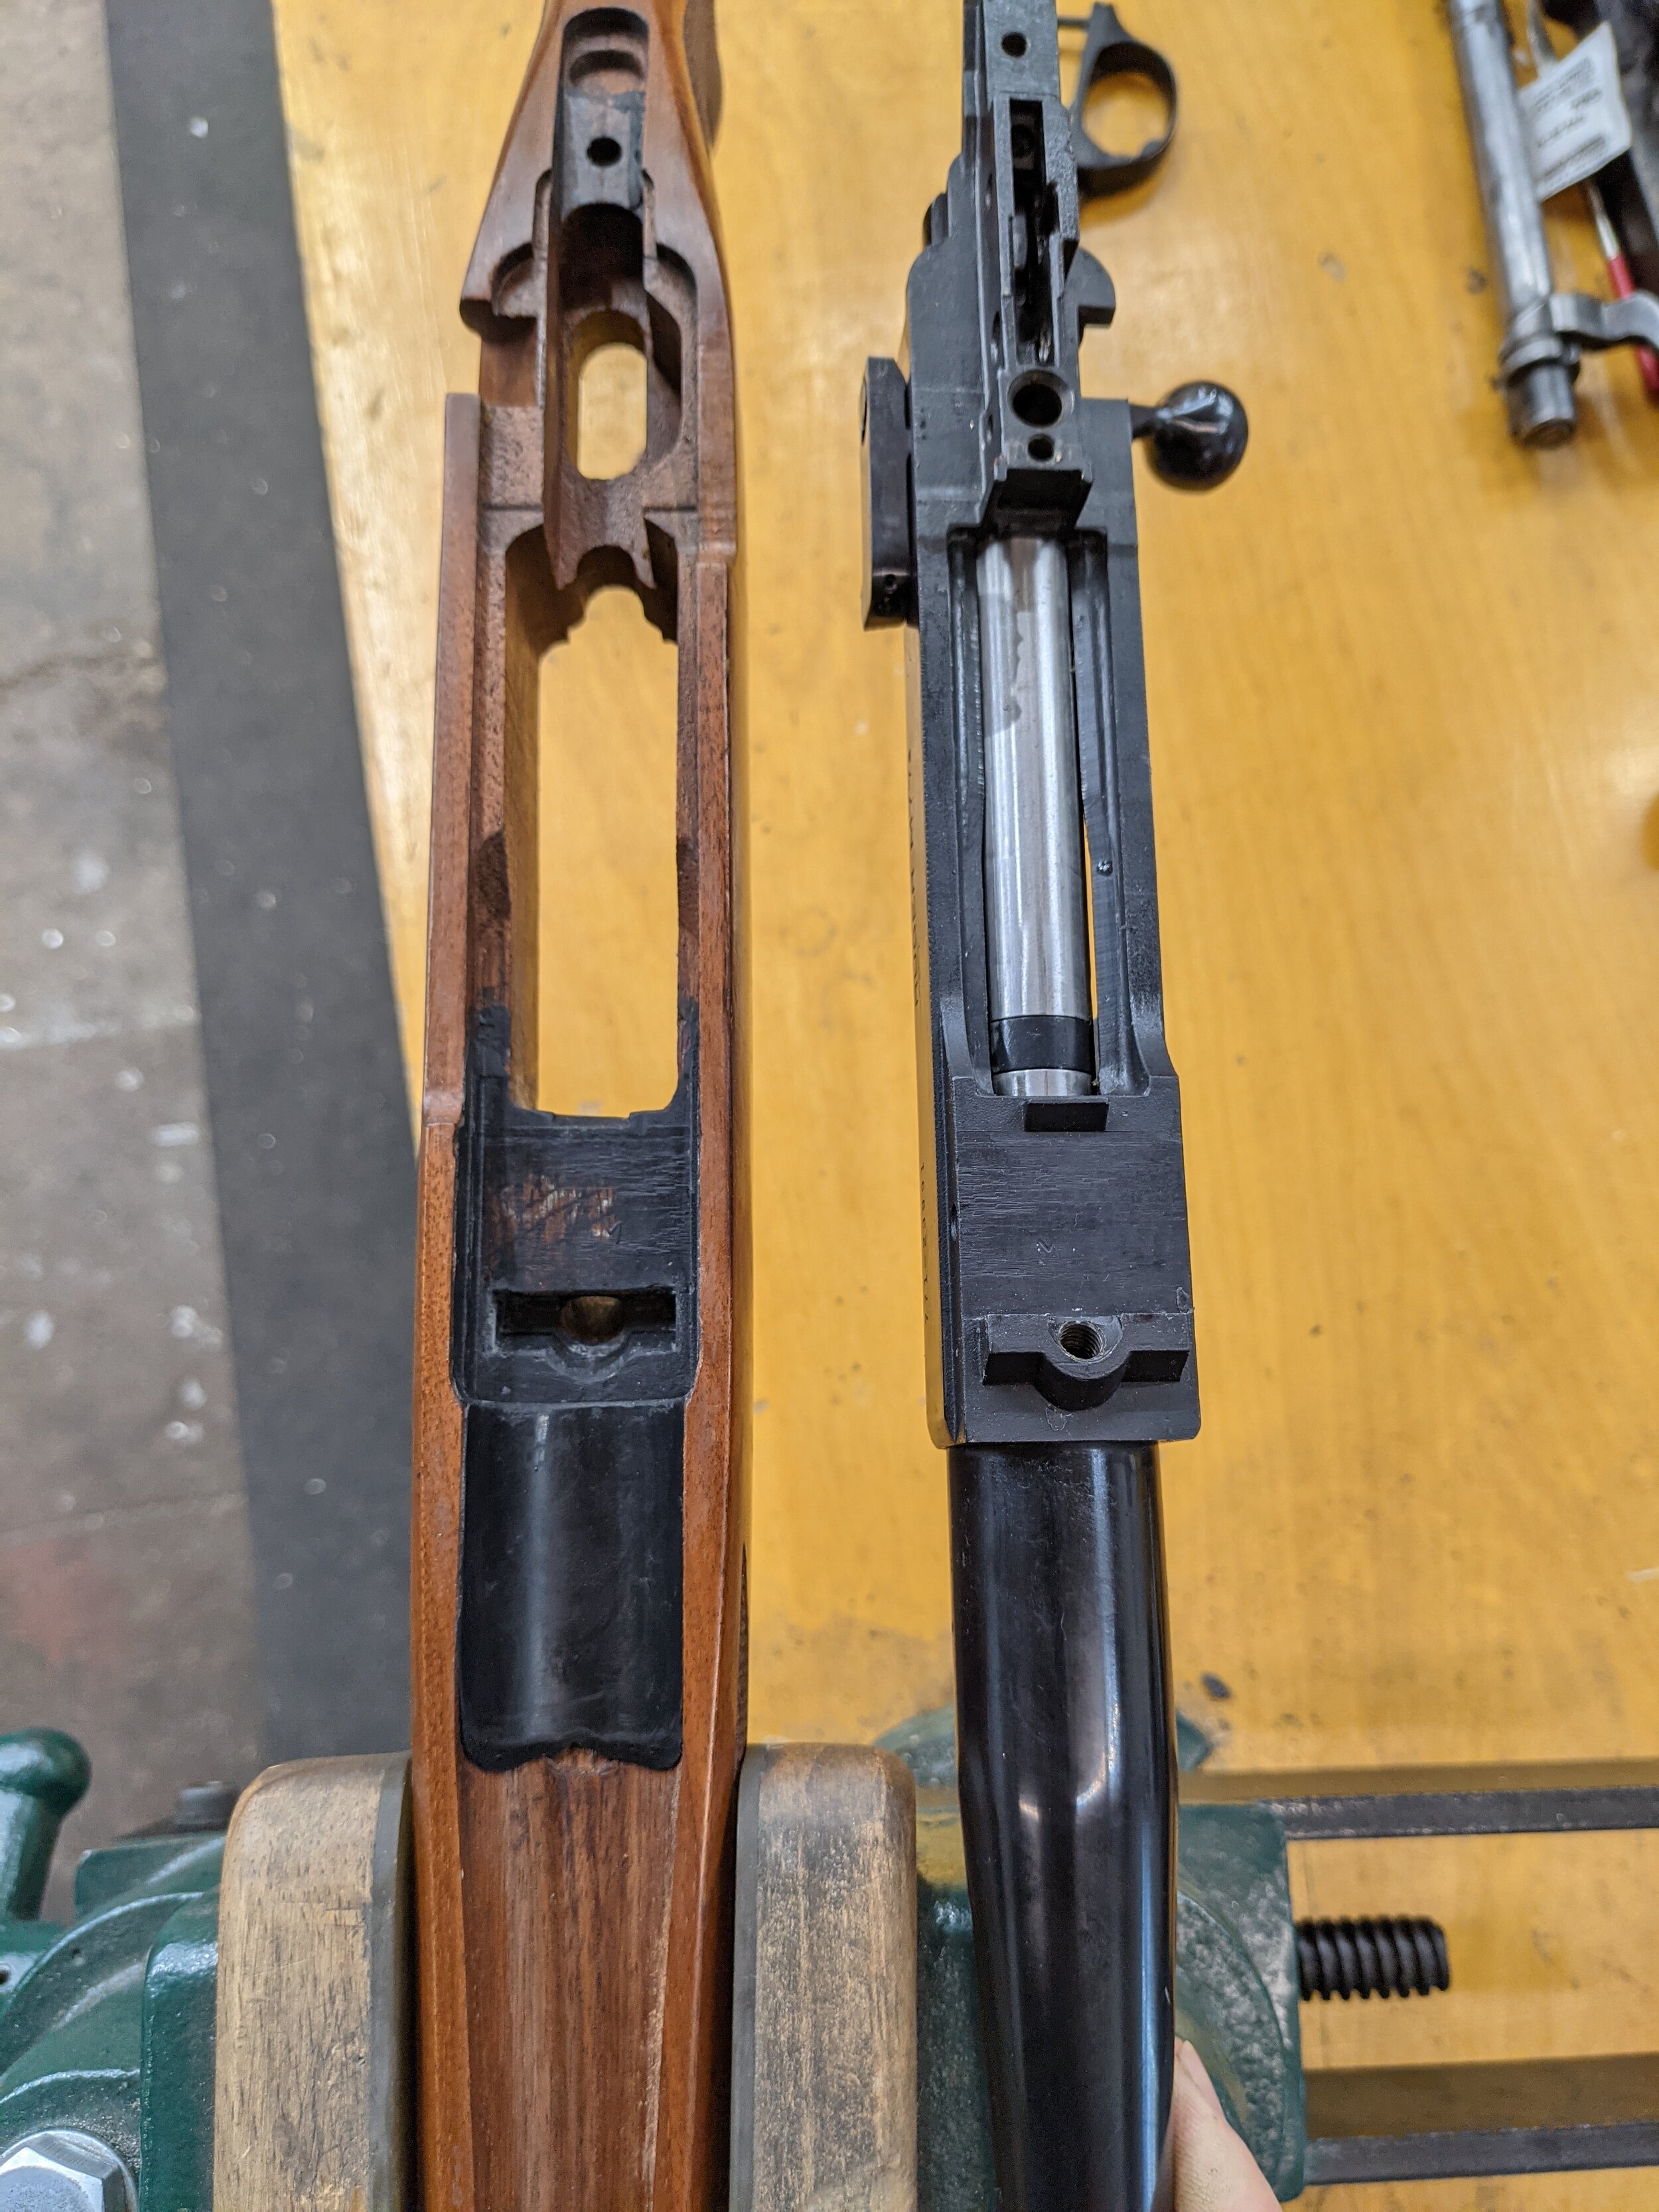
On a rifle without glass bedding, the action doesn’t sit flush to the stock which creates more movement in both the action and the barrel—reducing accuracy. Because wood contracts and expands with moisture content, the action’s surface contact can vary and affect the return to zero. Glass bedding is a process which helps offset those changes in the stock.
By enhancing surface contact between the action (and recoil lug) and the stock, glass bedding improves the accuracy of the gun. More surface contact allows the action to return to the same position after every shot—maintaining a consistent return to zero. In addition, glass bedding lengthens the life of the stock and prevents wear because the force is more evenly transferred throughout the gun.
Full Contact Glass Bedding
At McCluskey Arms, we float the barrel on our glass bedding jobs unless the customer specifically asks for full contact. “Floating” the barrel means that the majority of the barrel isn’t in contact with the stock. This method yields better results than full contact glass bedding because it improves barrel harmonics.
For our customers who are competition shooters, we also offer pillar bedding. In this process, aluminum pillars are inserted into the stock which allows the action screws to be tightened more, better securing the action in place. Pillar bedding is the best method for maintaining zero and returning the action to the same spot after every shot. But most shooters don’t require that degree of accuracy so they opt for glass bedding.
The Process
The glass bedding process takes a lot of prep work and attention to detail. I learned this skill at gunsmithing school during my time at Trinidad State. In my Stock Making class, Glen Morovits, one of the most renowned stock makers in the world, taught us how to glass bed.
If done properly, it improves the accuracy of the gun, but if done improperly, it can cause damage to the stock and/or action. These are the steps I follow in my glass bedding process.
Step 1
First, I remove trigger assembly and the bolt. This allows me to work with a bare barreled action or in some cases a barreled action with a magazine box.
Step 2

Using gouges, I cut three small channels where the flat part of the action sits behind the recoil lug. This helps the glass adhere and gives it more structure.
I also eliminate any 90 degree corners on the recoil lug. This improves the glass’s flow and structural integrity.
On a fiberglass stock, the glass doesn’t stick as well so I drill small holes to help it adhere to the stock.
Step 3
Then, I fill potential catching points with DAP Putty. This is one of the most important prep steps. I ensure any recessed areas on the action are covered with putty to prevent the glass from forming in those areas. This prevents the epoxy from locking the action to the stock.
When I was first learning how to glass bed at gunsmithing school, I messed up this step in the process and accidentally got the action stuck to the stock. I was able to carefully tap it out with a hammer. I was lucky that I didn’t ruin neither the action nor the stock.
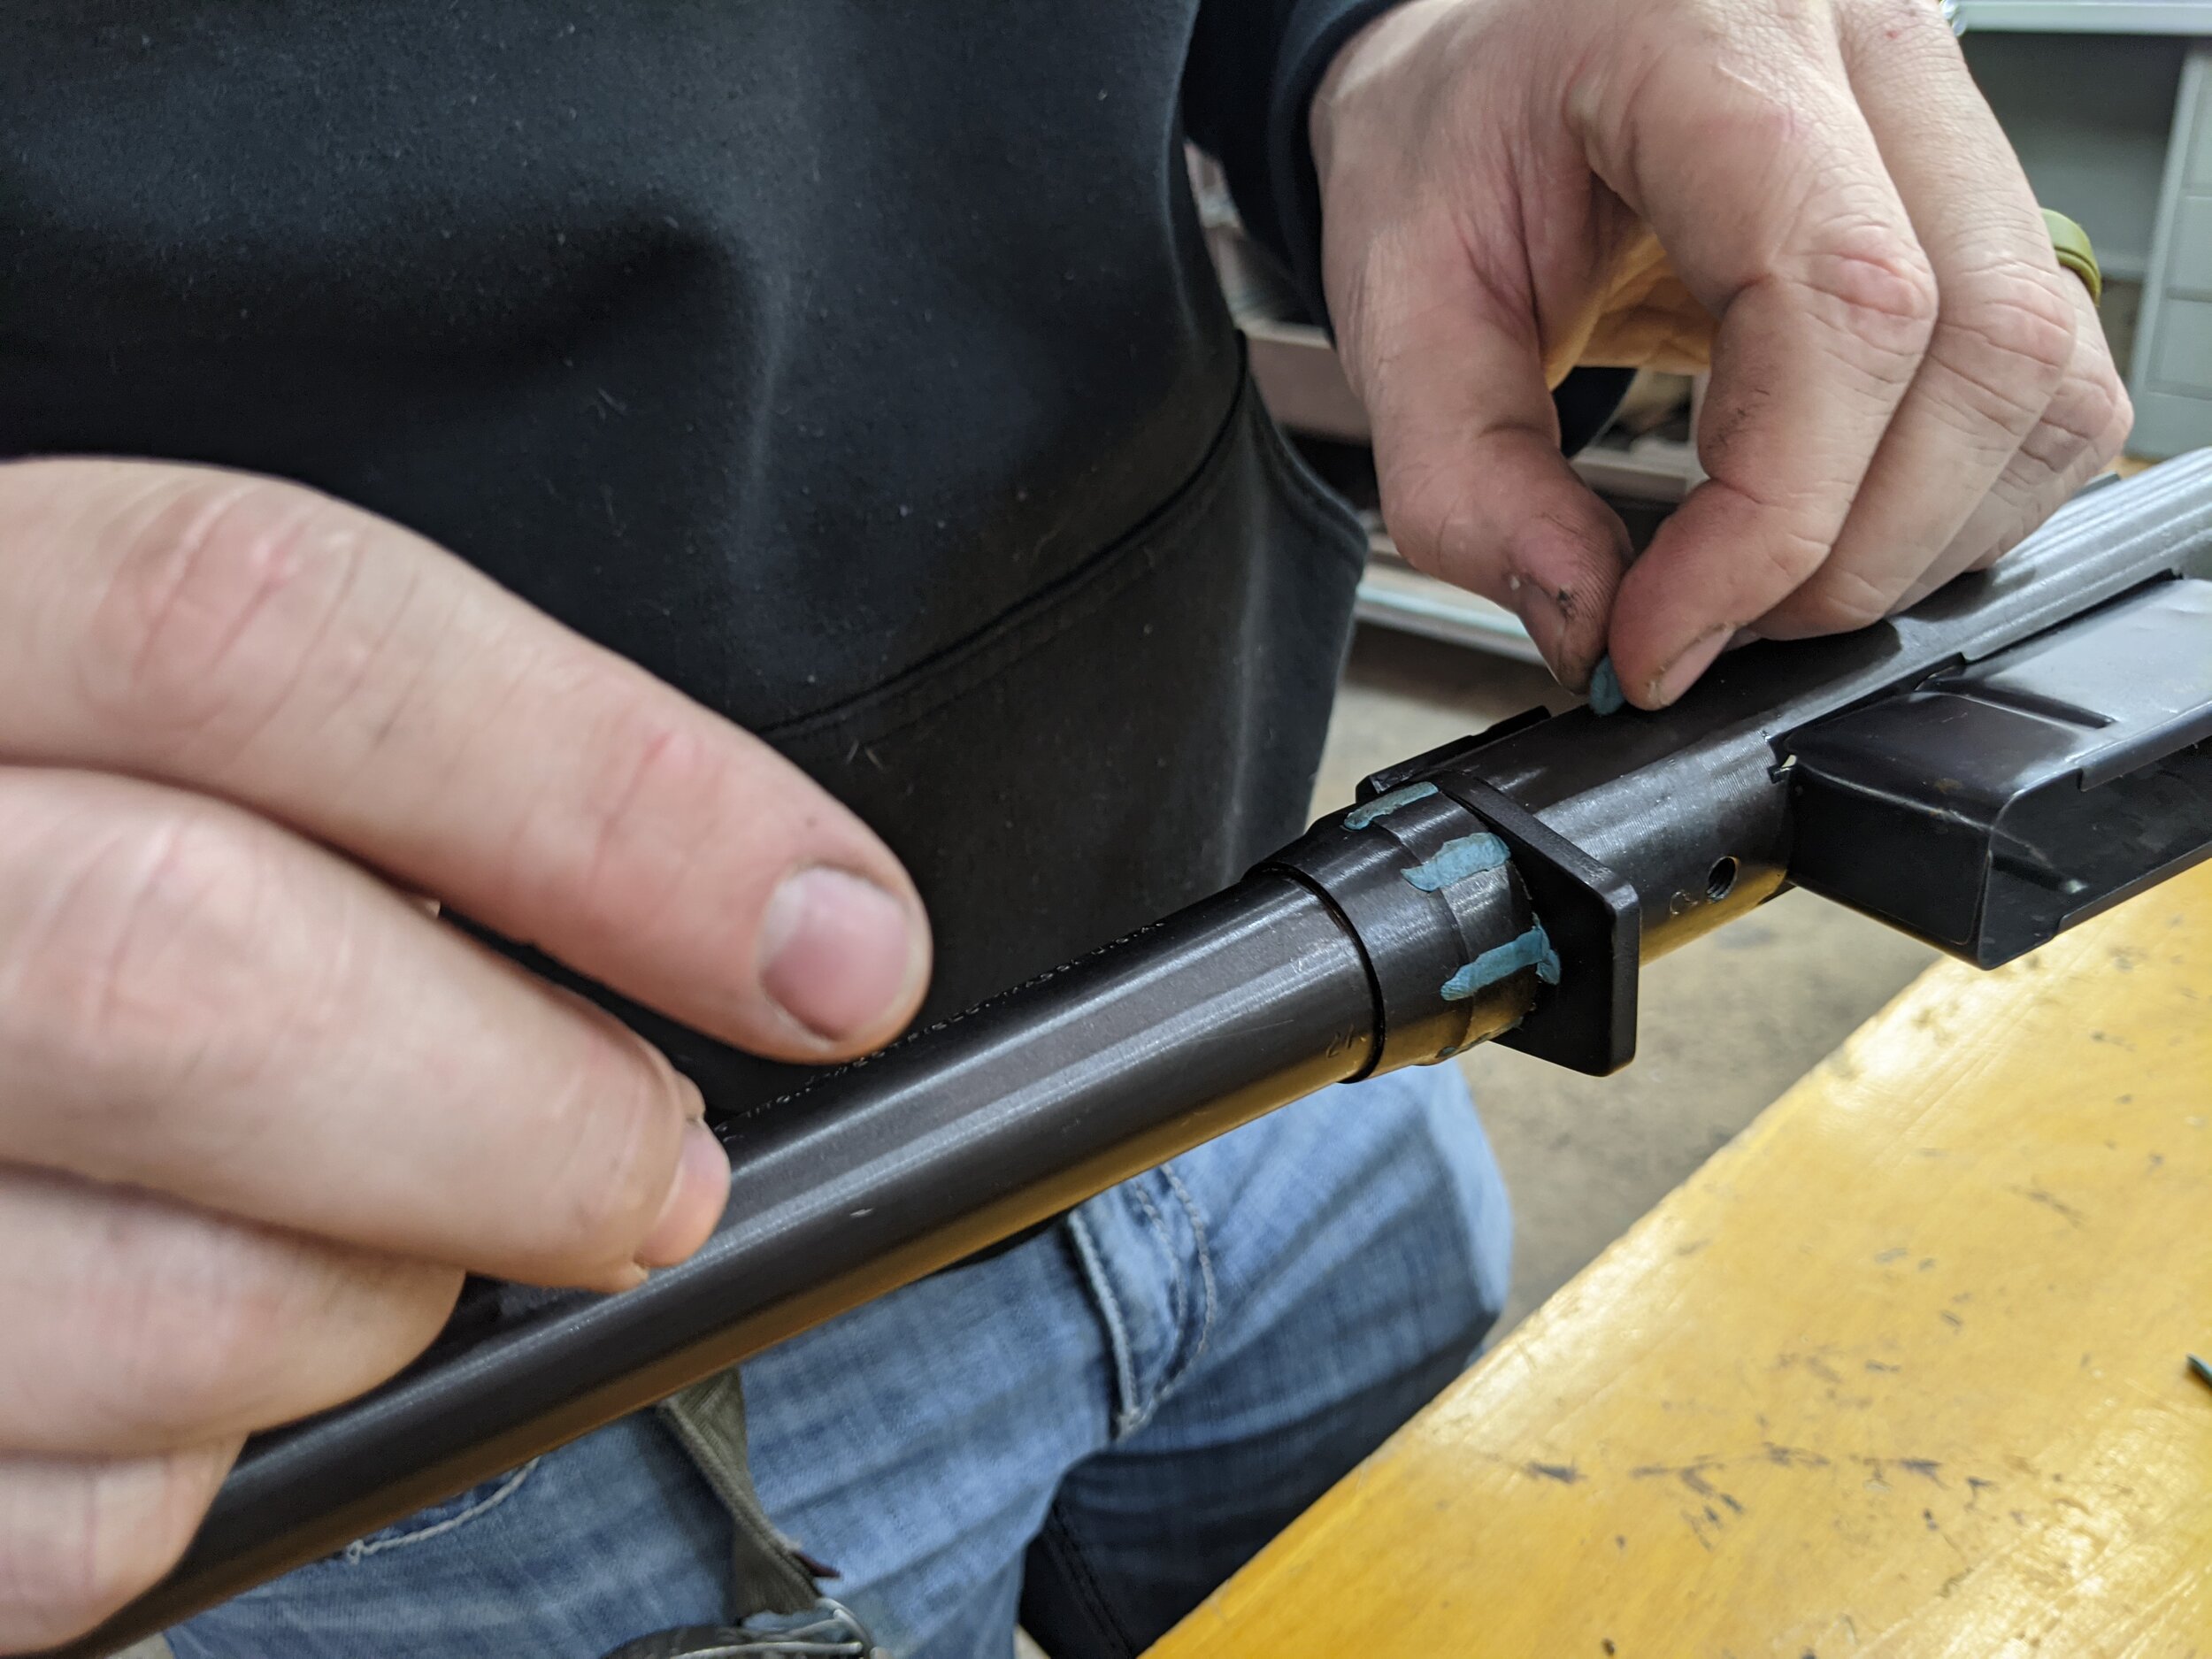
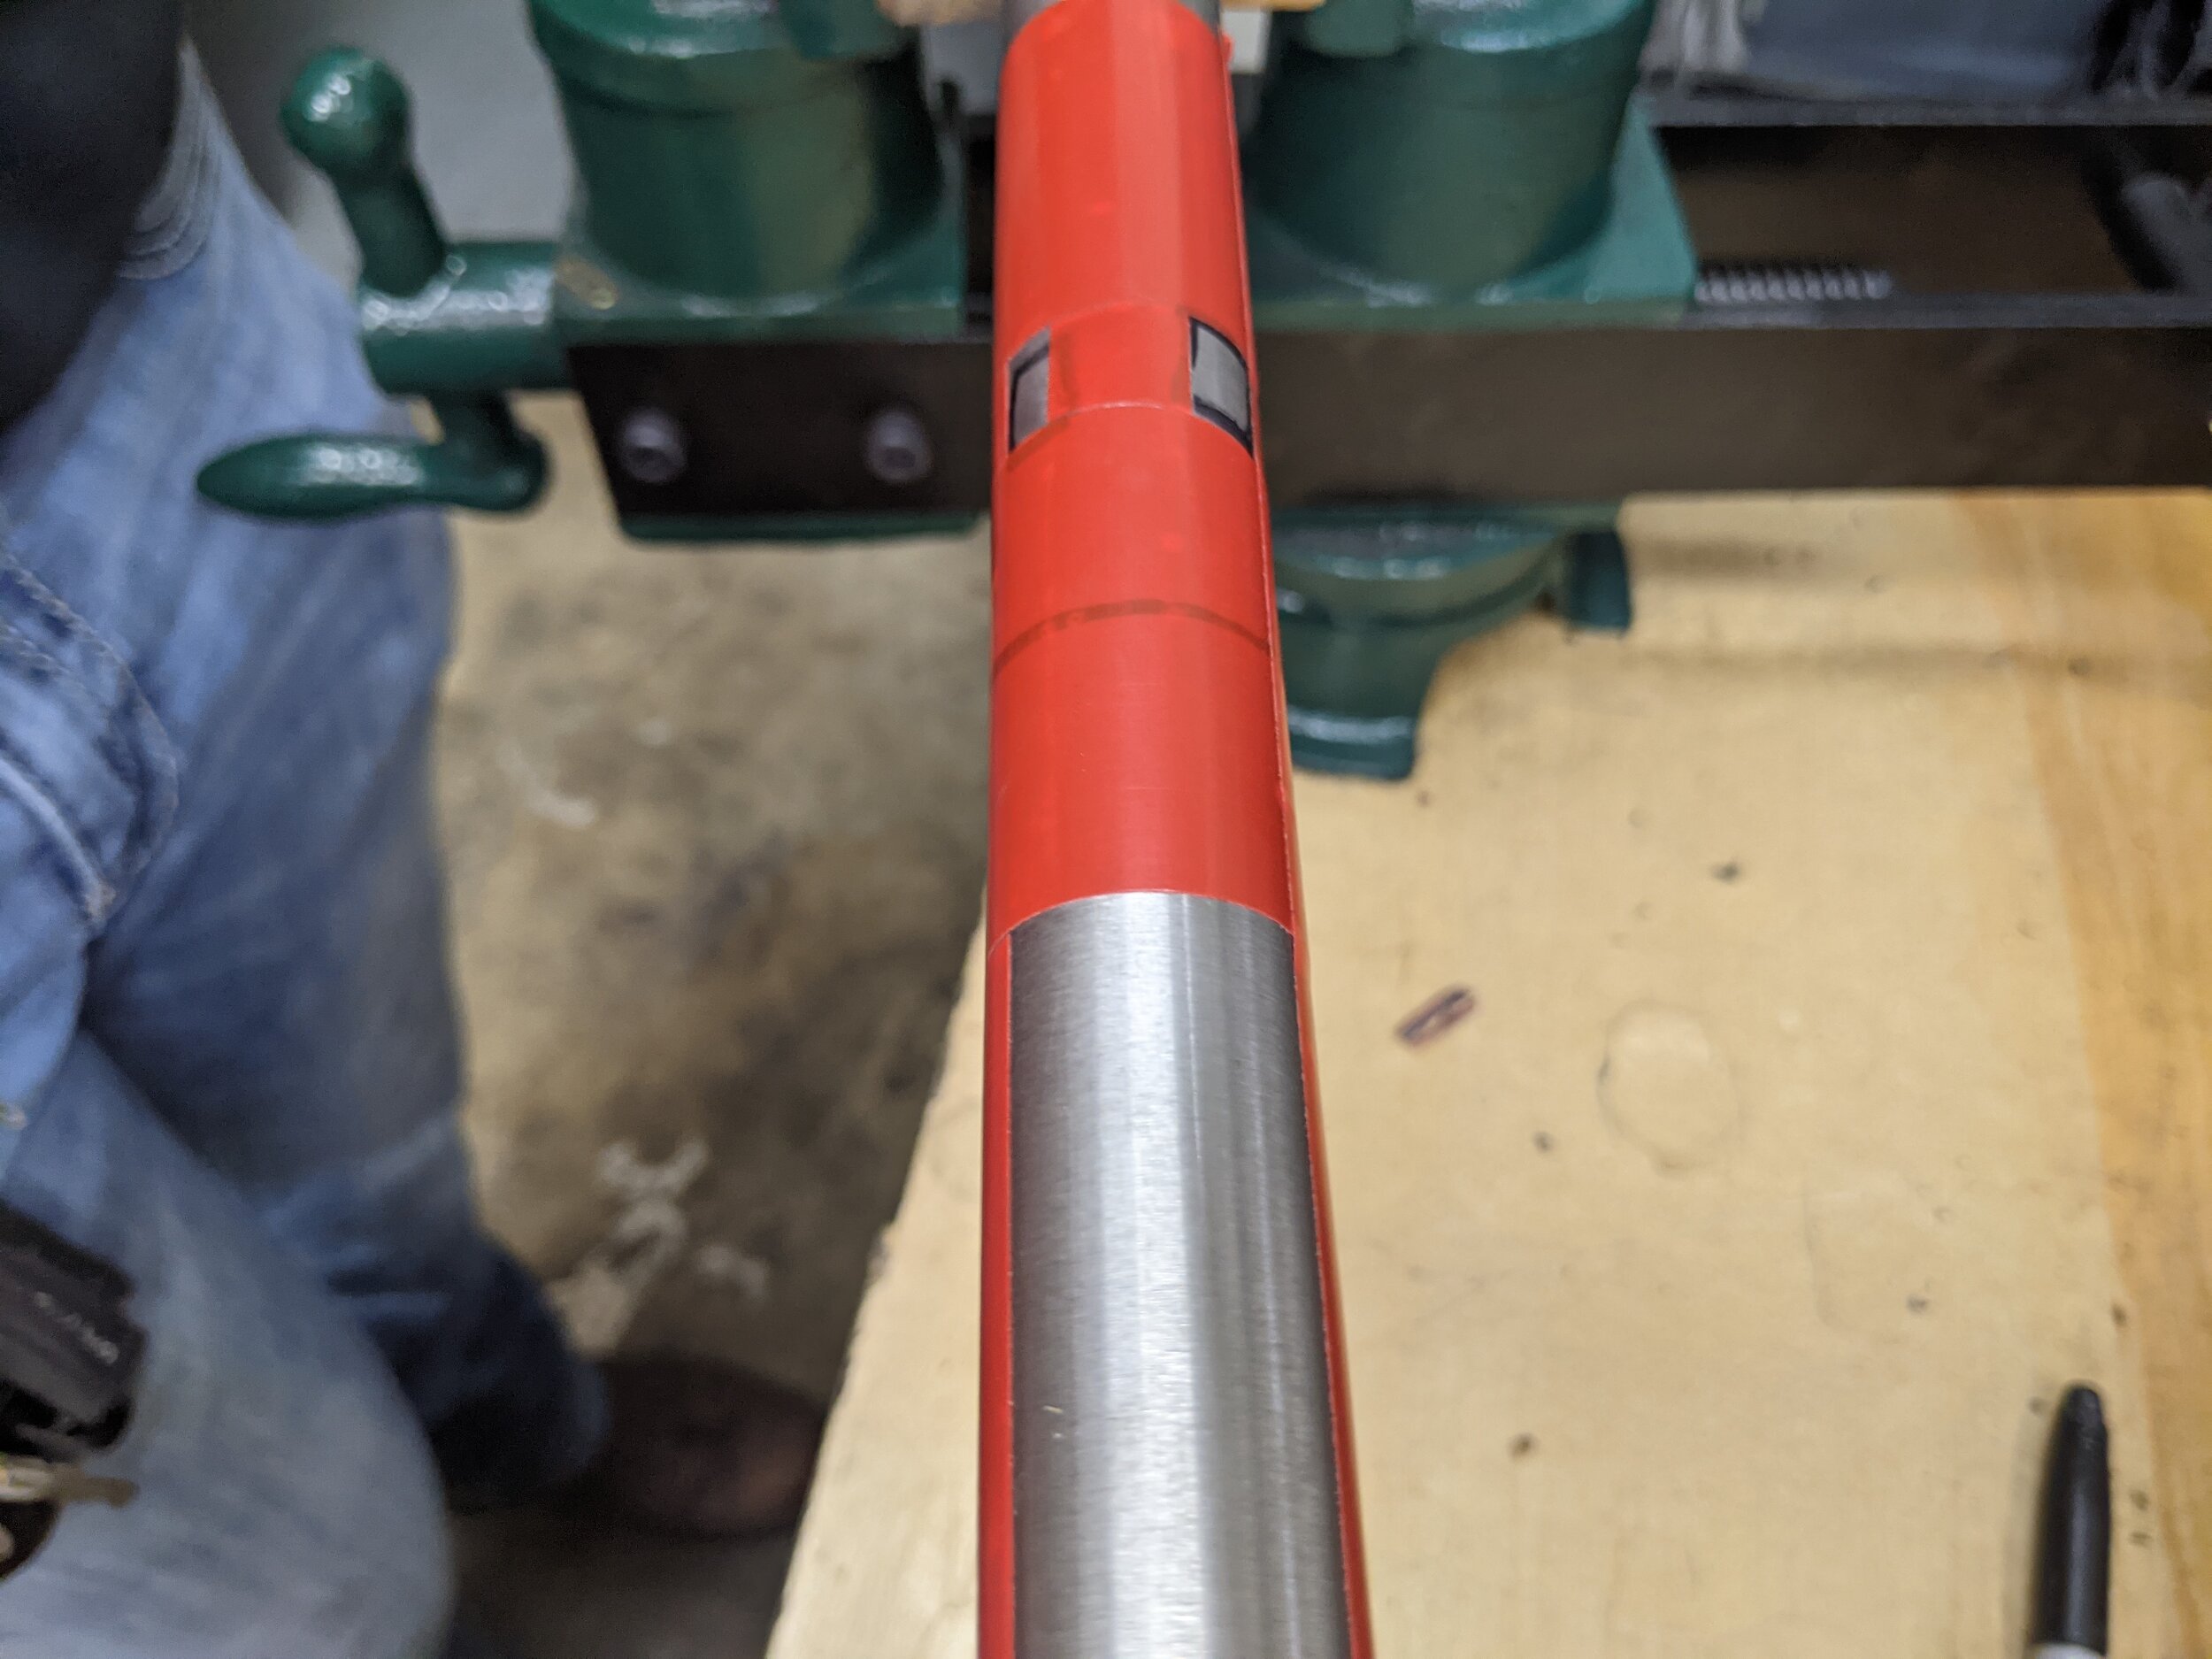
During this step in prep, on floating barrel jobs, I use stucco tape to create a spacer where the glass doesn’t touch the barrel. I cut out two pressure pads between the action and the end of the stock where the glass will touch the barrel. This allows the barrel to return to the same spot after each shot.
Step 4
Next, I prep the surface of barreled action. Using an acid brush, I apply copious amounts of Johnson’s Paste Wax to the entire gun (including the action screws)—making sure to get into all of the nooks and crannies. This release agent allows the epoxy to separate from the metal and prevents the action from being stuck to the glass.

I also apply the wax to the outside of the stock in order to prevent any overflow from sticking to those areas. In addition, I coat the inside of the stock on spaces where I don’t want the glass. After letting it dry, I gently wipe off the excess—trying to eliminate the lines and brush strokes.
Step 5
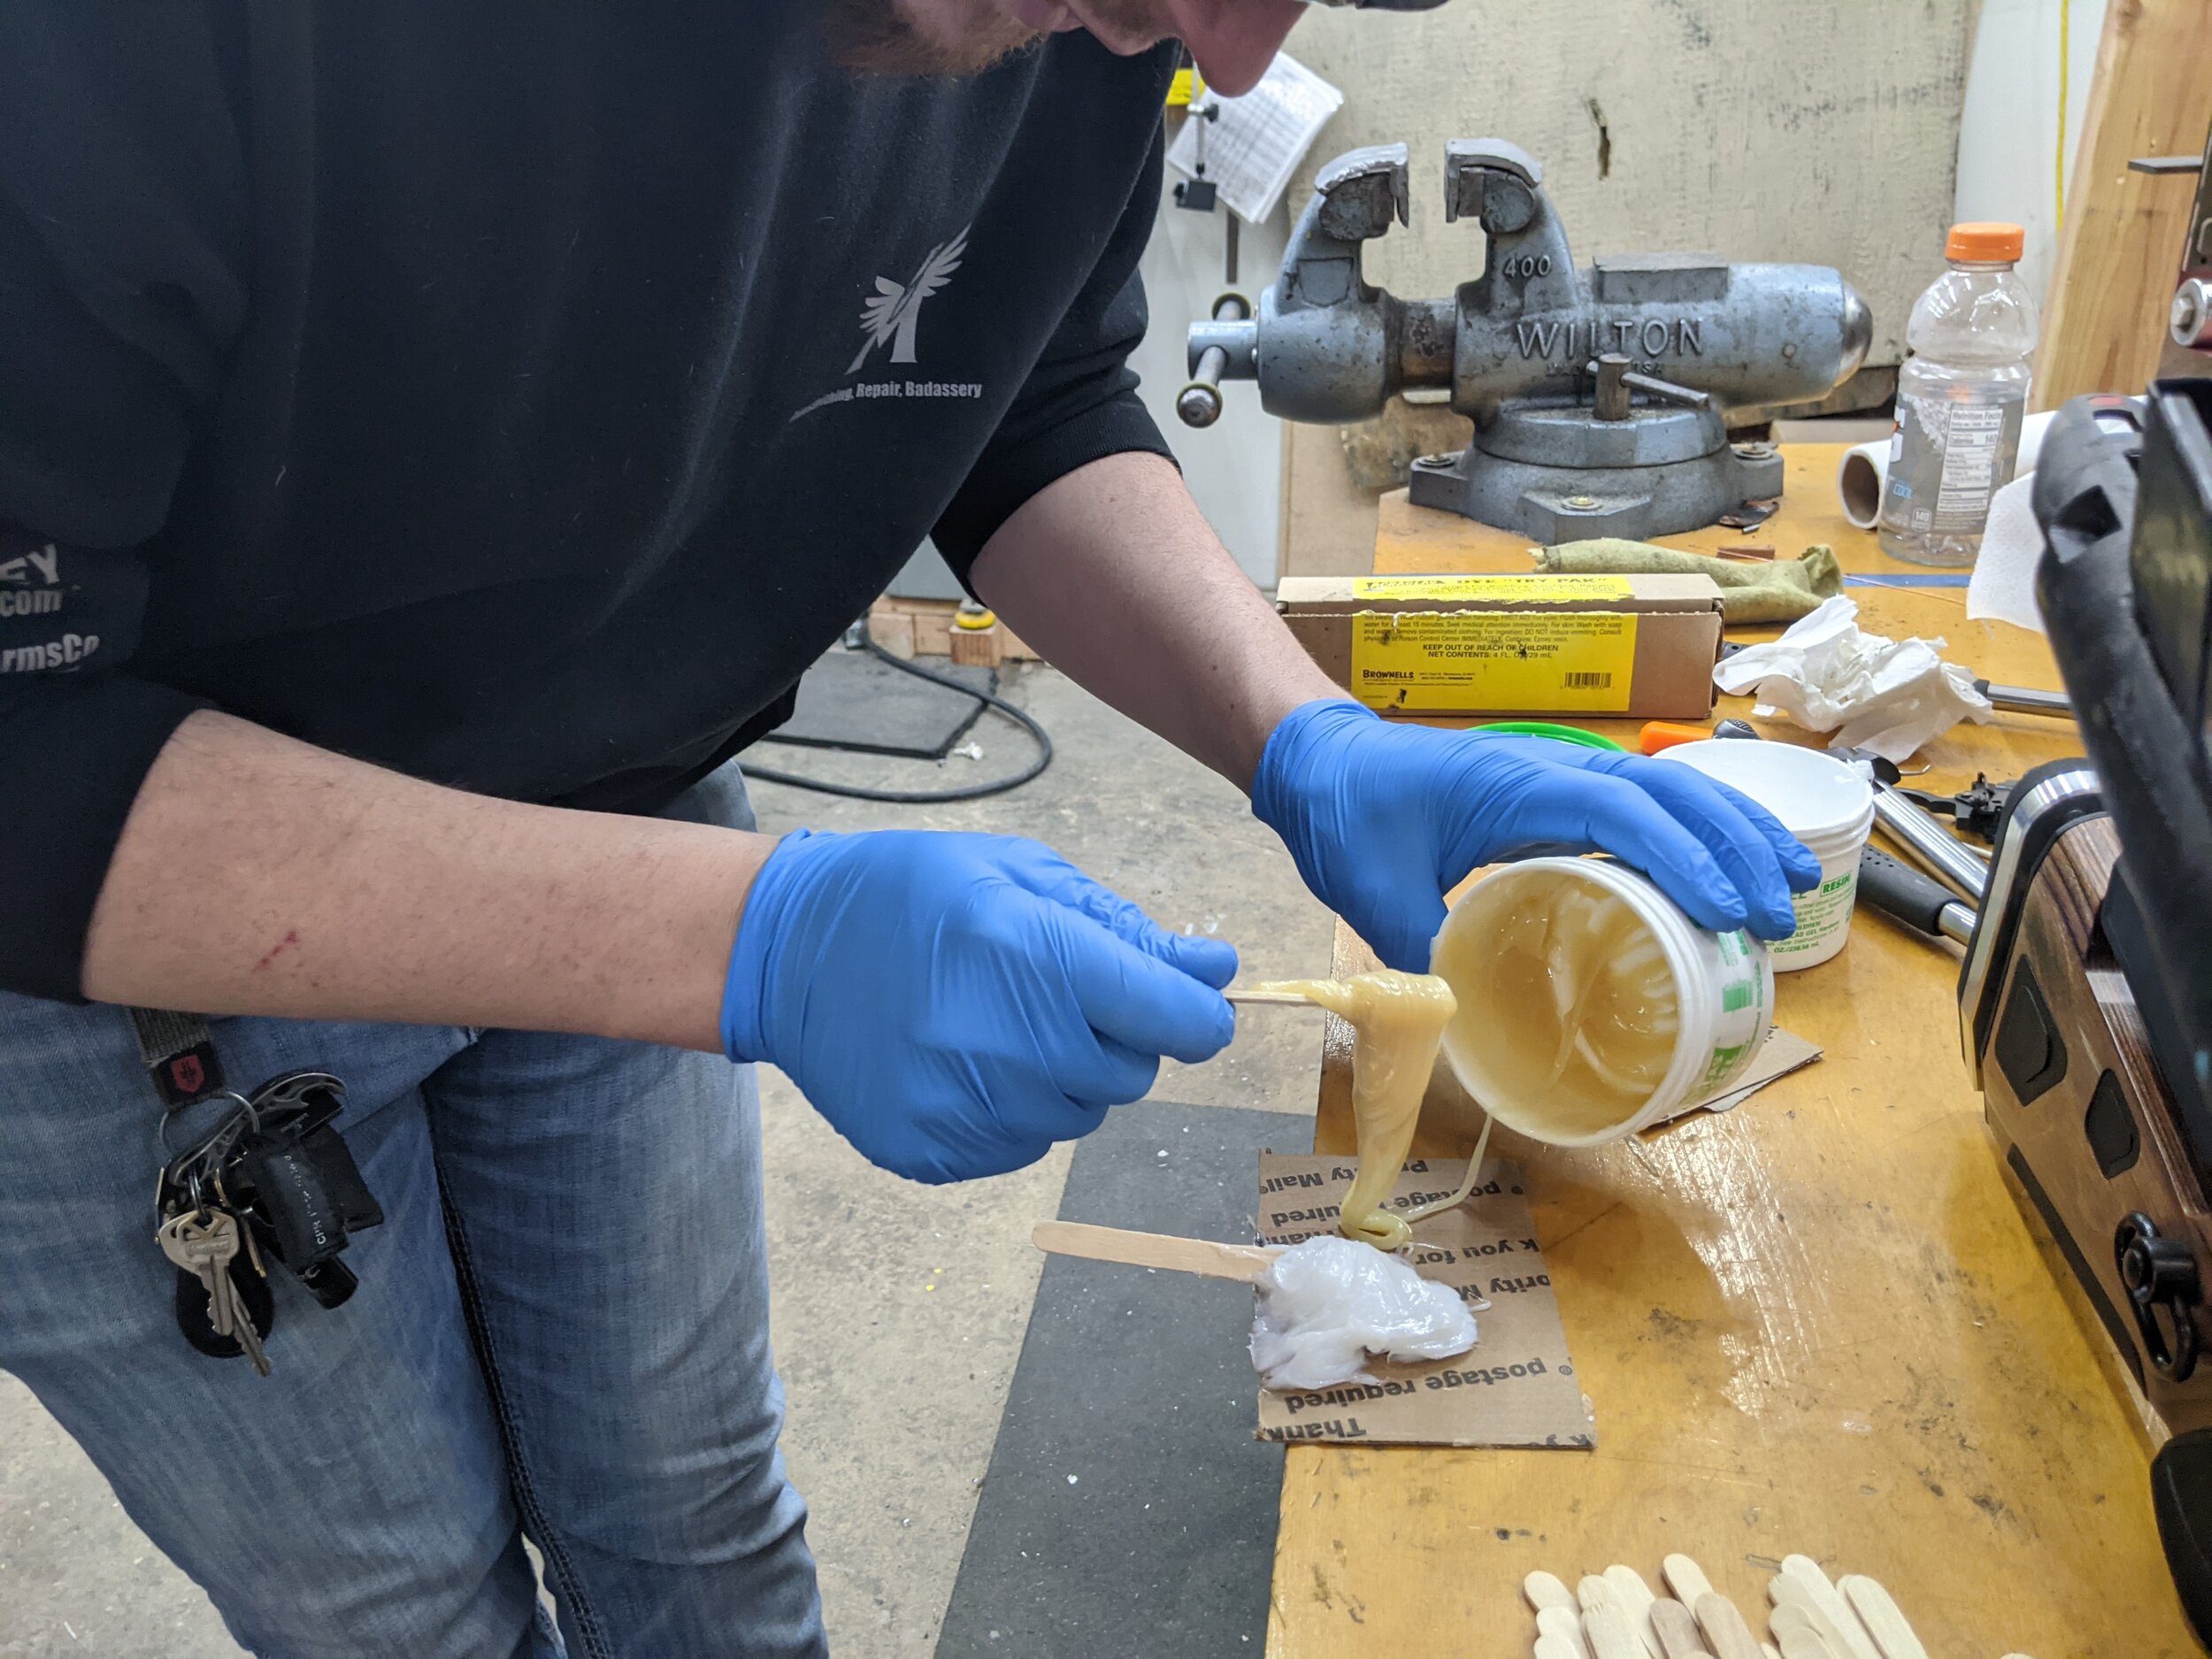
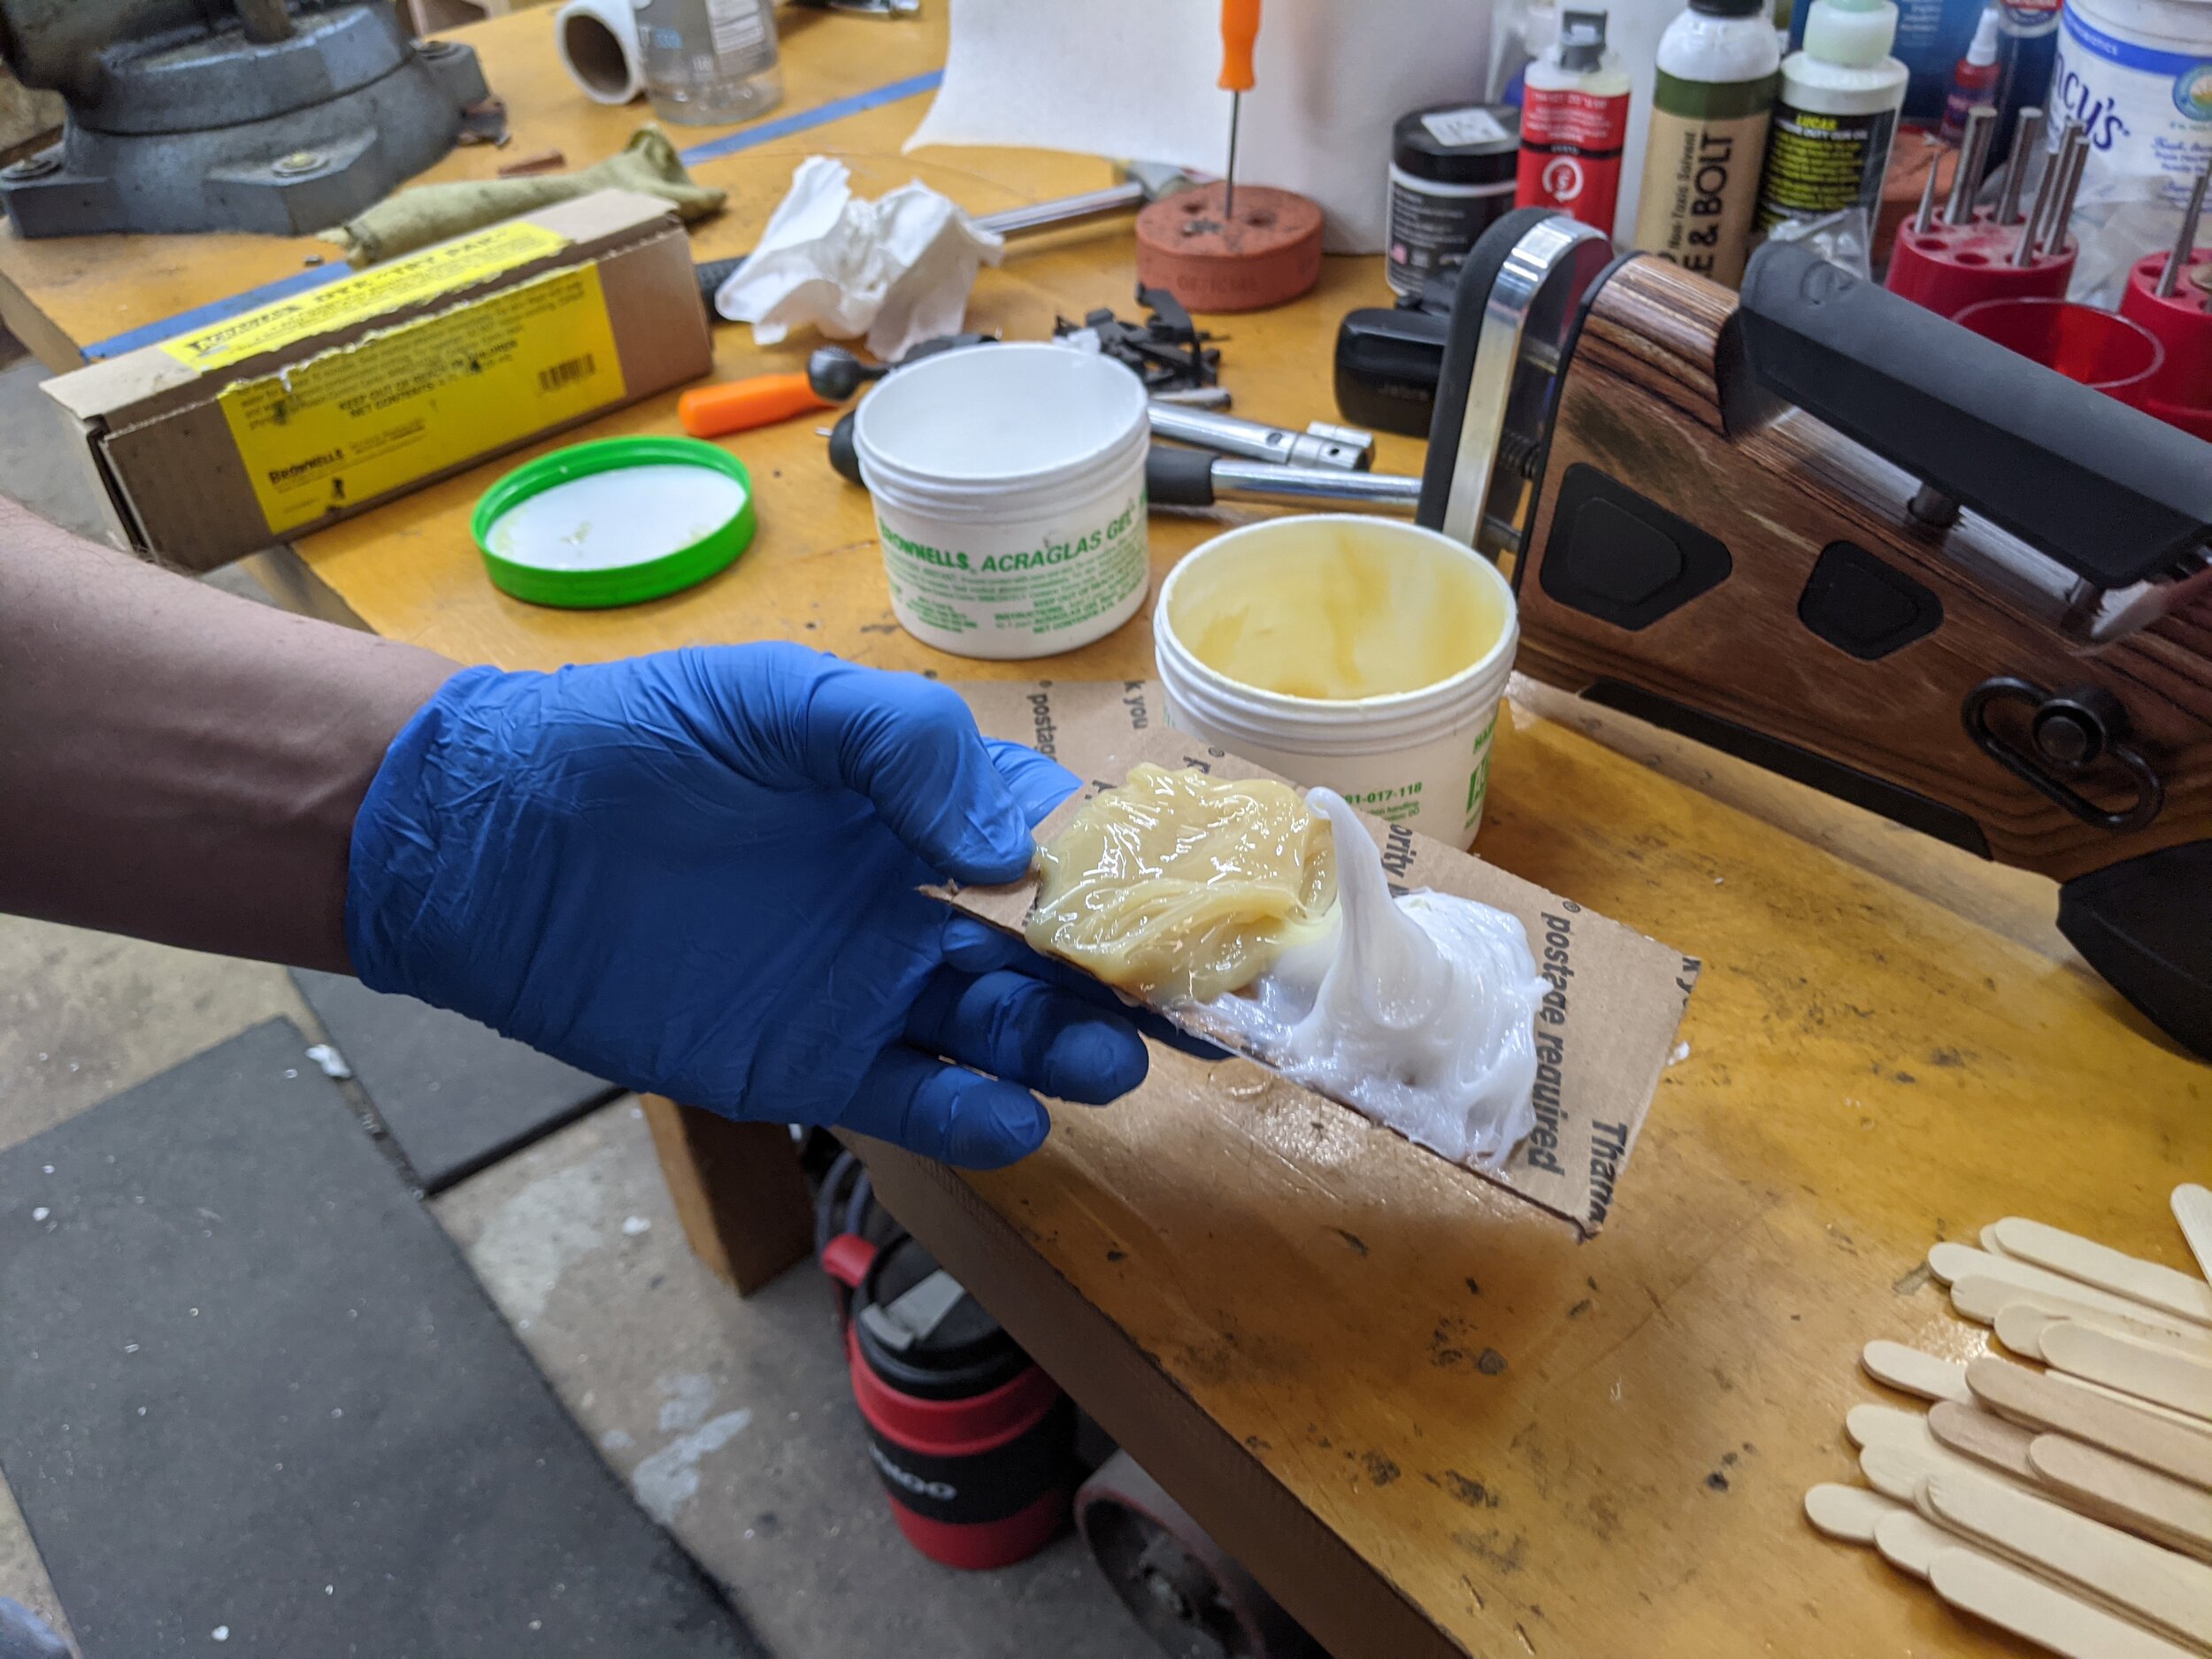
Now it’s time to prep the glass bedding epoxy. I always mix up more than I think I’ll need. This eliminates the chance that I’ll have to mix more in the middle of the bedding process.
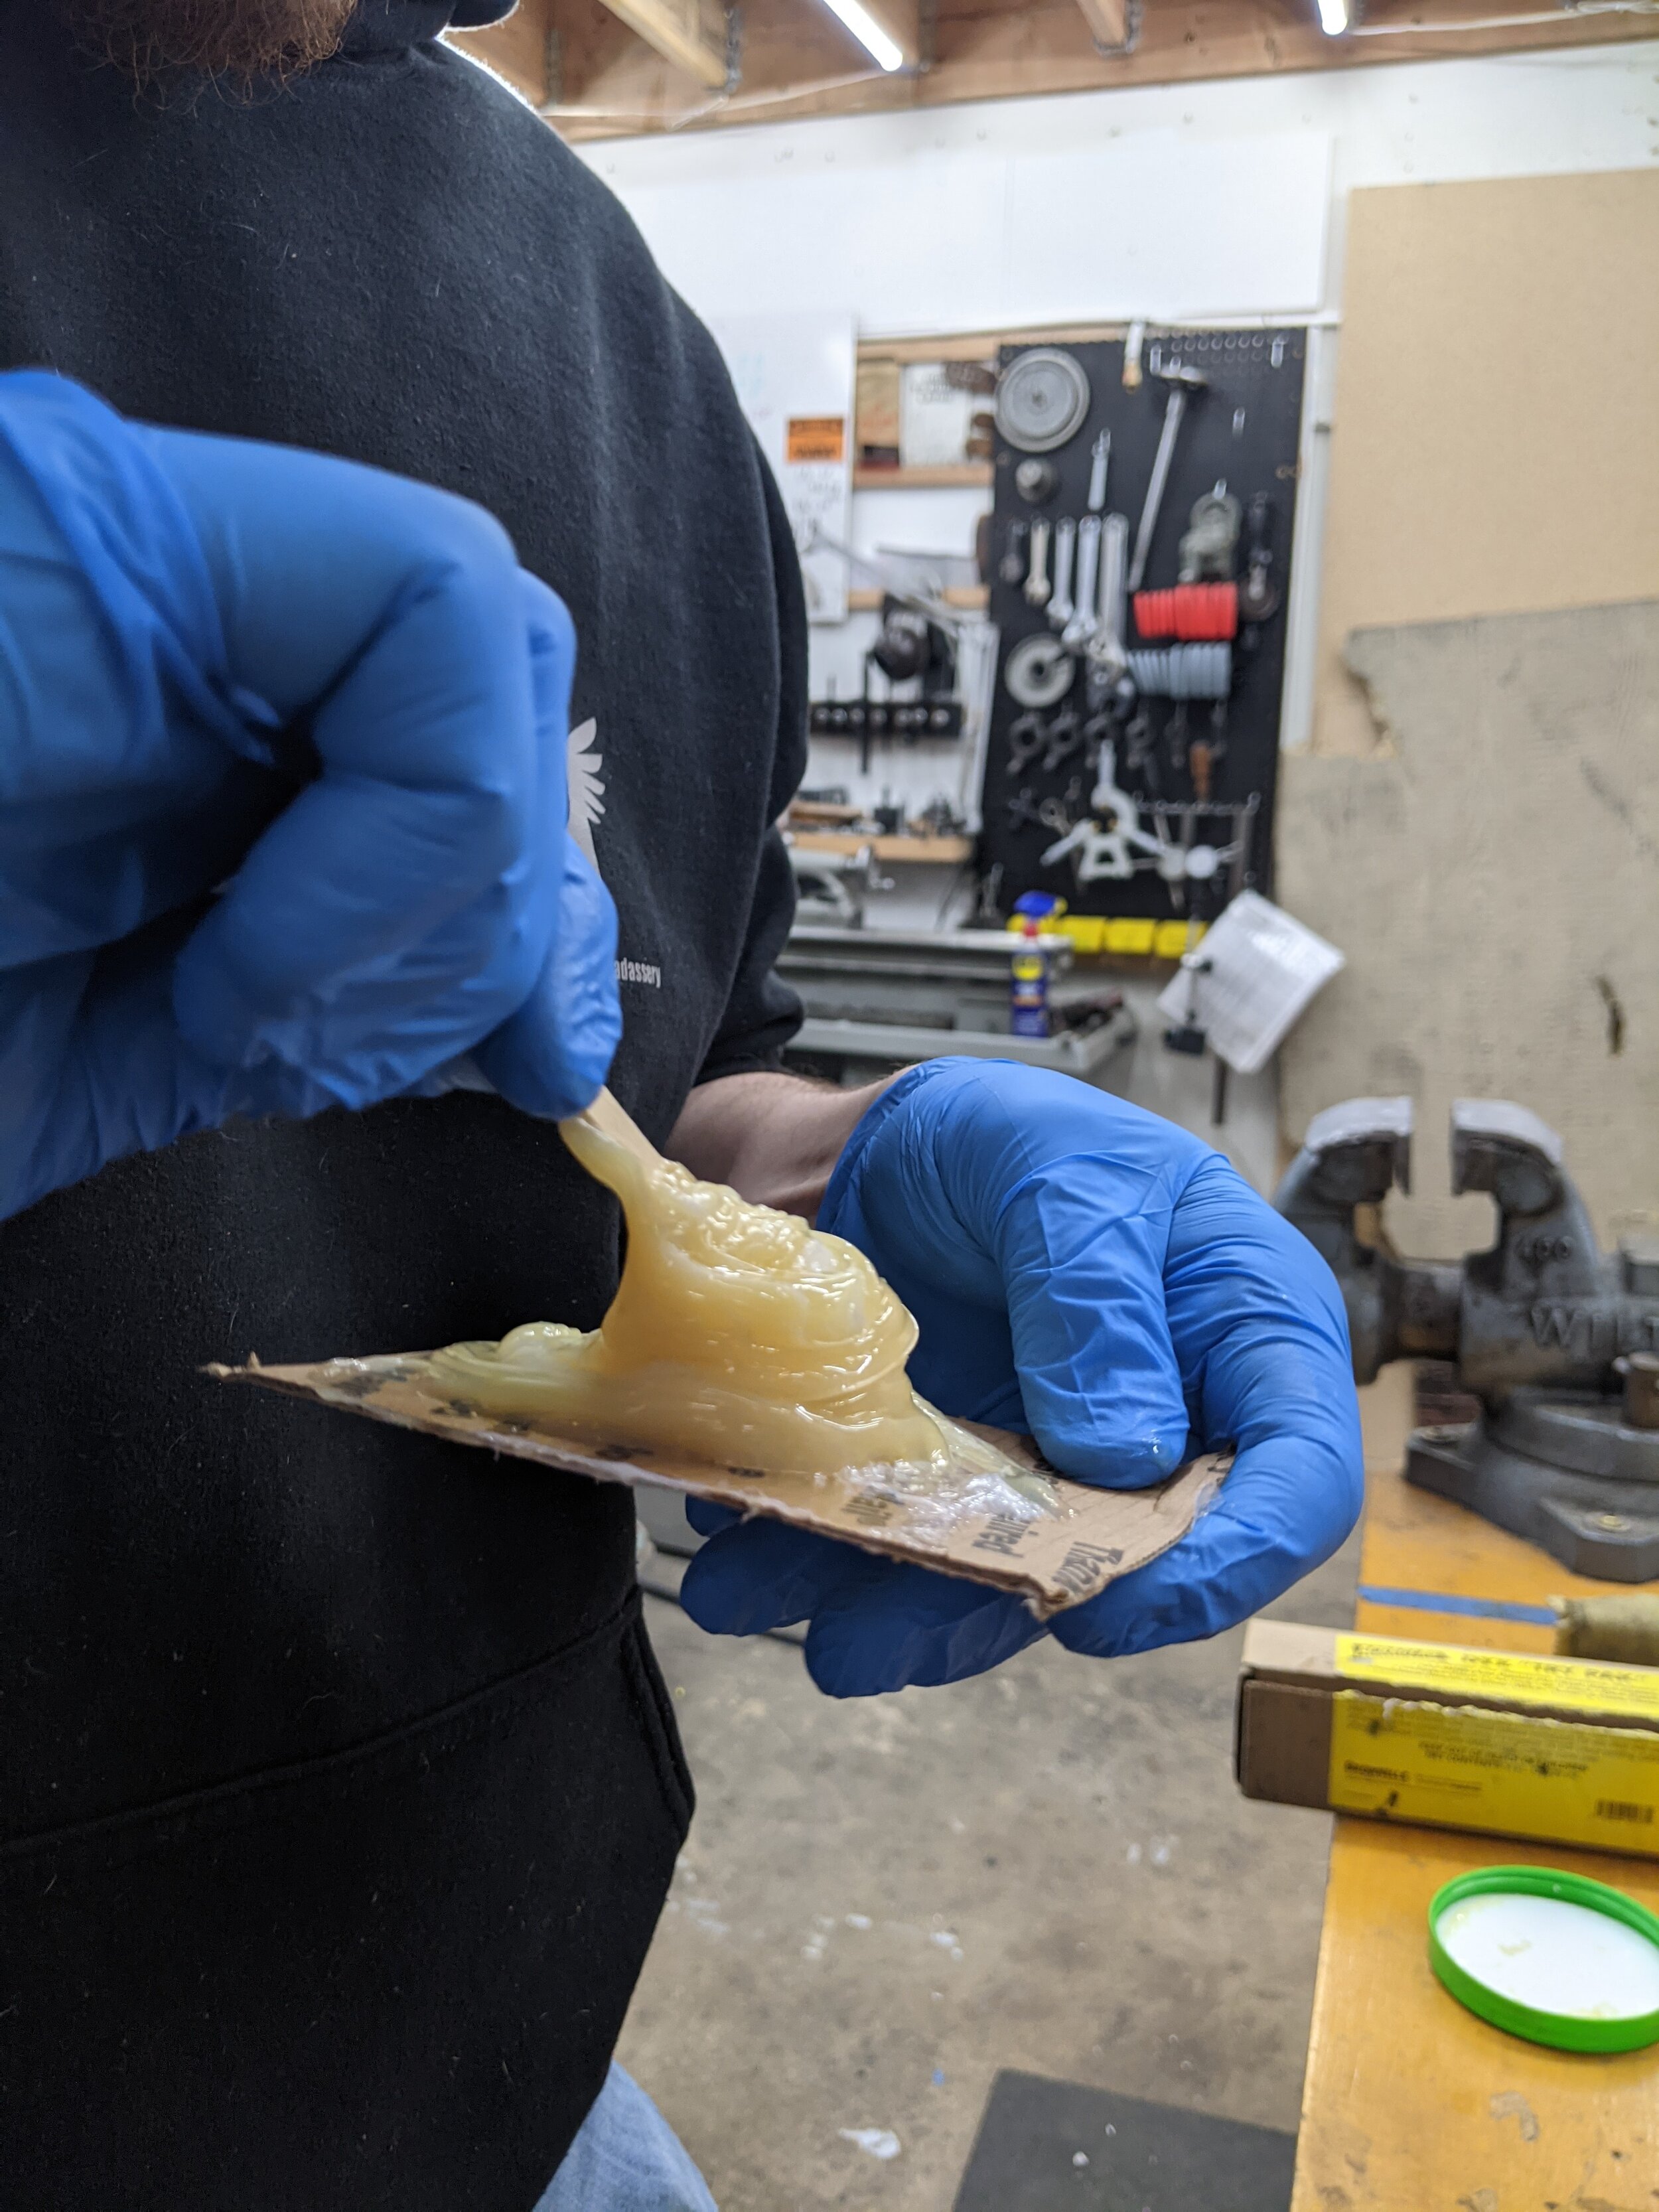
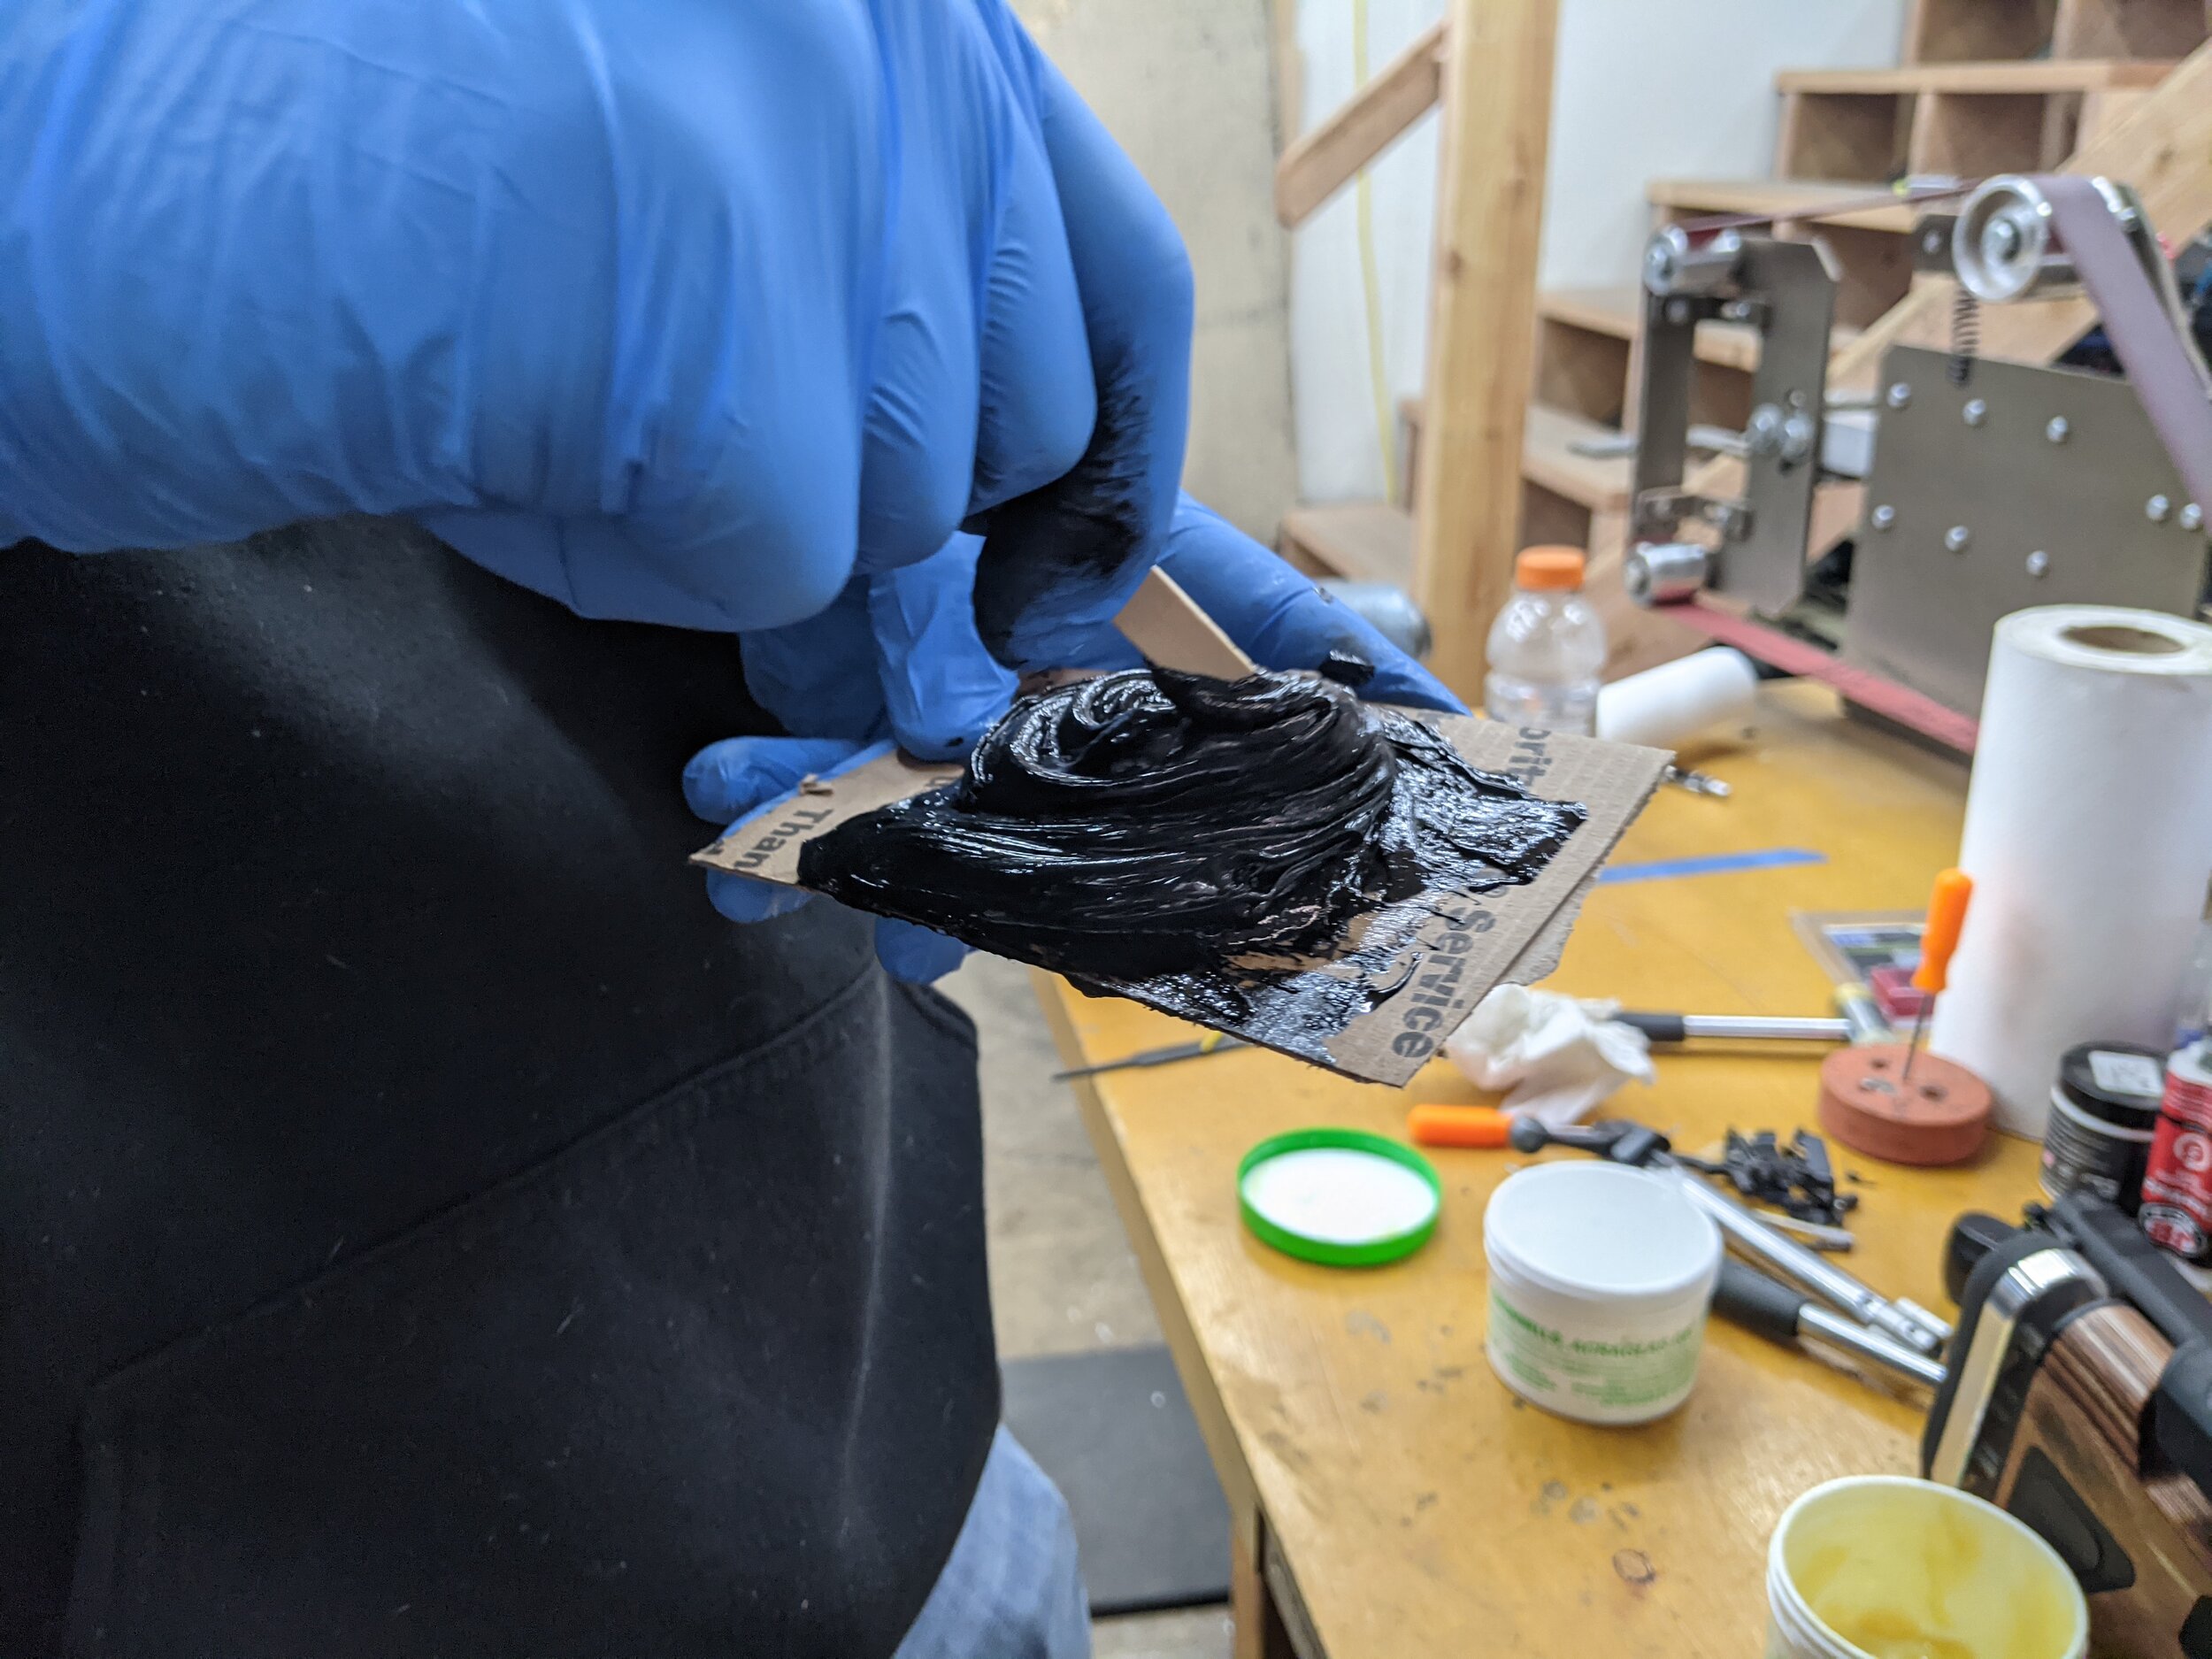
The two part compound I use is a Brownell’s product called Acraglas Gel. I mix it 50/50 until it’s all the same color and add black dye. It is important to switch both mixing sticks and mixing platters halfway through. This will eliminate the possibility of any uncured Acraglas. After mixing the compound until it’s consistent throughout, I throw my gloves away so I don’t get Acraglas on the stock.
Step 6

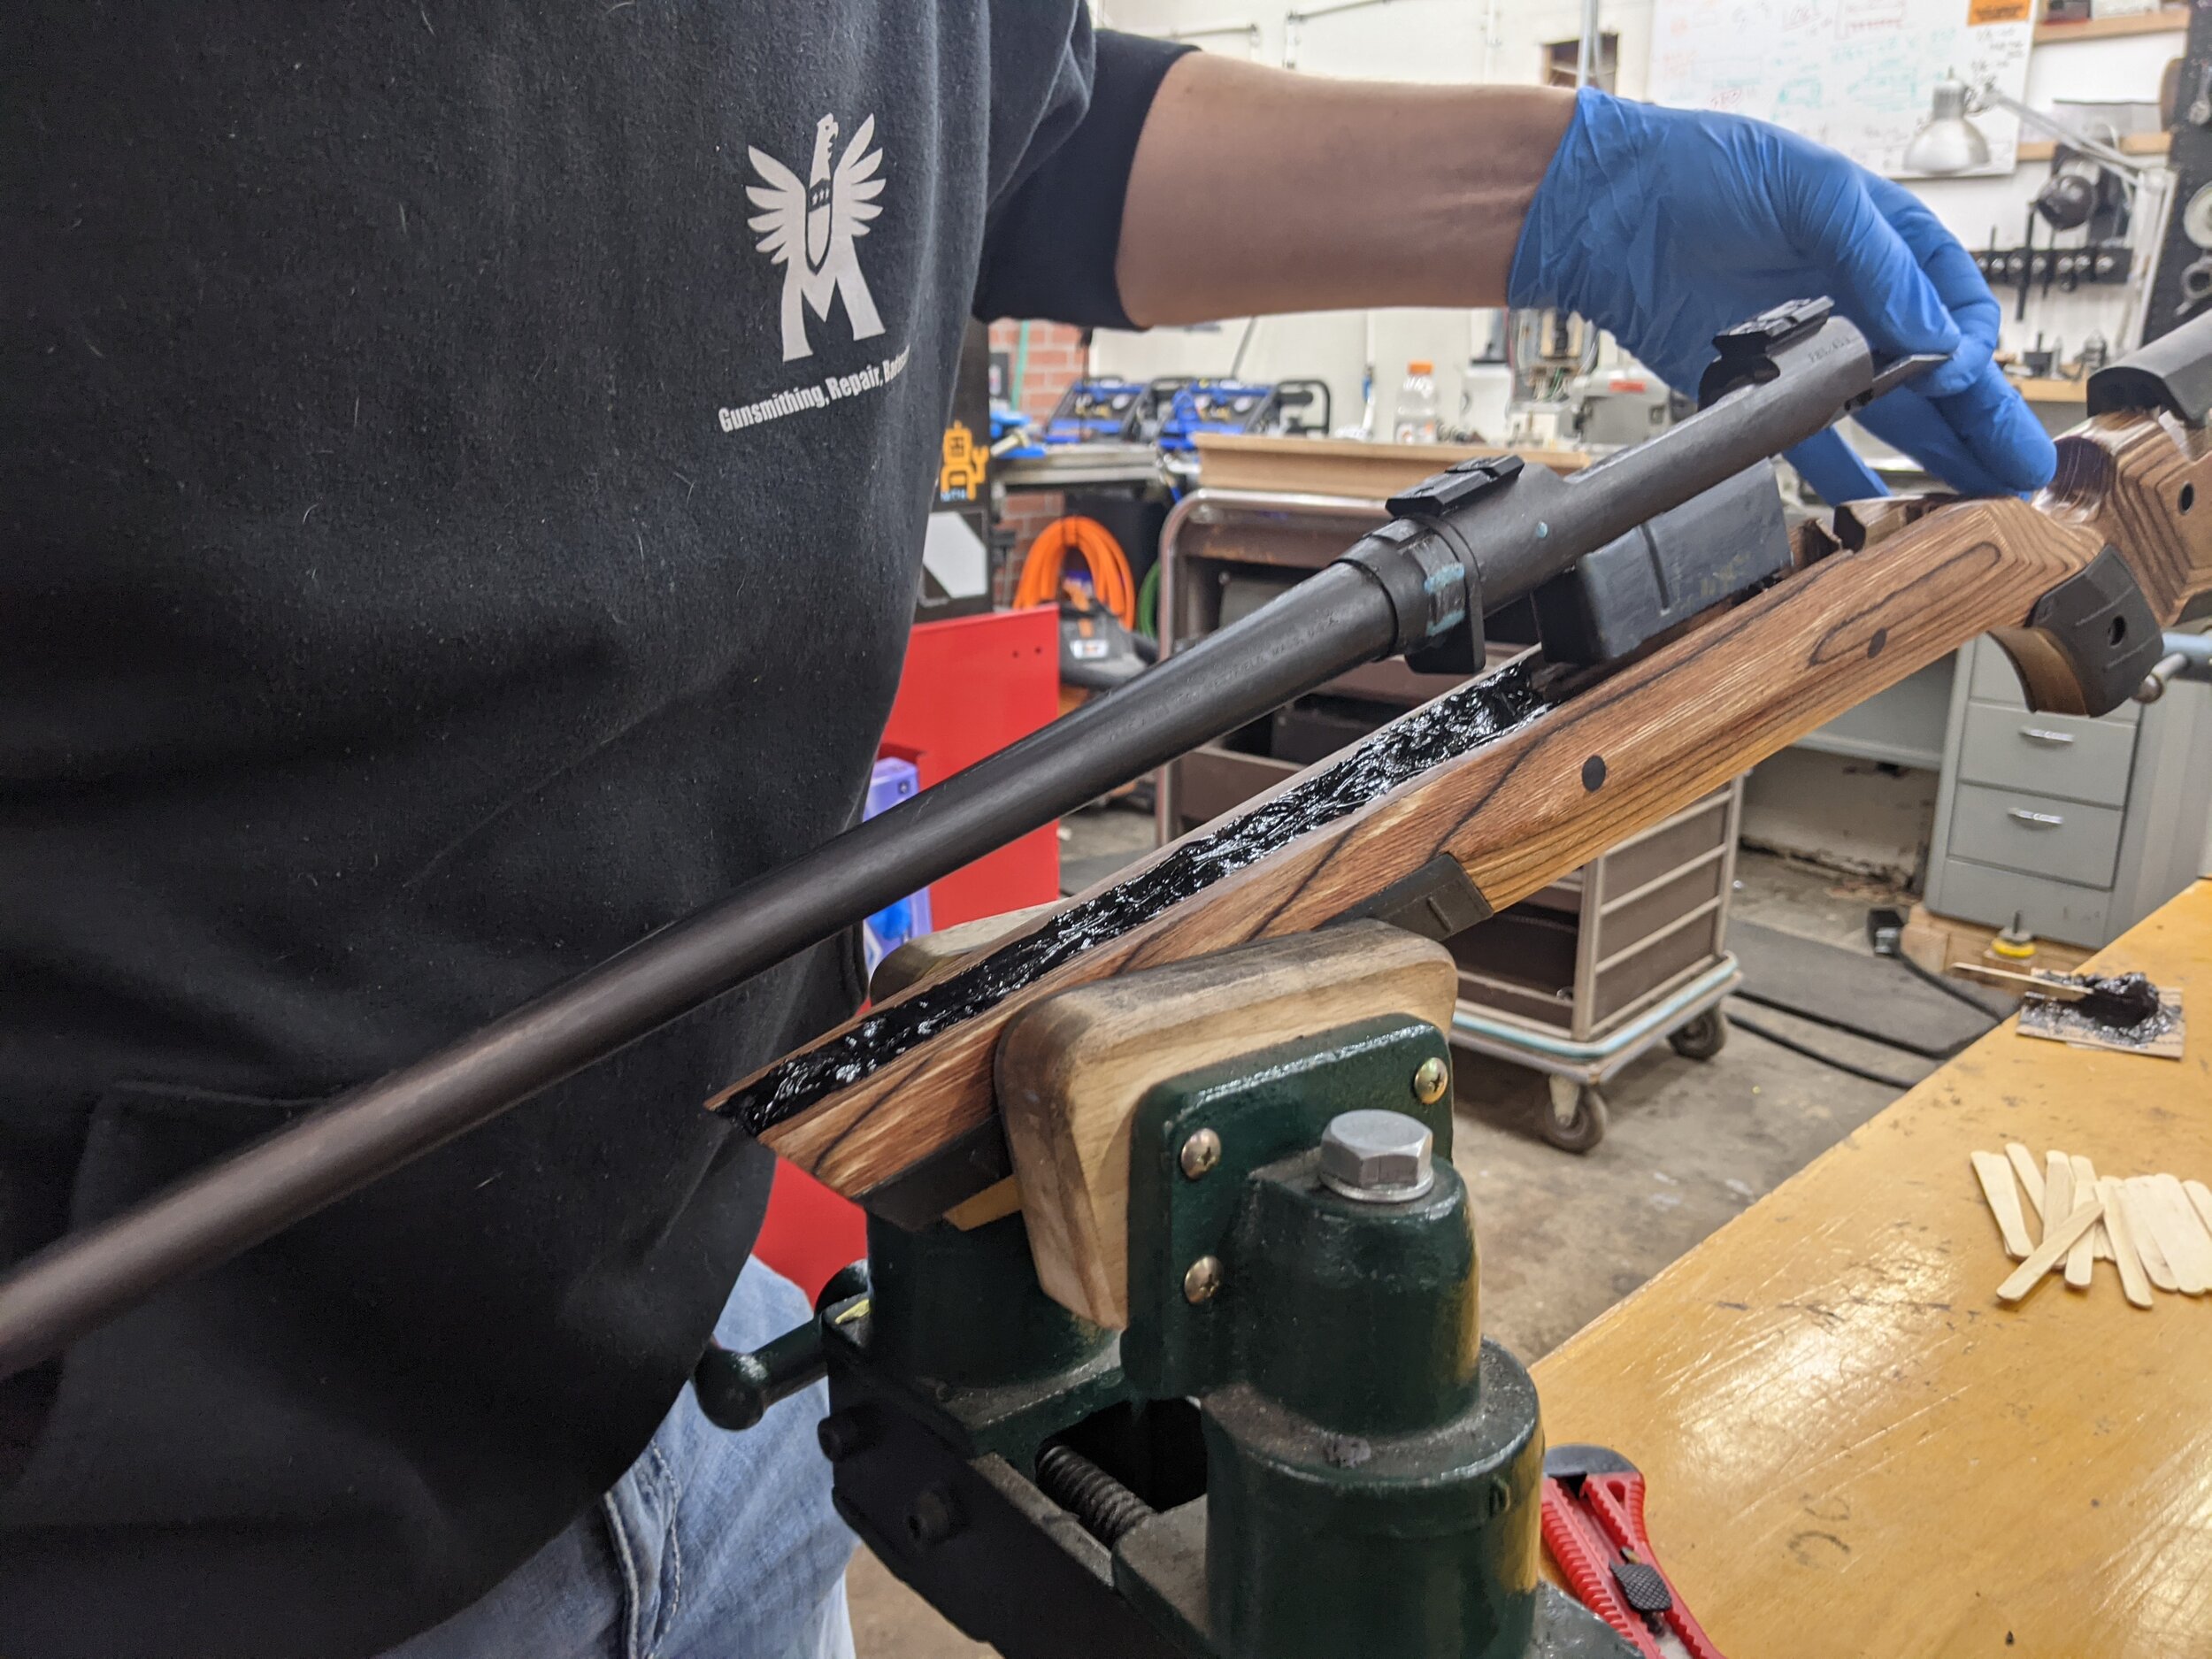
With a new set of gloves, I put the stock in the vice at an angle so I can access the action screws. Then, I begin to put Acraglas into the stock. It is important to fill all of the voids and make sure the gel “oozes” the entire length of action.
For customers who want full contact glass bedding, I fill the entire barrel channel with Acraglas.
Step 7
After all the gel is placed, I carefully set the action into place and slowly torque down the action screws.
Then, I level the stock in the vice—making sure to hold the stock at the back preventing any pressure on the glass bedding.
I begin removing some of the excess glass without wiping off paste wax. Again, some “ooze” is key for a finished product. But if there are areas with excess overflow, I remove it with isopropyl alcohol and paper towel.
Step 8
Let it dry for 24 hours!
Step 9
I remove the action and sand down the top of the stock. I also remove the sharp edges near the recoil lug to prevent it from scratching the action. If it’s a floating barrel glass bedding job, I remove the tape and clean up any lines.
Step 10
Finally, I use dummy rounds to ensure the gun loads and cycles properly. It’s important to make sure the gun still works after this massive surgery!
Next Up
We hope you enjoyed this week’s blog. Thank you for following along! New feats are posted every Monday at 9am PST. Comment with any gunsmithing content you want to see!
If you loved the services you saw today, check out our online store! You can start shopping by clicking here. Or drop us a message here. We look forward to meeting you and gunsmithing for you.
Please subscribe to our blog below and don’t forget to follow us on social media!