
Feat of the Week: Building Our Gun Vault

The Story
As the only full service gunsmith in the Eugene-Springfield area, we check in a lot of customer guns for gunsmithing and Cerakote services. Because we keep their guns on site, security is extremely important to our customers and to us. So, when we moved to our new shop location, I wanted to install a gun vault which would enhance our already thorough security measures. This week’s feat is the story of designing and building our own secure gun vault.
When I first began exploring our options for security, I considered buying several gun safes. But there were a few problems: I couldn’t find anything big enough for what we needed, it would be huge waste of space, and it’s super expensive.

Instead of keeping a bunch of safes in the shop, I thought it would be better to convert an entire room into a secure gun vault. While there are a few companies that sell room-sized vaults, they are really, really expensive. And, the steel wasn’t quite a thick as I wanted.
So, as I do with most things I don’t want to buy, I decided to design and build a gun vault myself.
The Design
I wanted to design something that perfectly fit our needs. So, when designing our new gun vault, I had a few considerations in mind. First, I wanted something that was movable. If we need to move shops again, I wanted to be able to take the vault with us. Just building a concrete room wouldn’t work for those purposes. Second, I wanted to be able to make the vault larger if need be. If we outgrow the vault, I don’t want to purchase gun safes to compensate or build an entirely new vault. Therefore, I wanted to create a design which would enable us to expand the size of the vault if necessary. Finally, given the previous two considerations, I wanted to design something that would be simple, relatively inexpensive to manufacture, and easy to take apart and put back together.
After working on a design in CAD, I came up with a great solution for all of our needs. I started by designing one vault panel. It was seven foot tall with bolt holes down each side. To make each panel movable and to ensure size customization, the panel’s width was one foot—again with bolts holes. Then, to get the corners to bolt in place, I designed a separate corner piece with bolt holes on each side matching the panels.

This design would enable us to build a vault which could be changed in size. The depth and height would always be seven feet, but the width would be changeable in increments of one foot. So, we could have a 4 ft x 7 ft or a 7 ft x 7 ft or a 10 ft x 7 ft vault room. Not only does this enable us to customize the size of the vault room, but it also allows us to expand one foot at a time if necessary.
The only thing I didn’t want to design was the vault door. So, I called every local locksmith to see if they had a used vault door because buying them new is expensive! Luckily, someone in town had an old bank vault door and frame which had been collecting dust in the back of their store for decades. We went to look at it. It was perfect—exactly what we were looking for! Because it hadn’t sold for so long, we got a great deal on it, and the locksmith serviced the lock for us.
Manufacturing
After finalizing the design in CAD, I began exploring manufacturing options. I got three quotes. One from a local source, one from China, and one from a manufacturer in the Midwest. The panels themselves would be cheapest if ordered from China, but the cost of shipping put it way out of our price range. While I would prefer to source locally, the manufacturer in Eugene cost significantly more than the one from the Midwest. So, I ordered our steel panels from the Midwest manufacturer—which is more local than China at least.
I commissioned enough panels and other materials to build a 7 ft x 10 ft vault room. In addition, I ordered extra panels for replacement and/or expansion. Each panel was made from ¼ inch thick steel. And while the manufacturer offered powder coating to prevent the steel from rusting, we decided to paint it ourselves. This would save us over $1,000 in production costs.

Once the manufacturing was complete, I had it shipped to a friend’s loading dock. And upon delivery, I rented a large Penske truck to transfer the panels to our shop. We unloaded three pallets of steel panels—3,000 pounds—into our shop.
The panels looked awesome, but when I measured a few of them, I noticed they weren’t all up to spec. Some were even ¼ inch too wide. This might not seem like a big deal. And for an individual panel, it’s not. But over ten feet, it would surely compound and cause problems during assembly.
Test Assembly
Before moving the vault into its final resting place, we needed to do a test assembly in a larger area. I wanted to do this for a few reasons. First, to make sure it all went together properly—especially after noticing that measurement issue. Second, assembling it in a larger open space would give us more room to move around and problem solve without spatial constraints. And lastly, it allowed us to do the final fabrication and painting of the vault while it was assembled.

We began assembling our new gun vault one panel at a time. The perimeter panels and the corner pieces went up quickly and easily! Just like I had envisioned.
In preparation to put the ceiling up, we made sure the vault was square. We had to move the walls of the perimeter a few inches using some pry bars.
Knowing that each of the vault panels wasn’t exactly the same width, I anticipated that getting the ceiling in and bolted in would be slightly more difficult than I had designed. But we were ready to take on the challenge.
It took three people to put each panel up. Two to hold the panel in place while the third bolted them in. The first few weren’t too difficult to get into place, but as we progressed, each panel became more challenging.
To help with this problem, I made a scrap piece of round stock into an alignment tool. I went to the lathe and quickly created a tapered point. It was super useful in aligning the holes between two panels so we could bolt them together. We wouldn’t have been able to finish the assembly without it.

Fabrication
With the test assemble complete, I began securing the corner pieces in place. Because each corner has exposed bolts or nuts, anyone with a wrench could come by and unbolt them. This is obviously a huge security risk. So with the vault fully assembled in the large shop space, I welded the nuts or bolts to the corner piece.
After securing the corners, I began fabricating the frame for the vault door. Much to my relief, there wasn’t much work to do. The frame was almost as tall as our vault so I just needed to cut a few pieces of steel and weld them into place. I cut down some extra corner pieces and welded them onto the door frame. This allowed us to bolt the frame to the adjacent panel.
Because we had skipped the powder coating on the steel panels to save money, we had to brush on Rust-Oleum to prevent them from rusting. This took several coats and tons of hours. It is probably the only thing I would do differently next time. While we saved $1,000, we spent a lot of man hours painting the vault. If we had to do this again (which I hope we don’t have to), I would get each panel powder coated.
Once all of the fabrication and painting was finished, we disassembled the vault and began prepping for reassembly in its final resting place.
Final Assembly
We prepped it’s new location and began, once again, assembling the vault one panel at a time. We followed the same process as the test assembly: perimeter assembly, square it up, install the ceiling panels, and install door frame and vault door.
After struggling to get the last few panels to align, we completed the final assembly and admired our work. This thing is awesome. An entire room built from steel panels! A fortress for our customers’ gun with ample storage space.
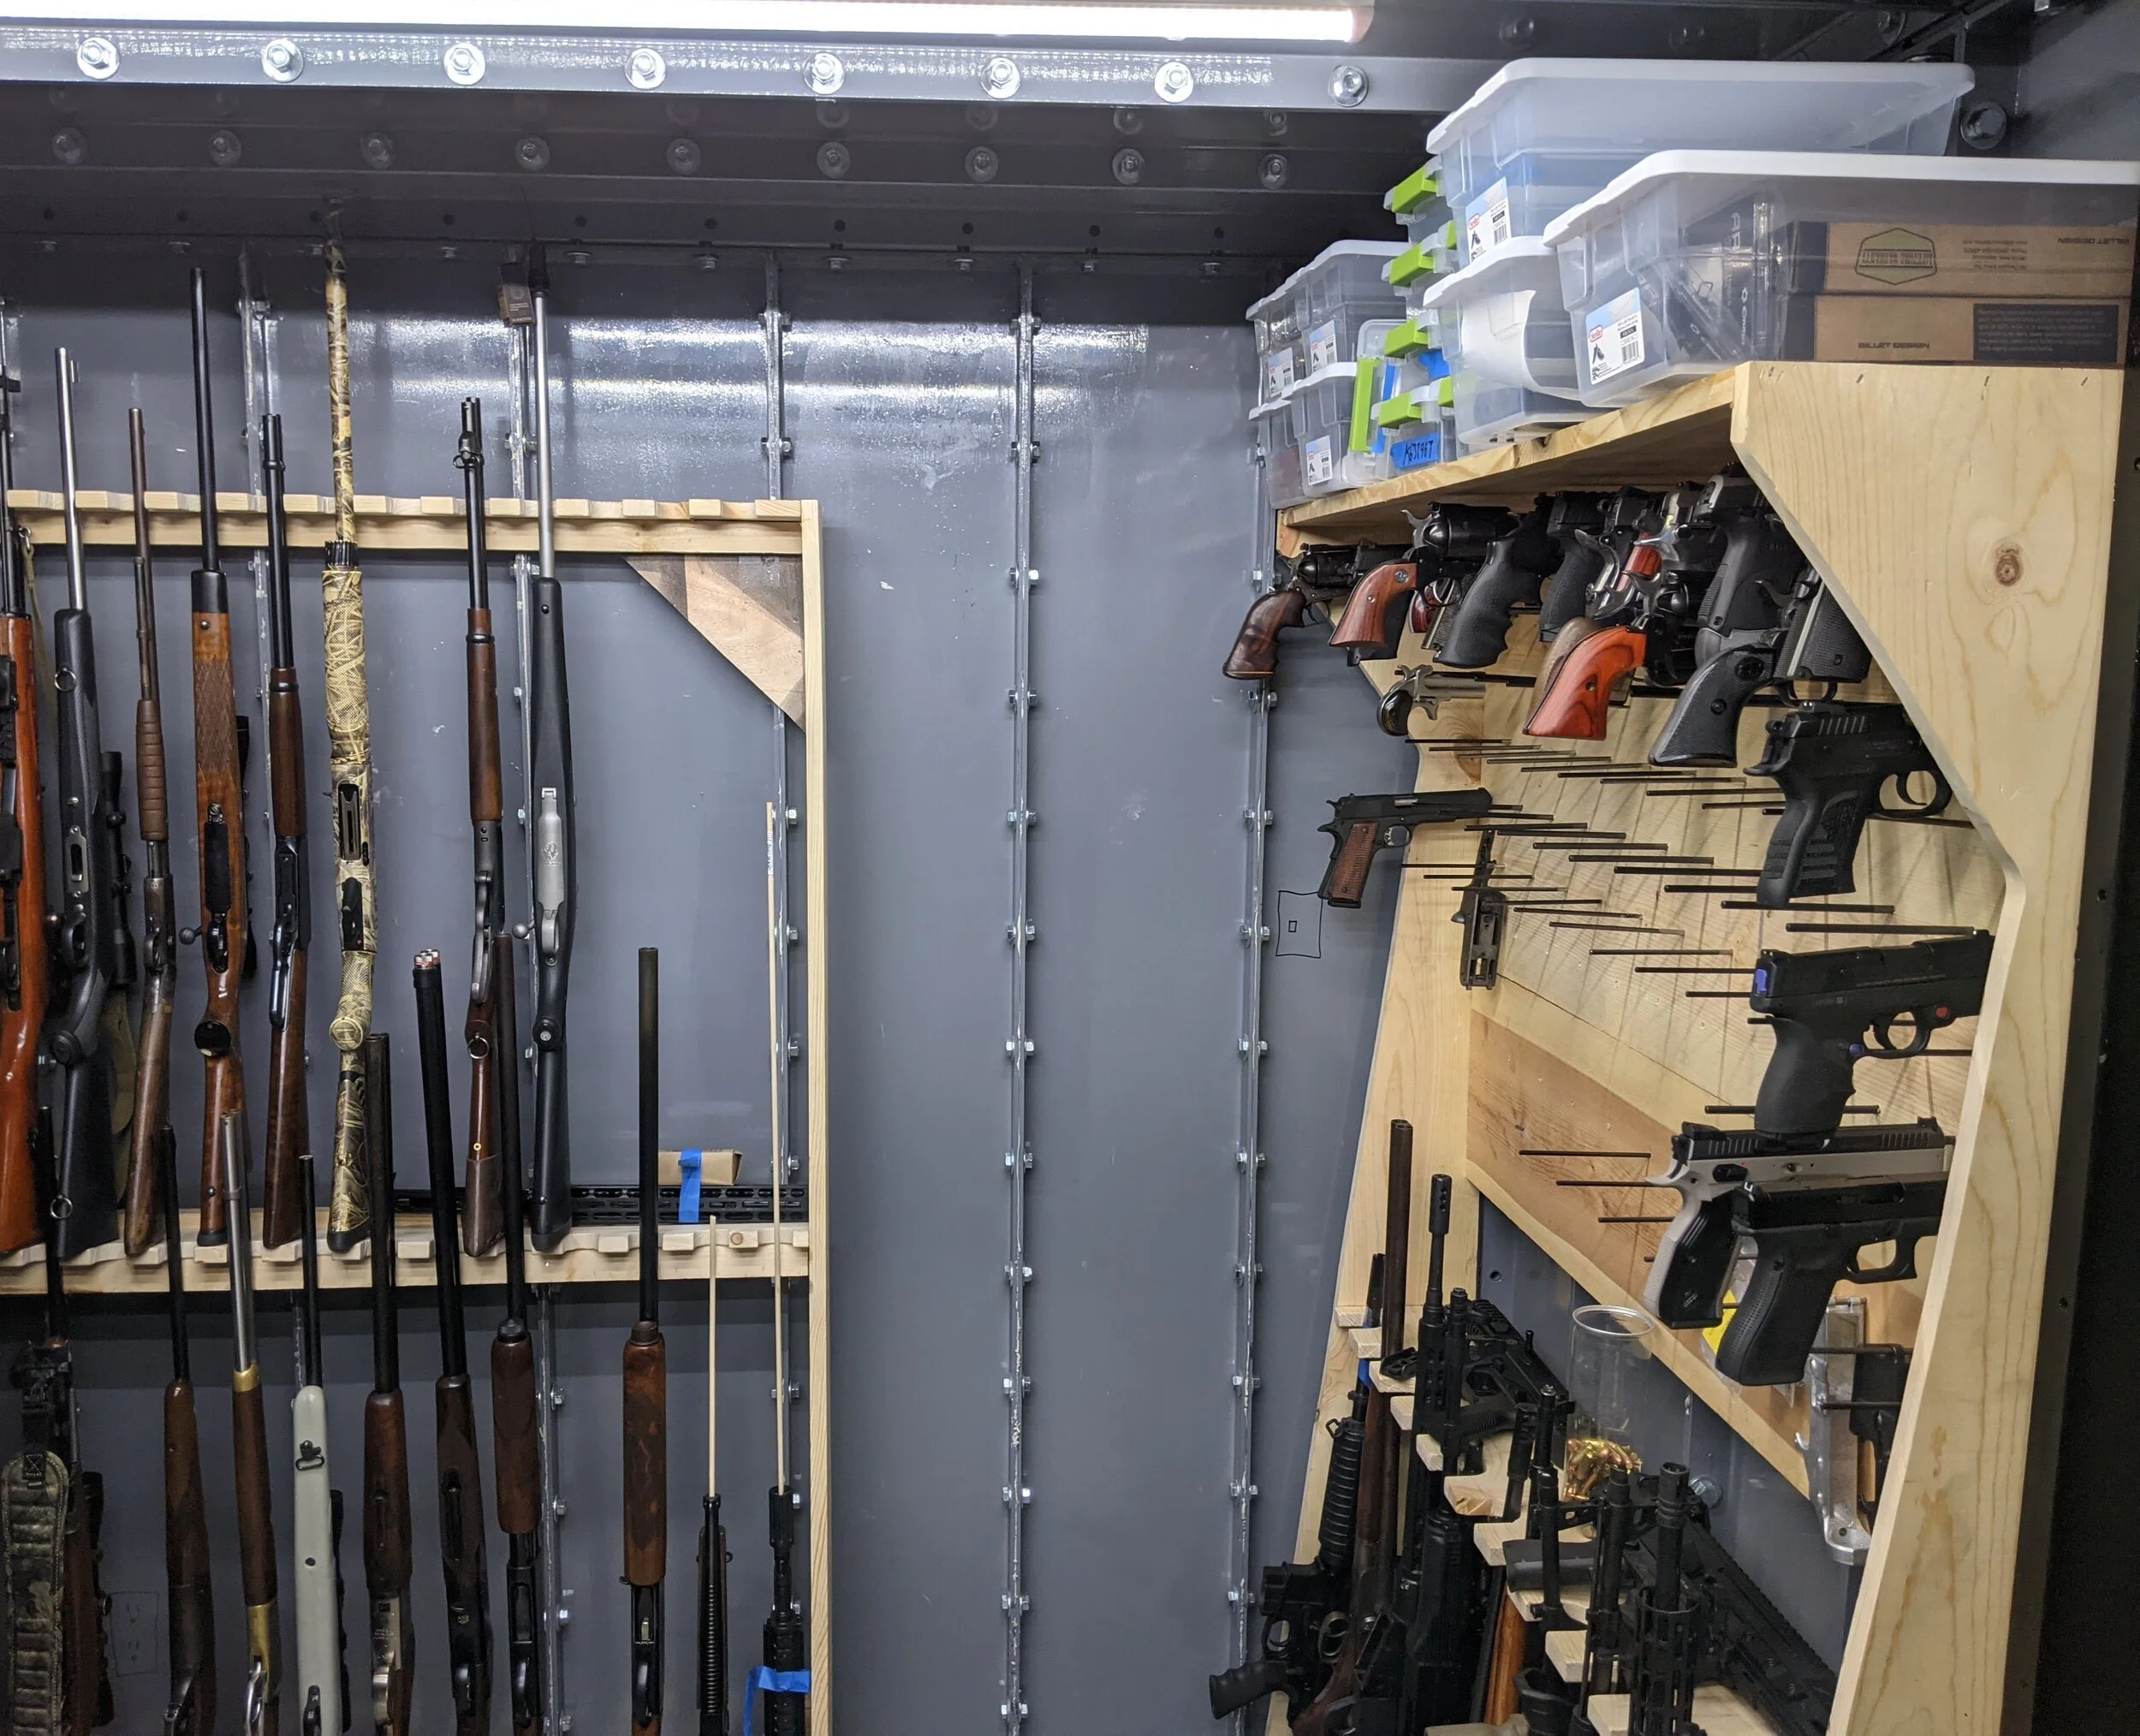
To finish it off, I installed lights and a heater to control the temperature of the room. We also built three gun racks—again making each one ourselves.
Overall, this is definitely one of my favorite projects. I got to design and build my own secure gun vault. And I couldn’t have been happier with the results. It’s way better (and cheaper) than anything we would’ve purchased.
Next Up
We hope you enjoyed this week’s blog. Thank you for following along! New feats are posted every Monday at 9am PST. Comment with any gunsmithing content you want to see!
Please subscribe to our blog below and don’t forget to follow us on social media!