
CZ P-09 Complete Reassembly
Here are a few reassembly tips for the CZ P-09:
If you are working with a tan or green frame, it’s going to get dirty as you begin to reassemble the gun. The dirt, grime, oil, and grease from the internal parts will get on your hands and dirty up the outside of the gun. When you’re finished with the reassembly, use Simple Green on a paper towel to clean it off.
In the video, we installed a RMR and both the front and rear sights. These steps aren’t shared below, but you can watch the video for details. Use the plastic side of your hammer when installing the sights.
Because we are working with a plastic frame, it’s best to start most pins with the plastic side of the hammer. This prevents any deformations which could ruin your frame.
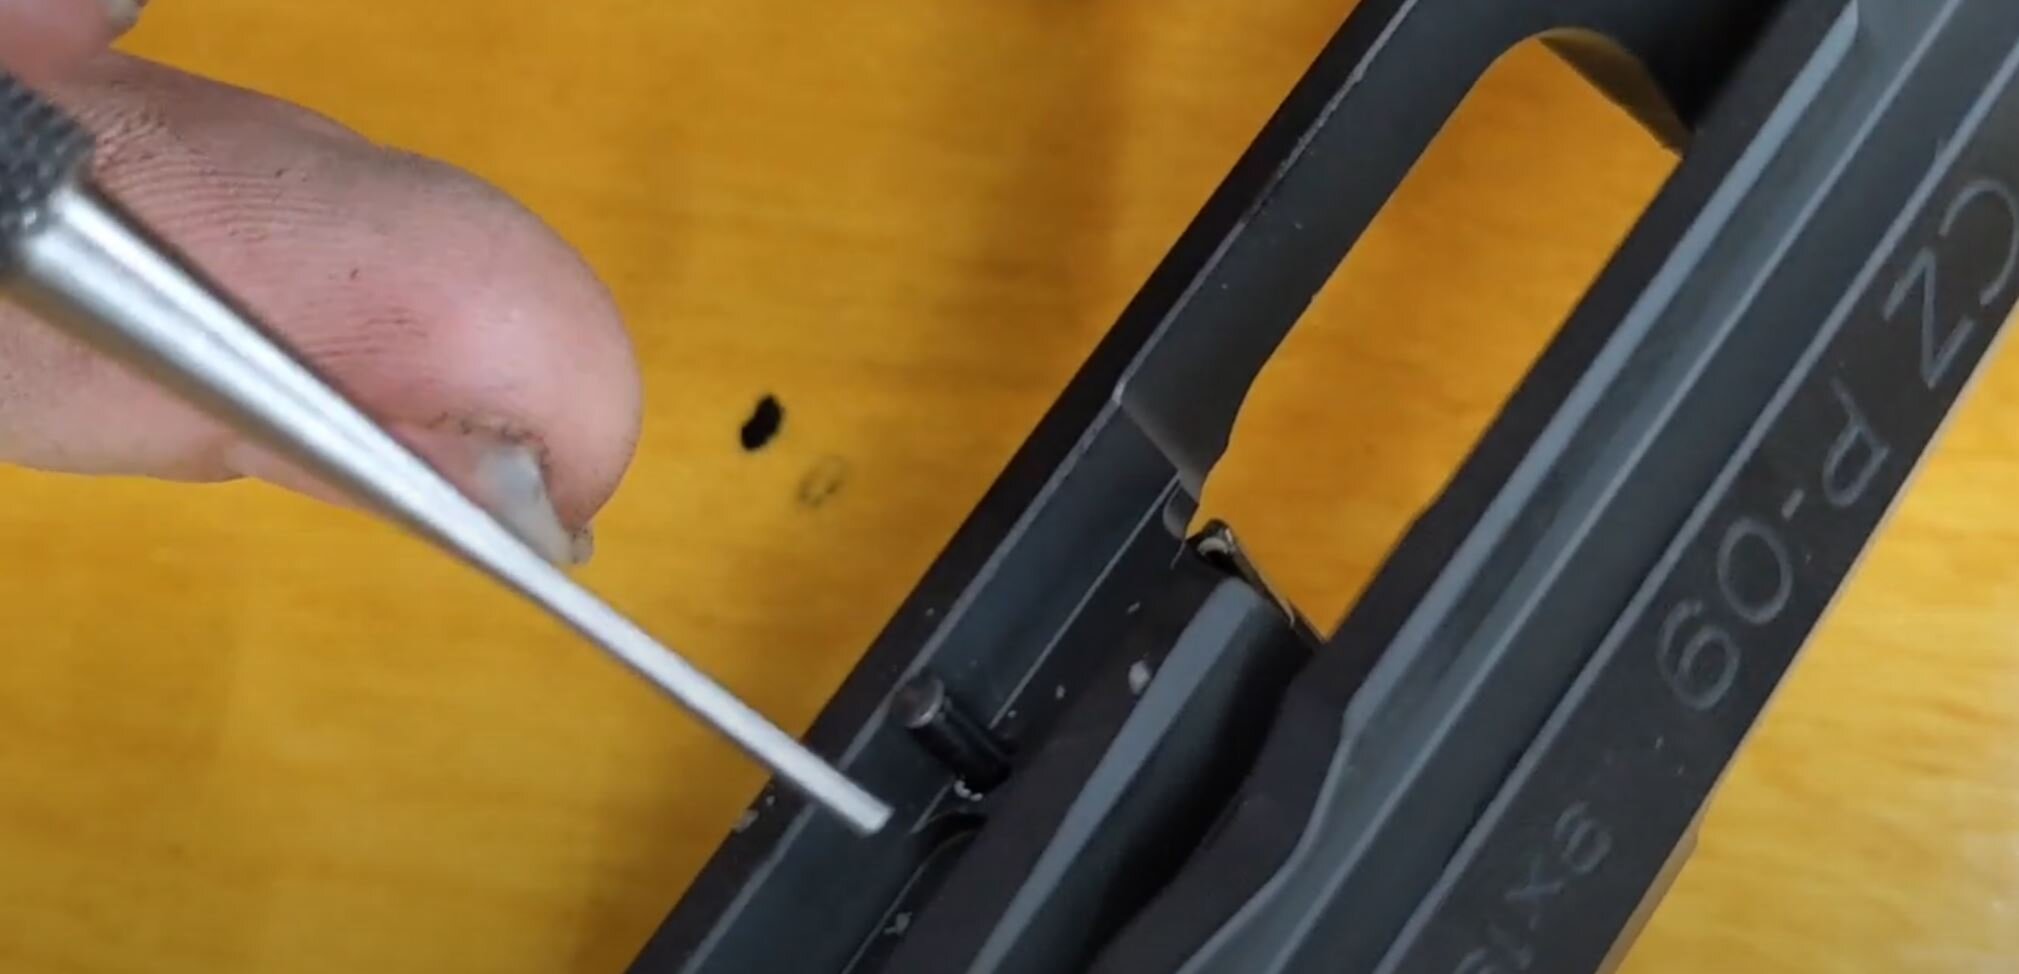
Most of the pins on this gun need to be centered in the frame. Use an oversized punch to start the pins and then finish them off with the correct size punch.
Before getting started, make sure you have the following tools:
Punch Set
Nylon/Brass Hammer
Bench Blocks/Hockey Pucks with Drilled Hole
Needle Nose Pliers
Plastic Tip Aluminum Punch
* Disclaimer: I don’t know the name of every part on this gun so if you need a reference please use this parts diagram: https://www.gunpartscorp.com/gun-manufacturer/cz/auto-pistols-cz/75-series-cz/parts-list-cz-75
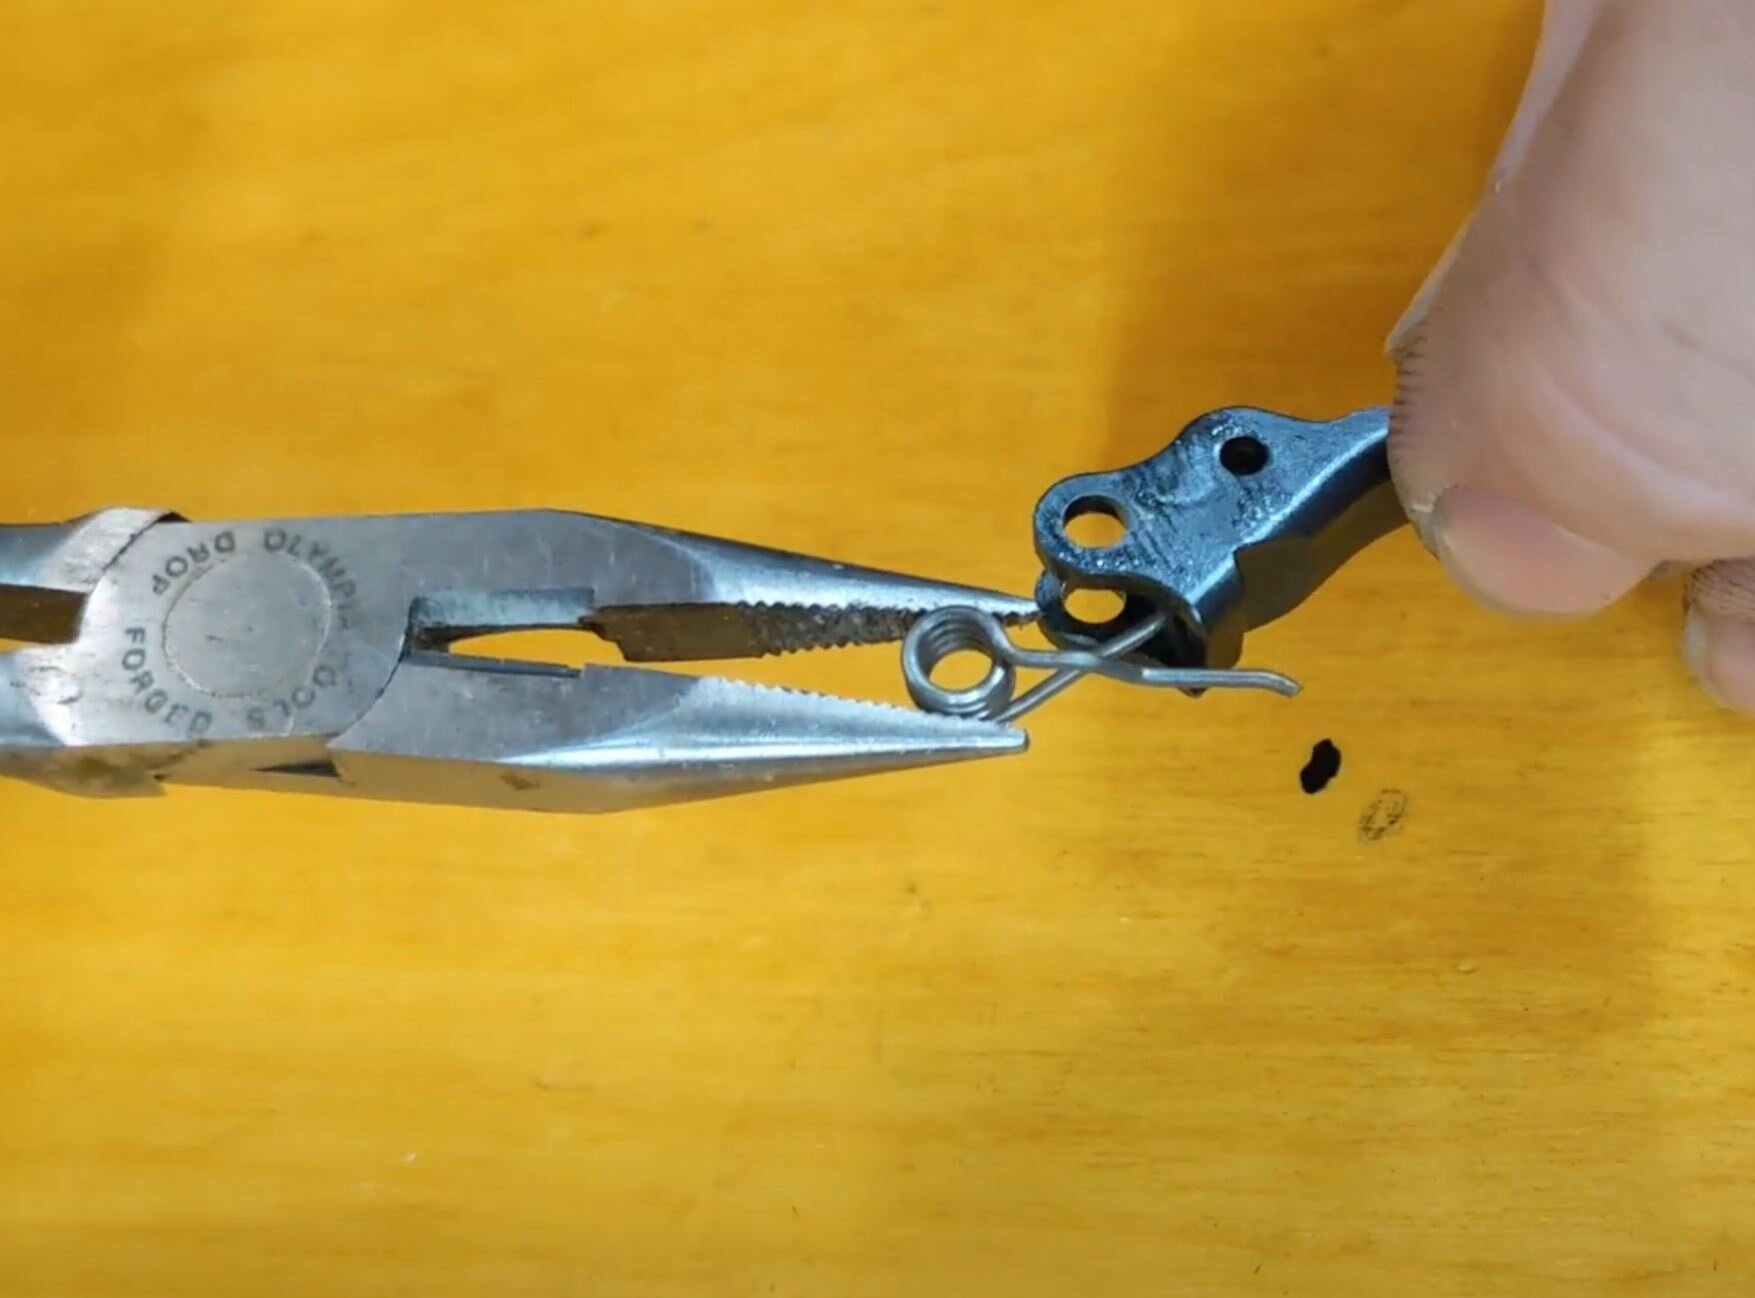
Step 1: Magazine Release Reassembly
Take the magazine release and its spring and plunger—put the spring into the magazine release first and then put the plunger in. Push the plunger in with a punch.
Put the magazine release into the frame. This is an ambidextrous mag release so be sure to put it in on the proper side. For right handed people, the button goes on the left side of the gun.
The retaining pin has two sides with notches. Slip the larger notch down into the hole in the center of the frame. The smaller notch will protrude.
While pressing down on the retaining pin, use a push in the plunger in magazine release to insert the pin. Once it starts, you can push it down in. The pin should end up being compact and only protruding slightly.
Make sure the magazine release button functions.

Step 1.4 Magazine release retaining pin in the final position
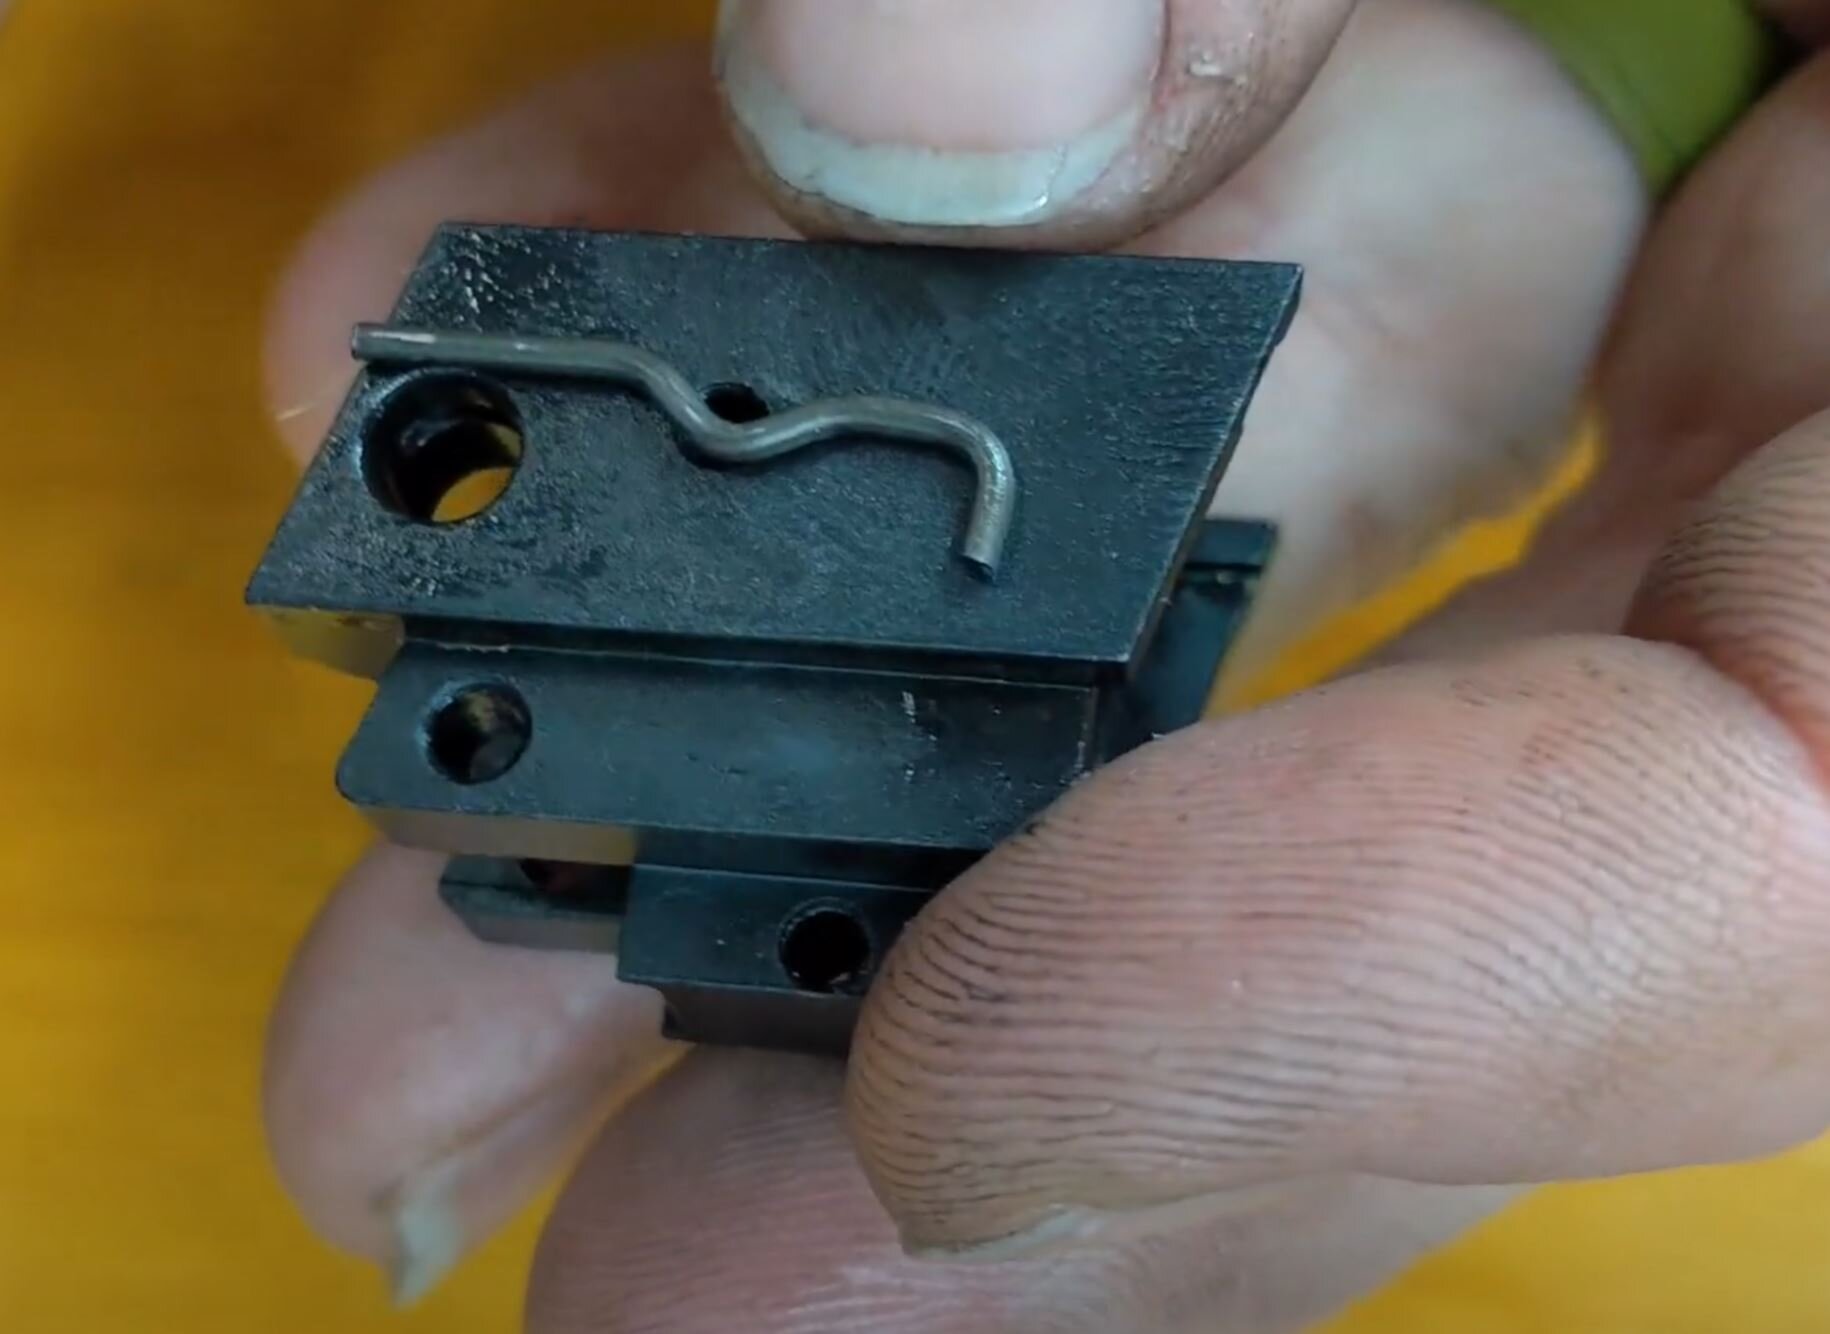
Step 2: Metal Housing Reassembly
Insert the detent spring into the front metal housing. Slide the front leg into the slot on the side of the housing.
The beveled end of the pin should slip into the side of the metal housing. Tap it into place with a punch.
If the detent spring is properly in place, you should be able to see it through the hole in the front metal housing.
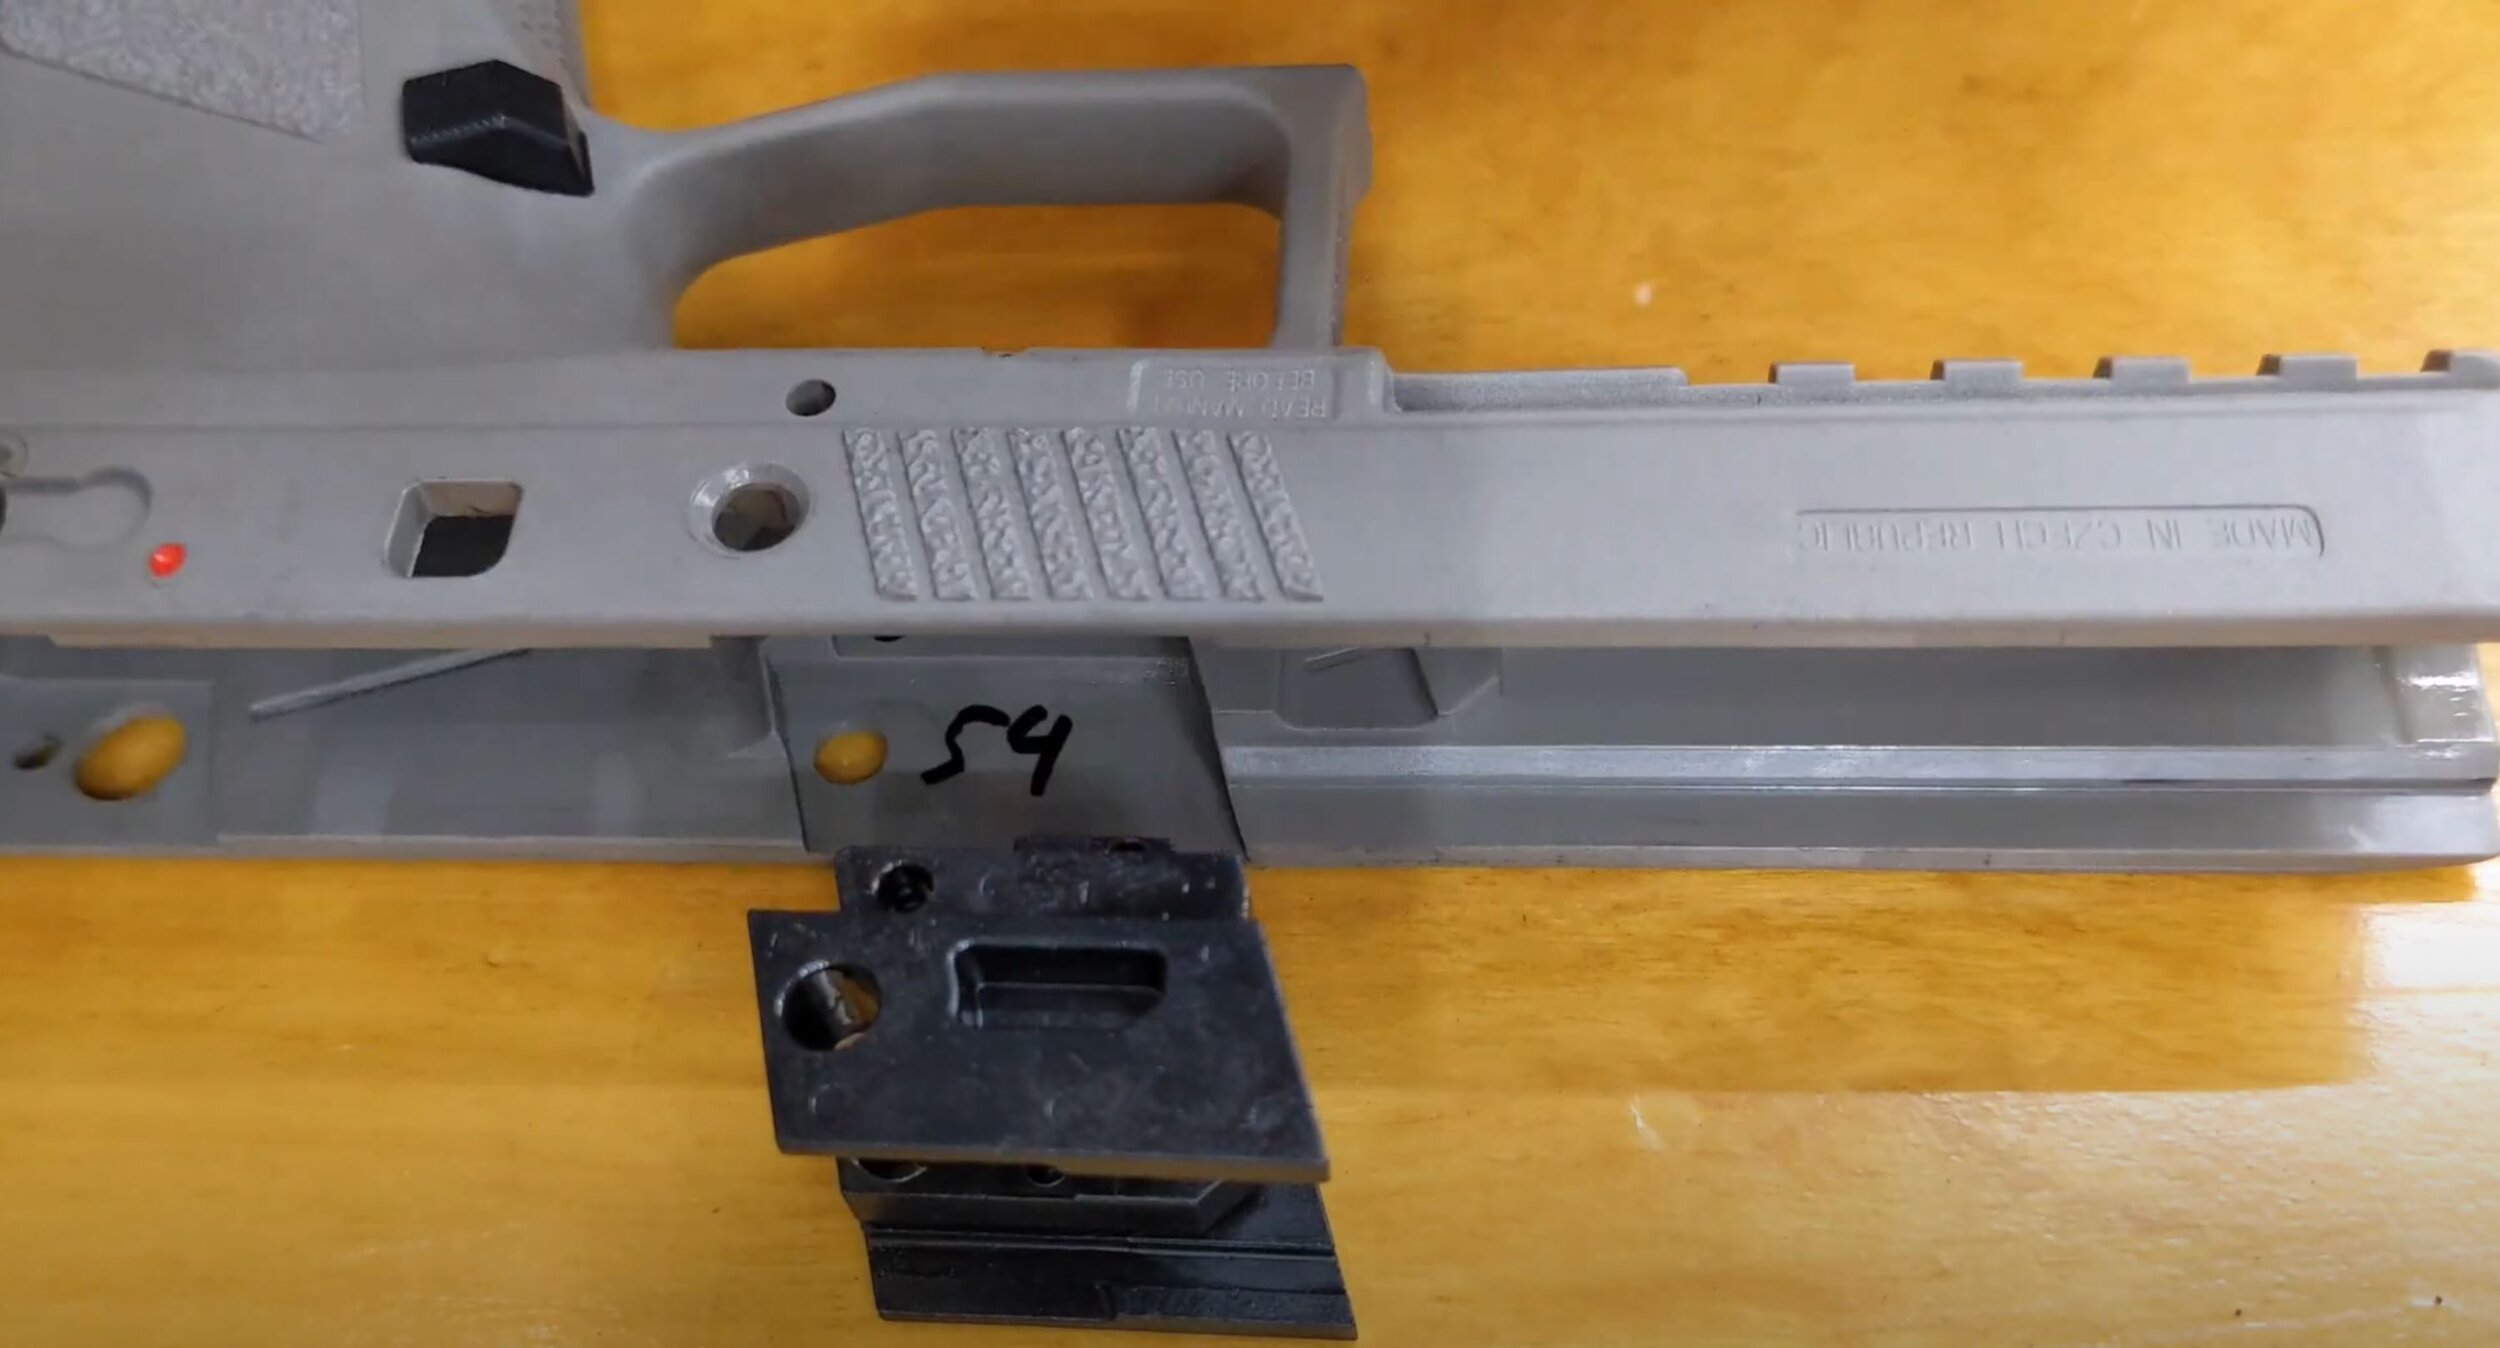
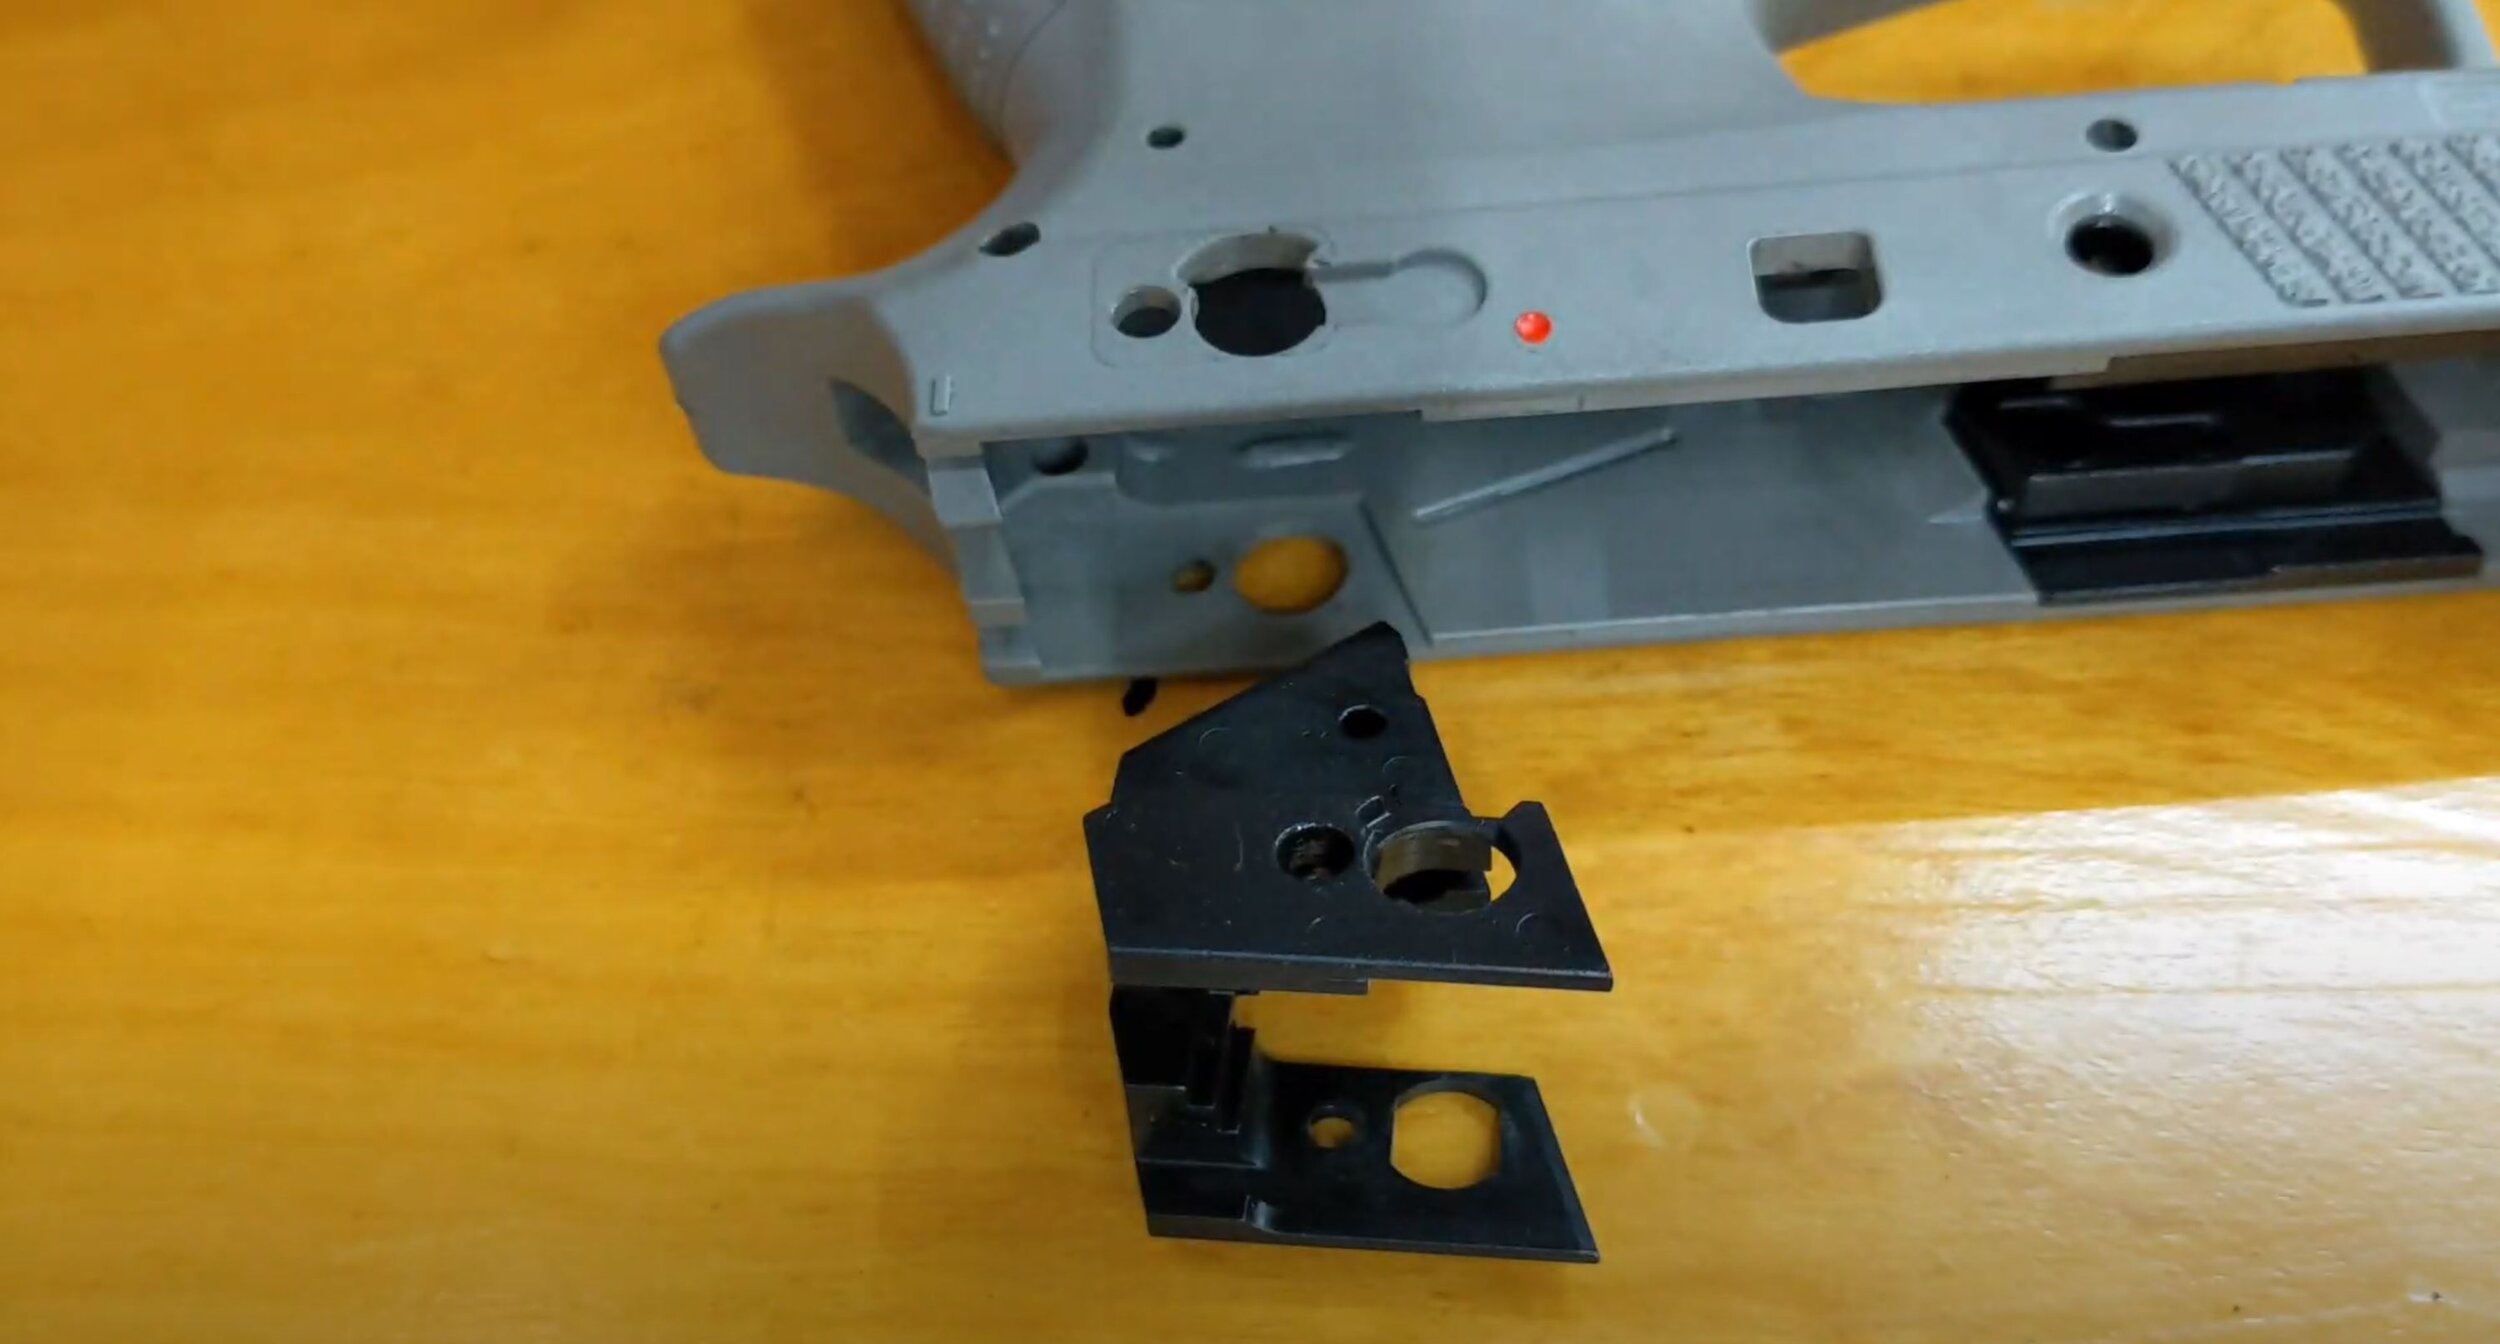
Insert the front and rear metal housings into the frame.
Tap the front roll pin (it’s the short one) in with a hammer. Start with the plastic side so you don’t dent the roll pin with the steel or brass side. If you deform the roll pins, it could ruin the plastic of the frame. Make sure it’s centered in the frame so it’s even on both sides.
Tap the rear roll pin in (it’s the longer and skinny one) in with a hammer.
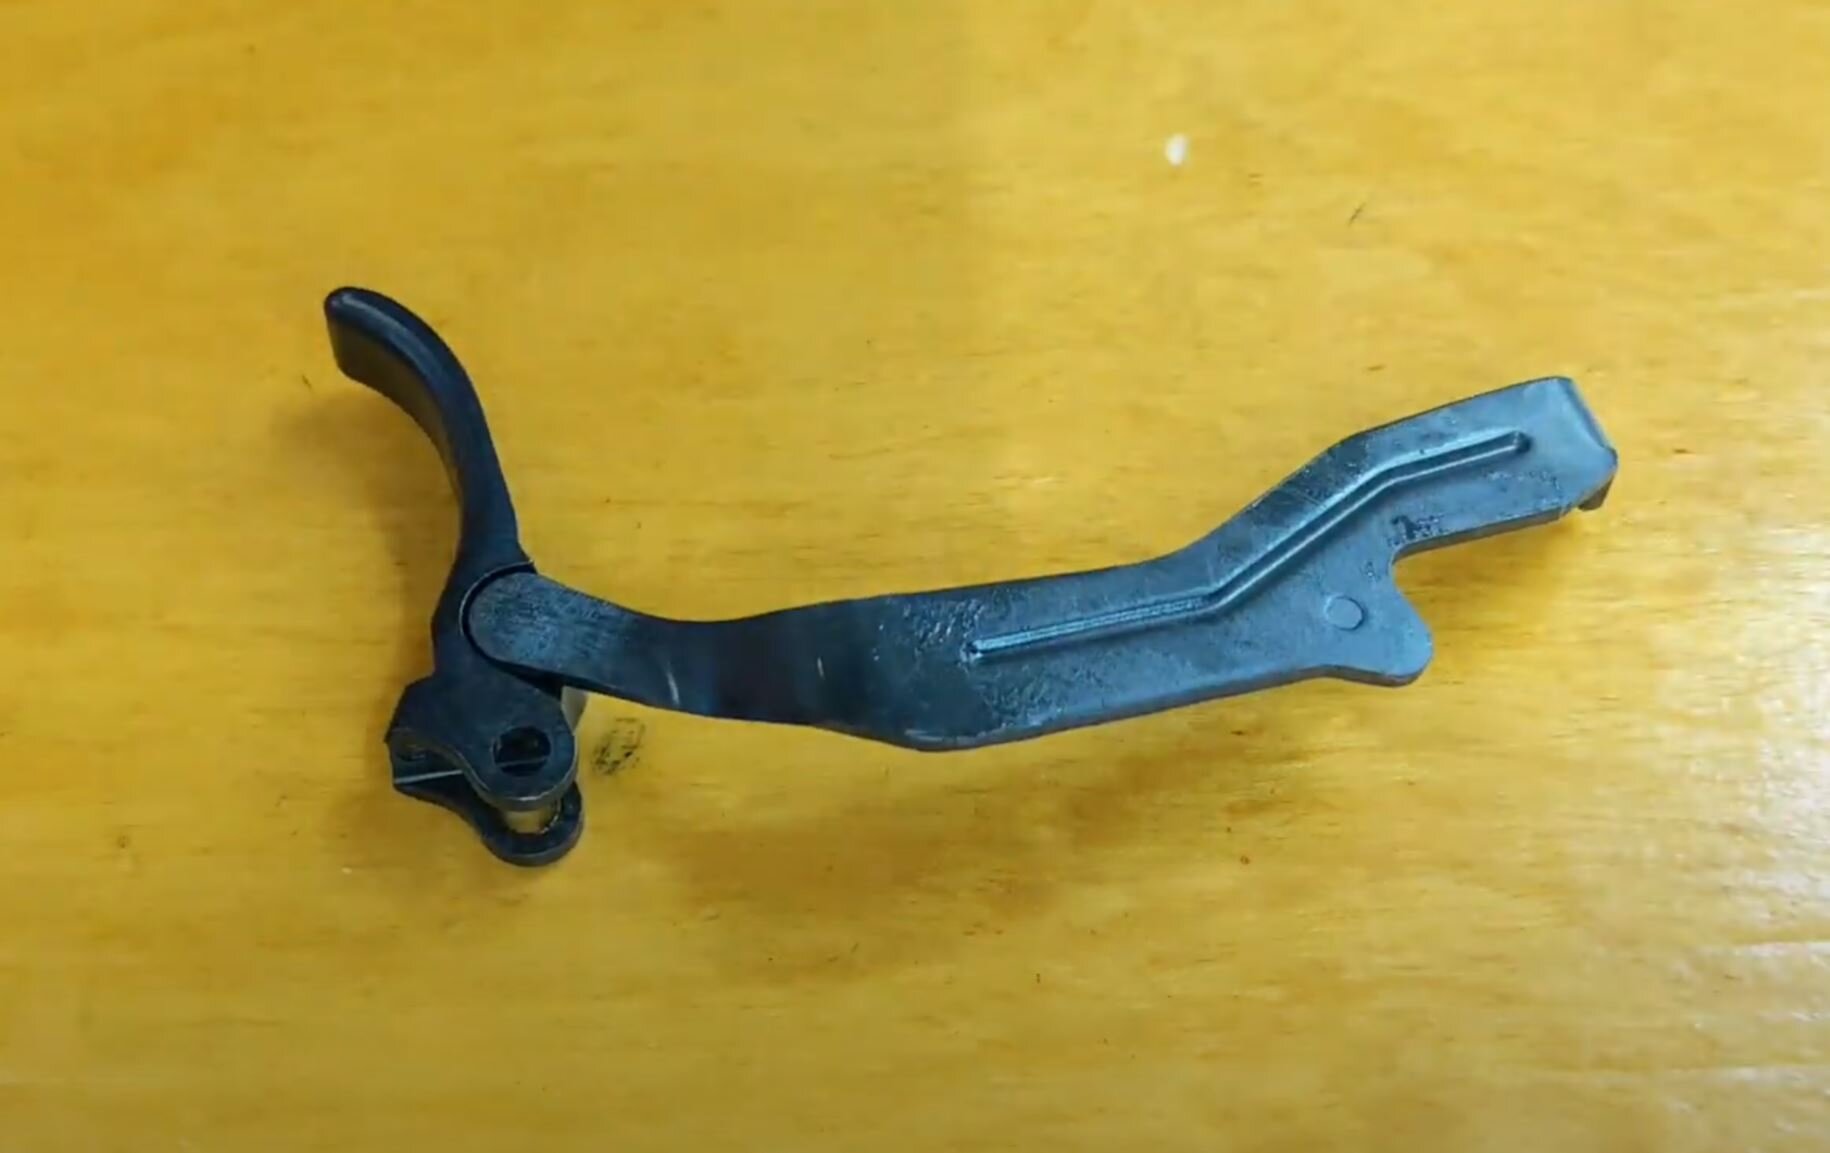
Step 3: Trigger and Hammer Reassembly
Before putting the trigger in, put the trigger bar onto the trigger with the little notch up.
Slide the trigger into the frame and get it lined up with the hole, and put the trigger pin. Then back it off a little.
The trigger return spring goes into the top of the trigger. Use a needle nose pliers to hold onto the spring. Get the long, front leg of the trigger spring on top of the frame and flex the spring to get the short, back leg of the spring into the trigger spring hole.
Then line it all up so you can get the trigger pin the rest of the way through.
If you have the hammer strut off, press the pin. Make sure the curve is to the back.
Put the disconnector onto the boss on hammer. Make sure to move it out of the way to expose hole for the hammer pin.
Slip the hammer down into the frame. The boss on the hammer connector needs to be in front of the slot in the frame. Make sure the hammer is in the up position.
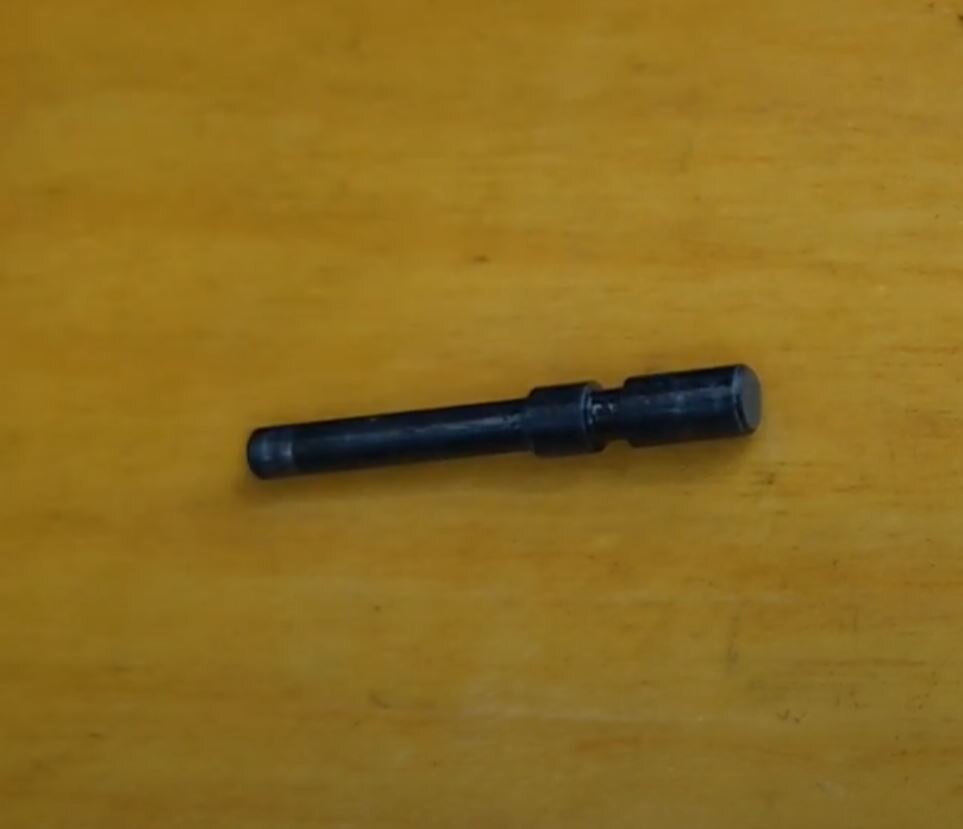
Slide the hammer pin through. Make sure the notch on the hammer pin is on the right hand side of the gun.
Fold the disconnector down. This will keep the pin from falling out. Make sure the pin is centered in the frame.
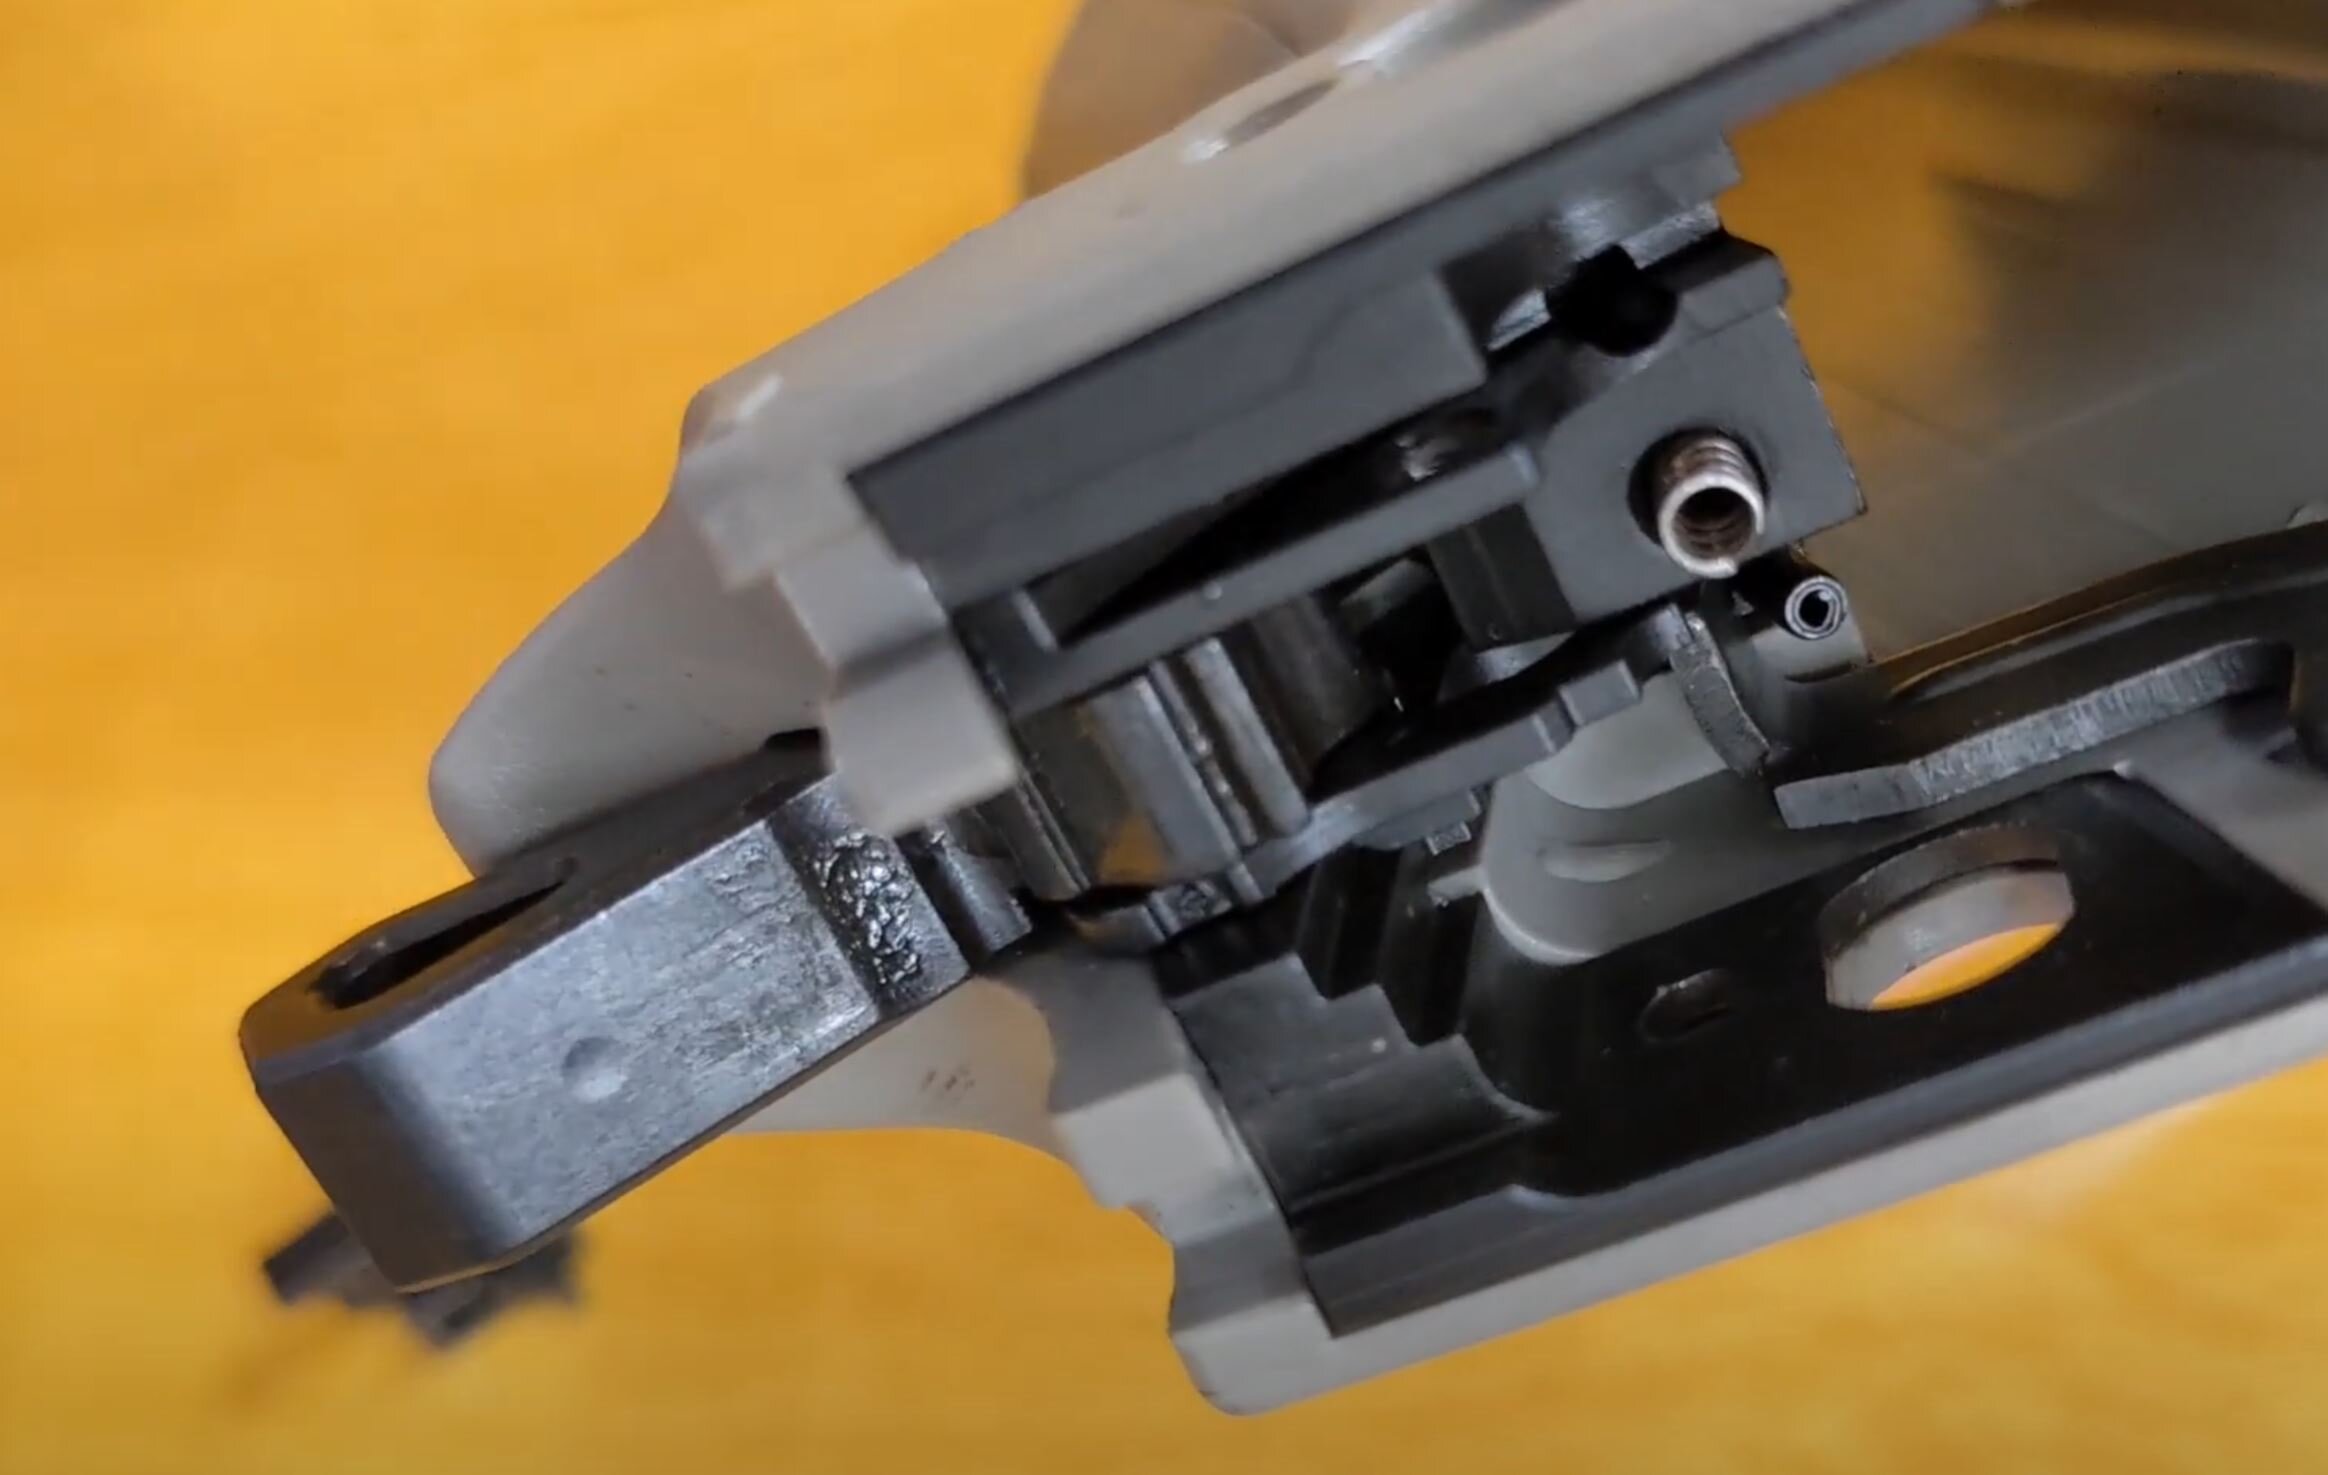
Step 4: Sear and Ejector Reassembly
Inset the sear spring into the hole. Set the sear into place so that the bottom of the sear covers the spring.
Slide the sear pin through. It’s thicker at one end. It goes in from the left to the right side of the gun. The larger side of the pin will end up on the left side of the gun.
Hold the sear down to get the hole to line up.
Take the firing pin block lever (falsely referred to as the disconnector in the video). Put the bushing in. Make sure it’s in the correct orientation. Slide those into the frame with the bushing facing the out. Work it in from the front.
Line everything up and get the sear pin through.
Put the ejector spring into the hole, and then set the ejector onto the spring. Push down and back. Make sure the notch on the ejector goes under the sear pin. If installed properly, it should click into place and spring up and down without falling out.
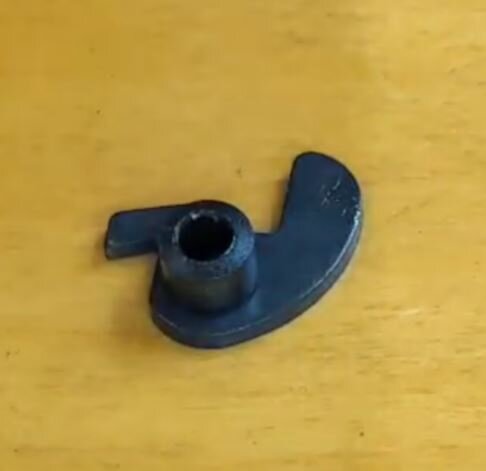
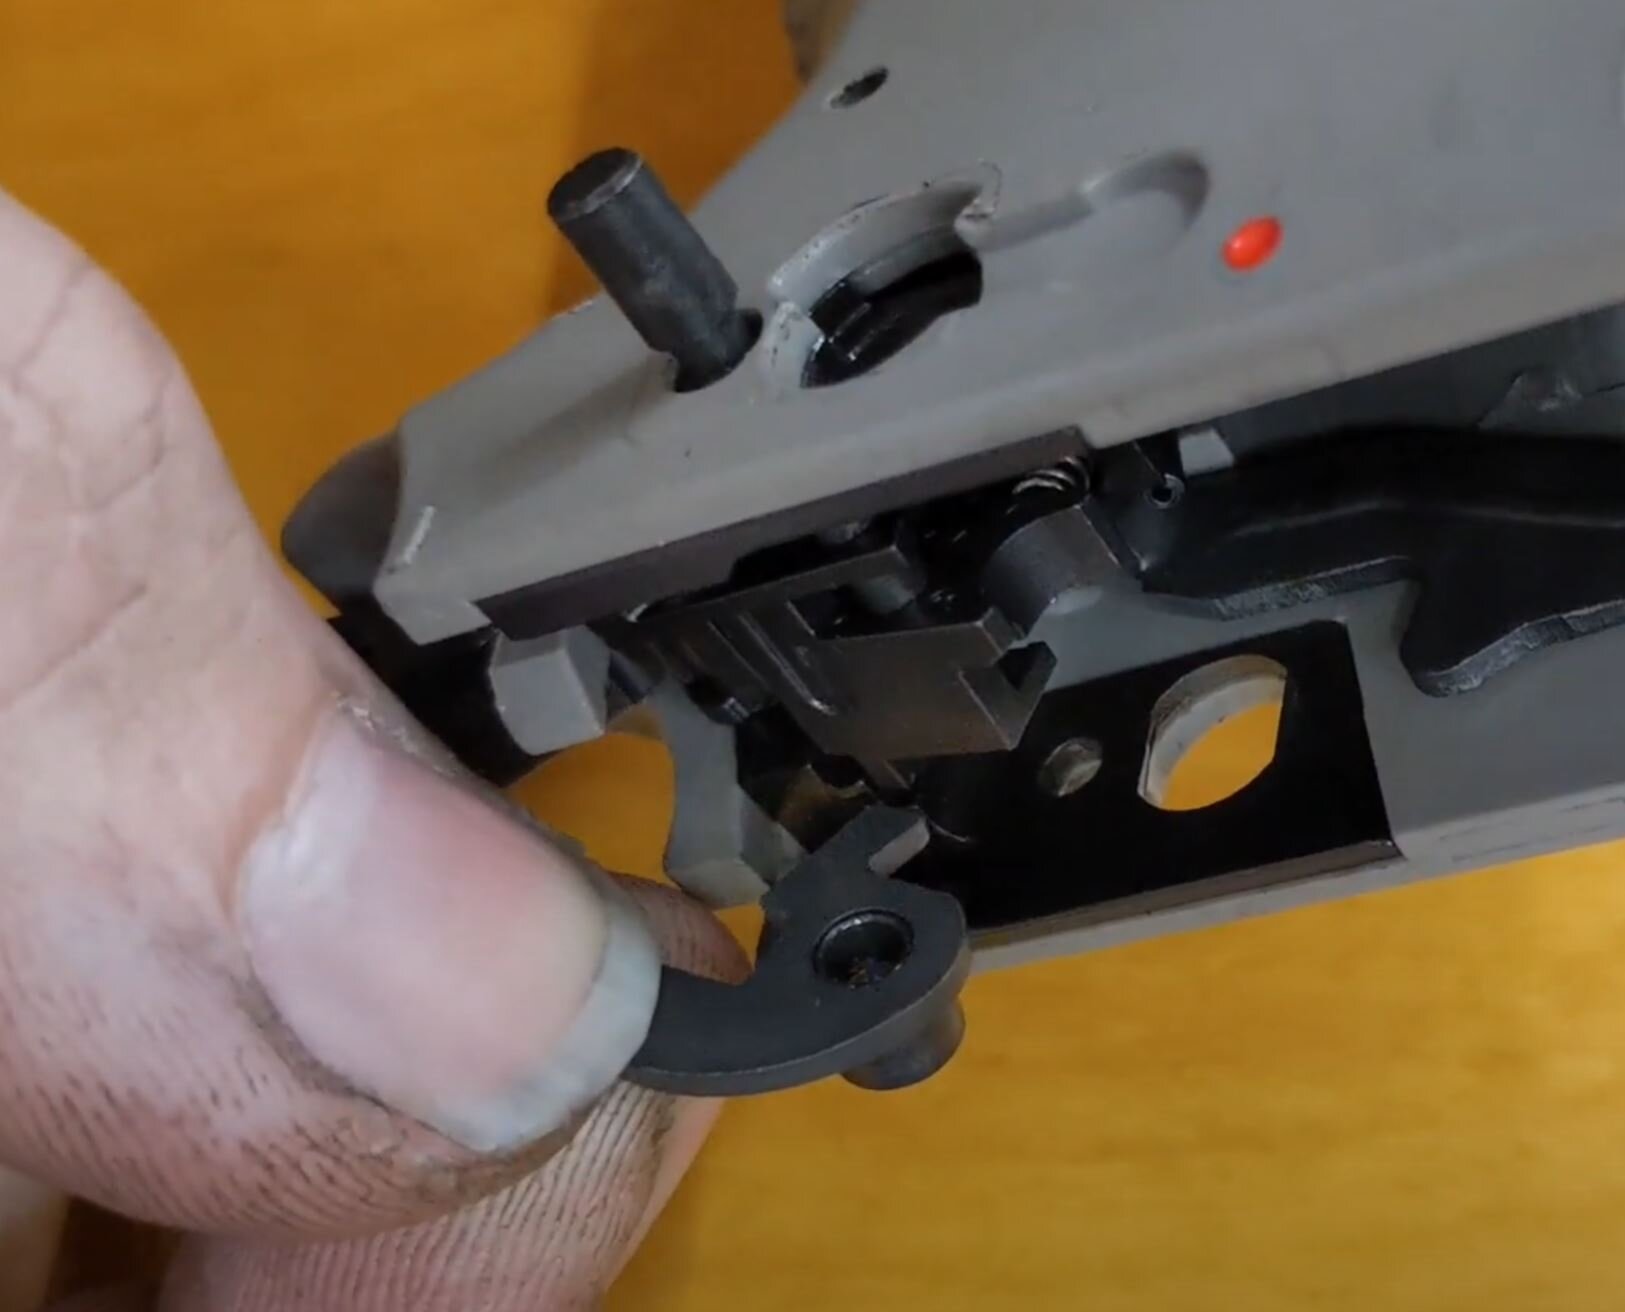
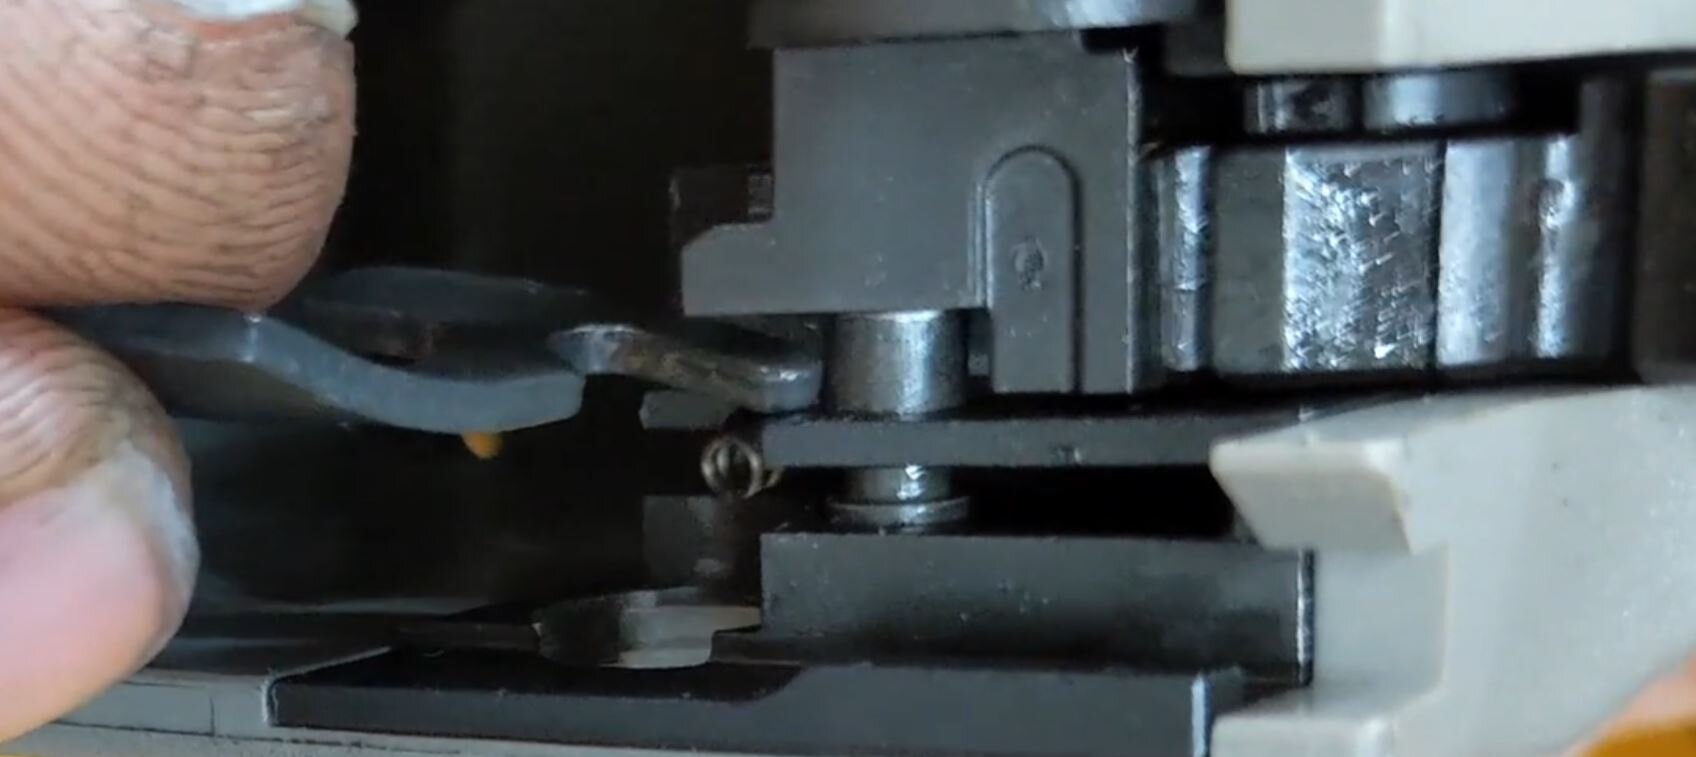
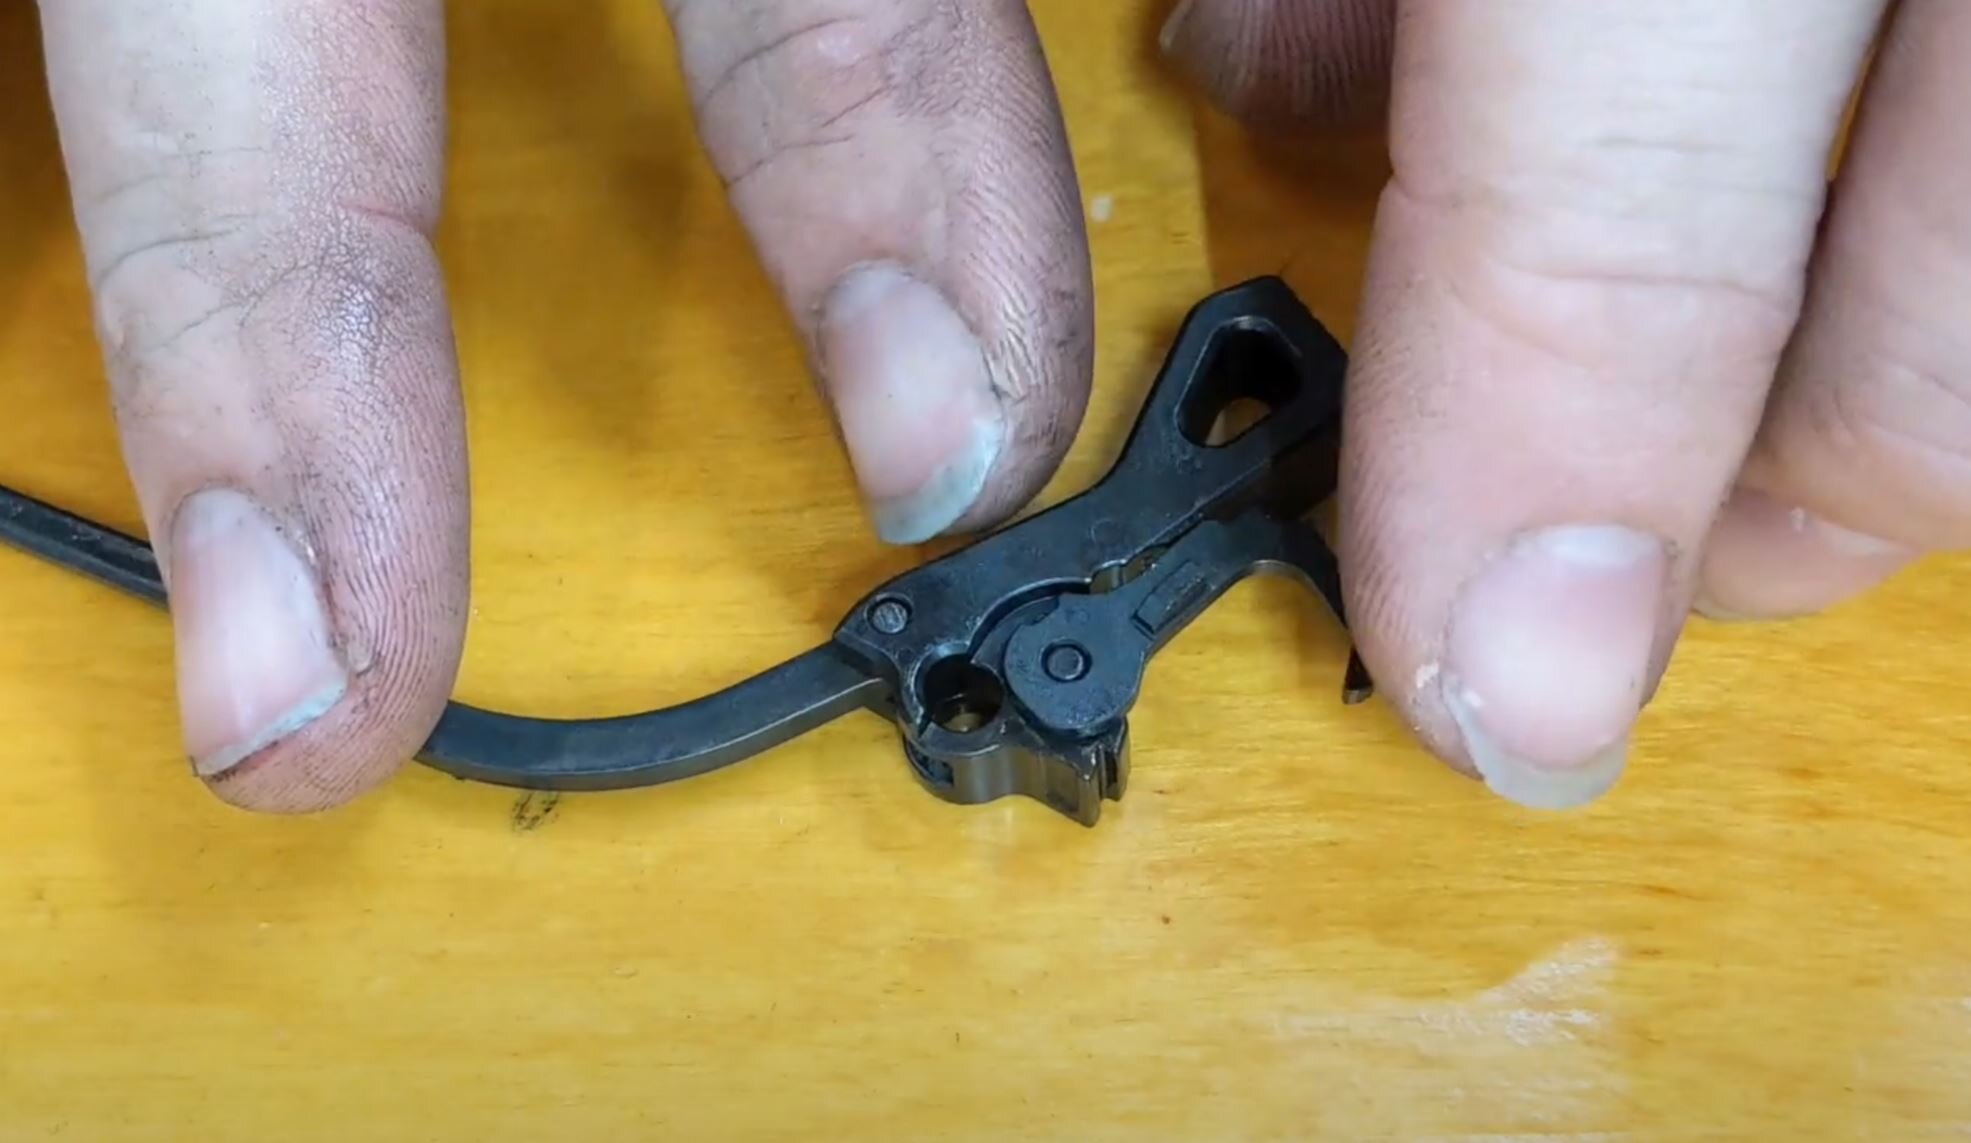
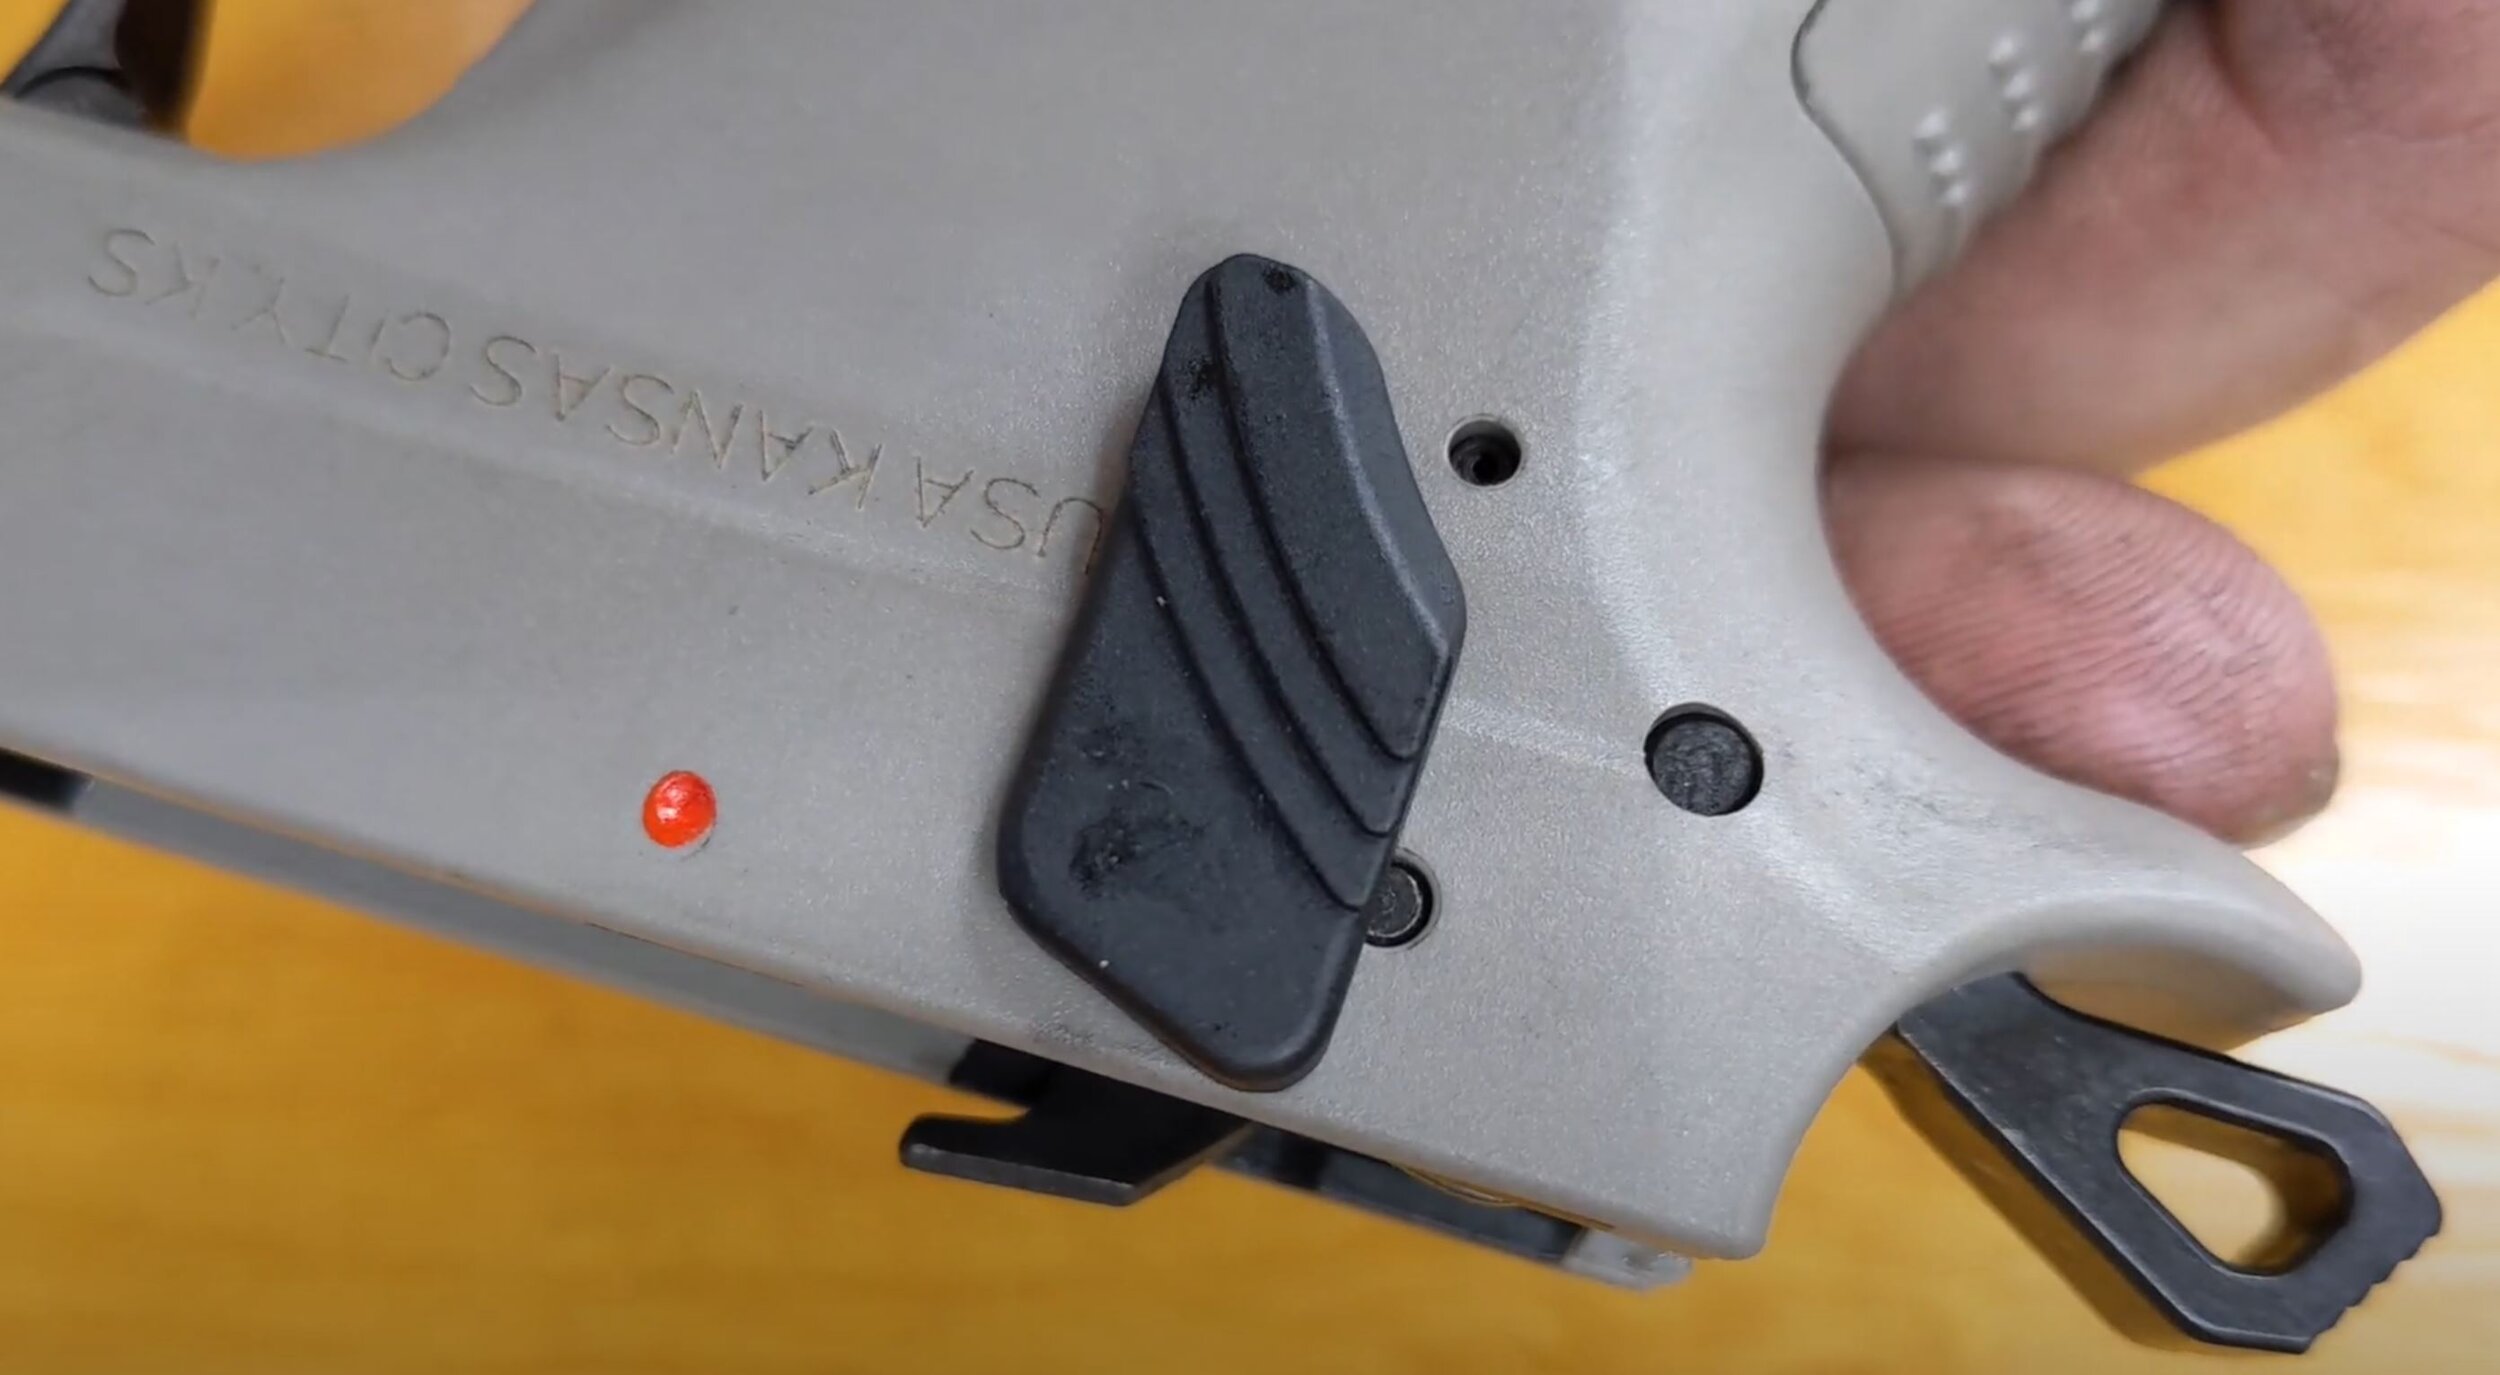
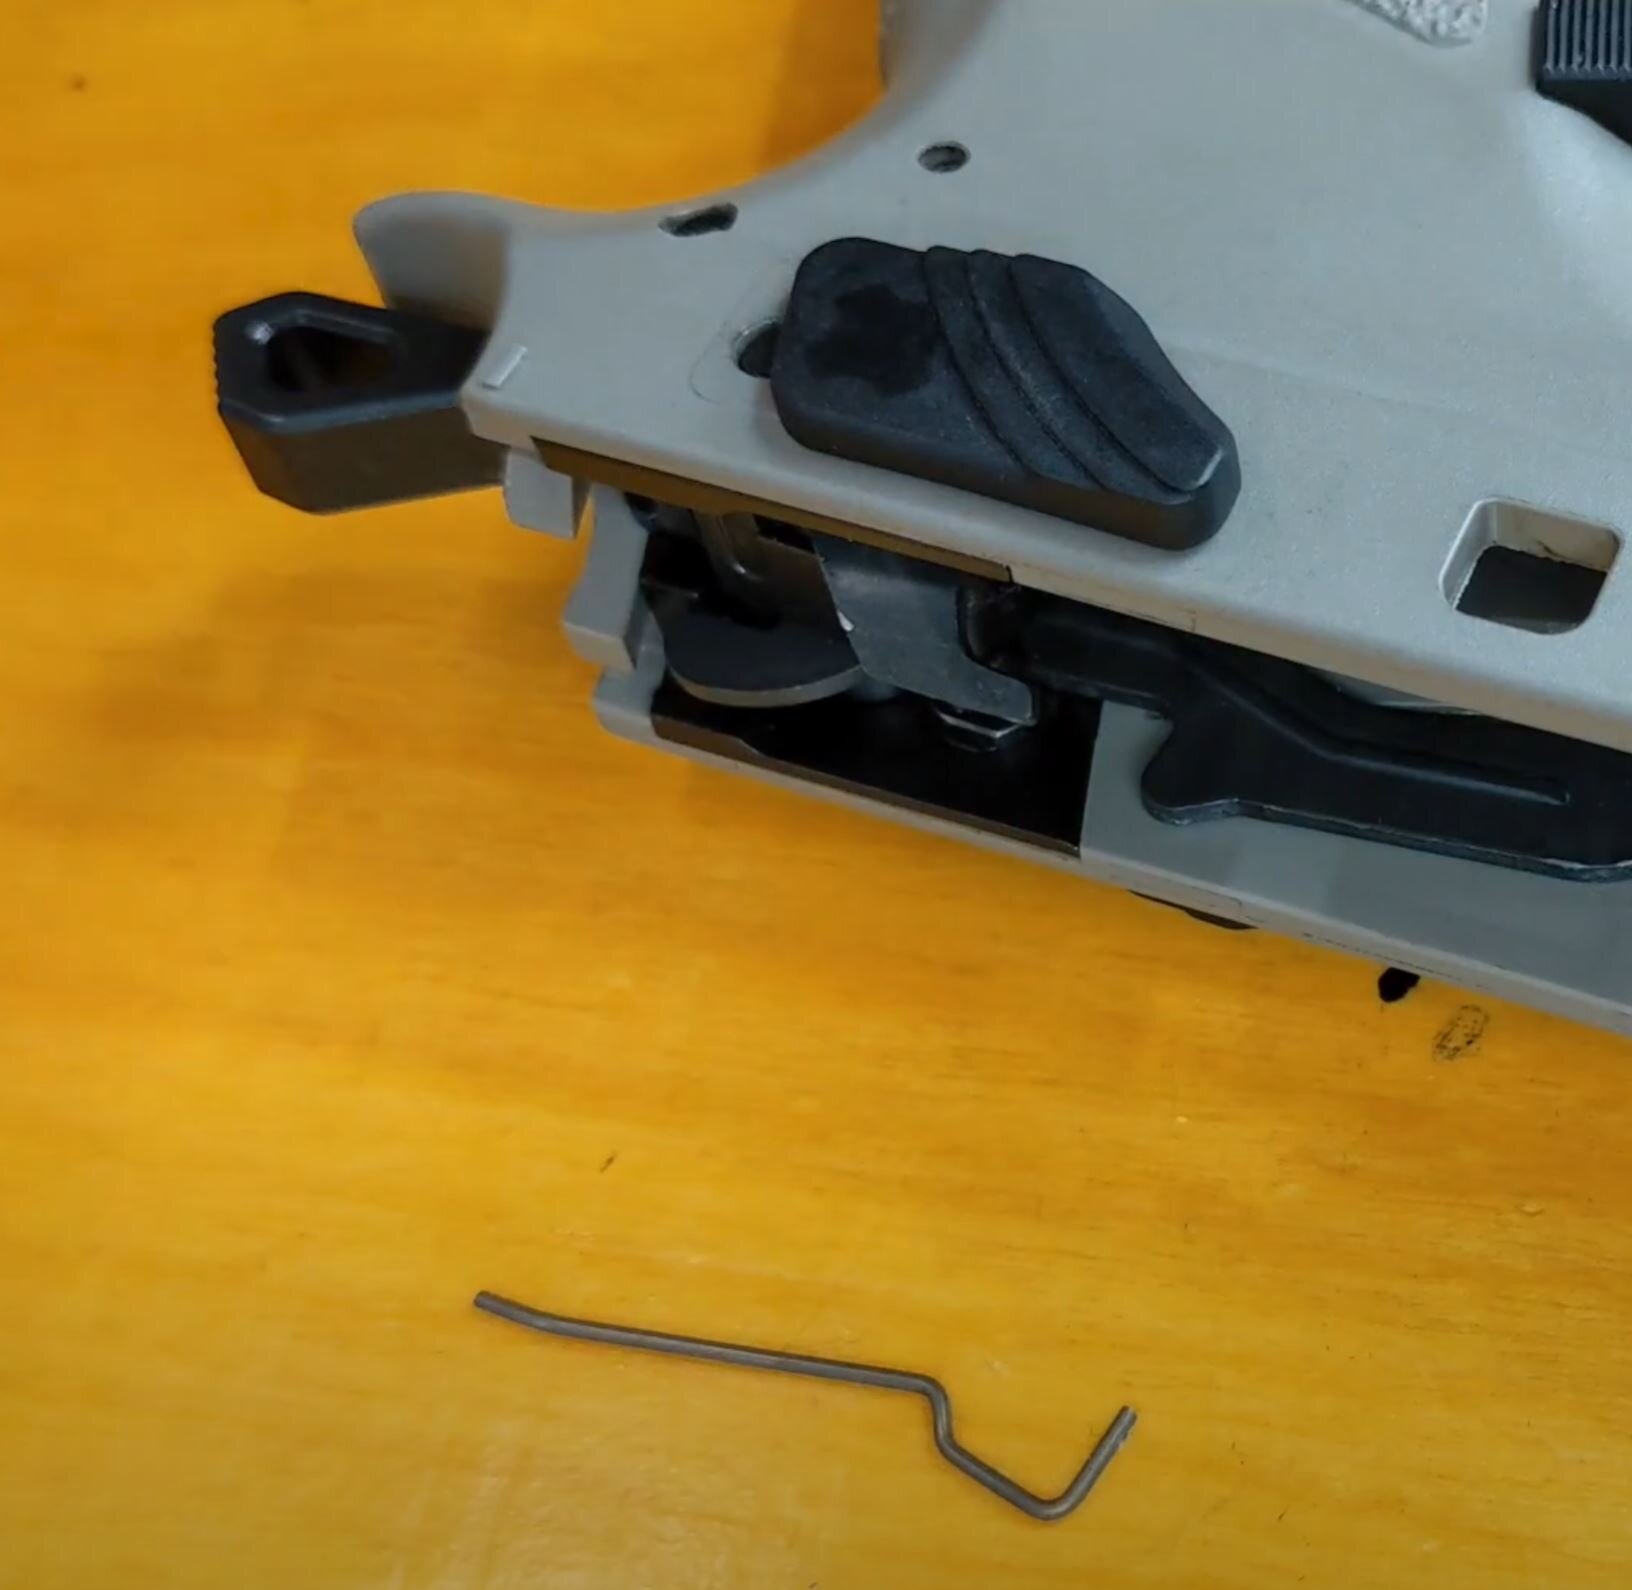
Step 5: Decocker Reassembly
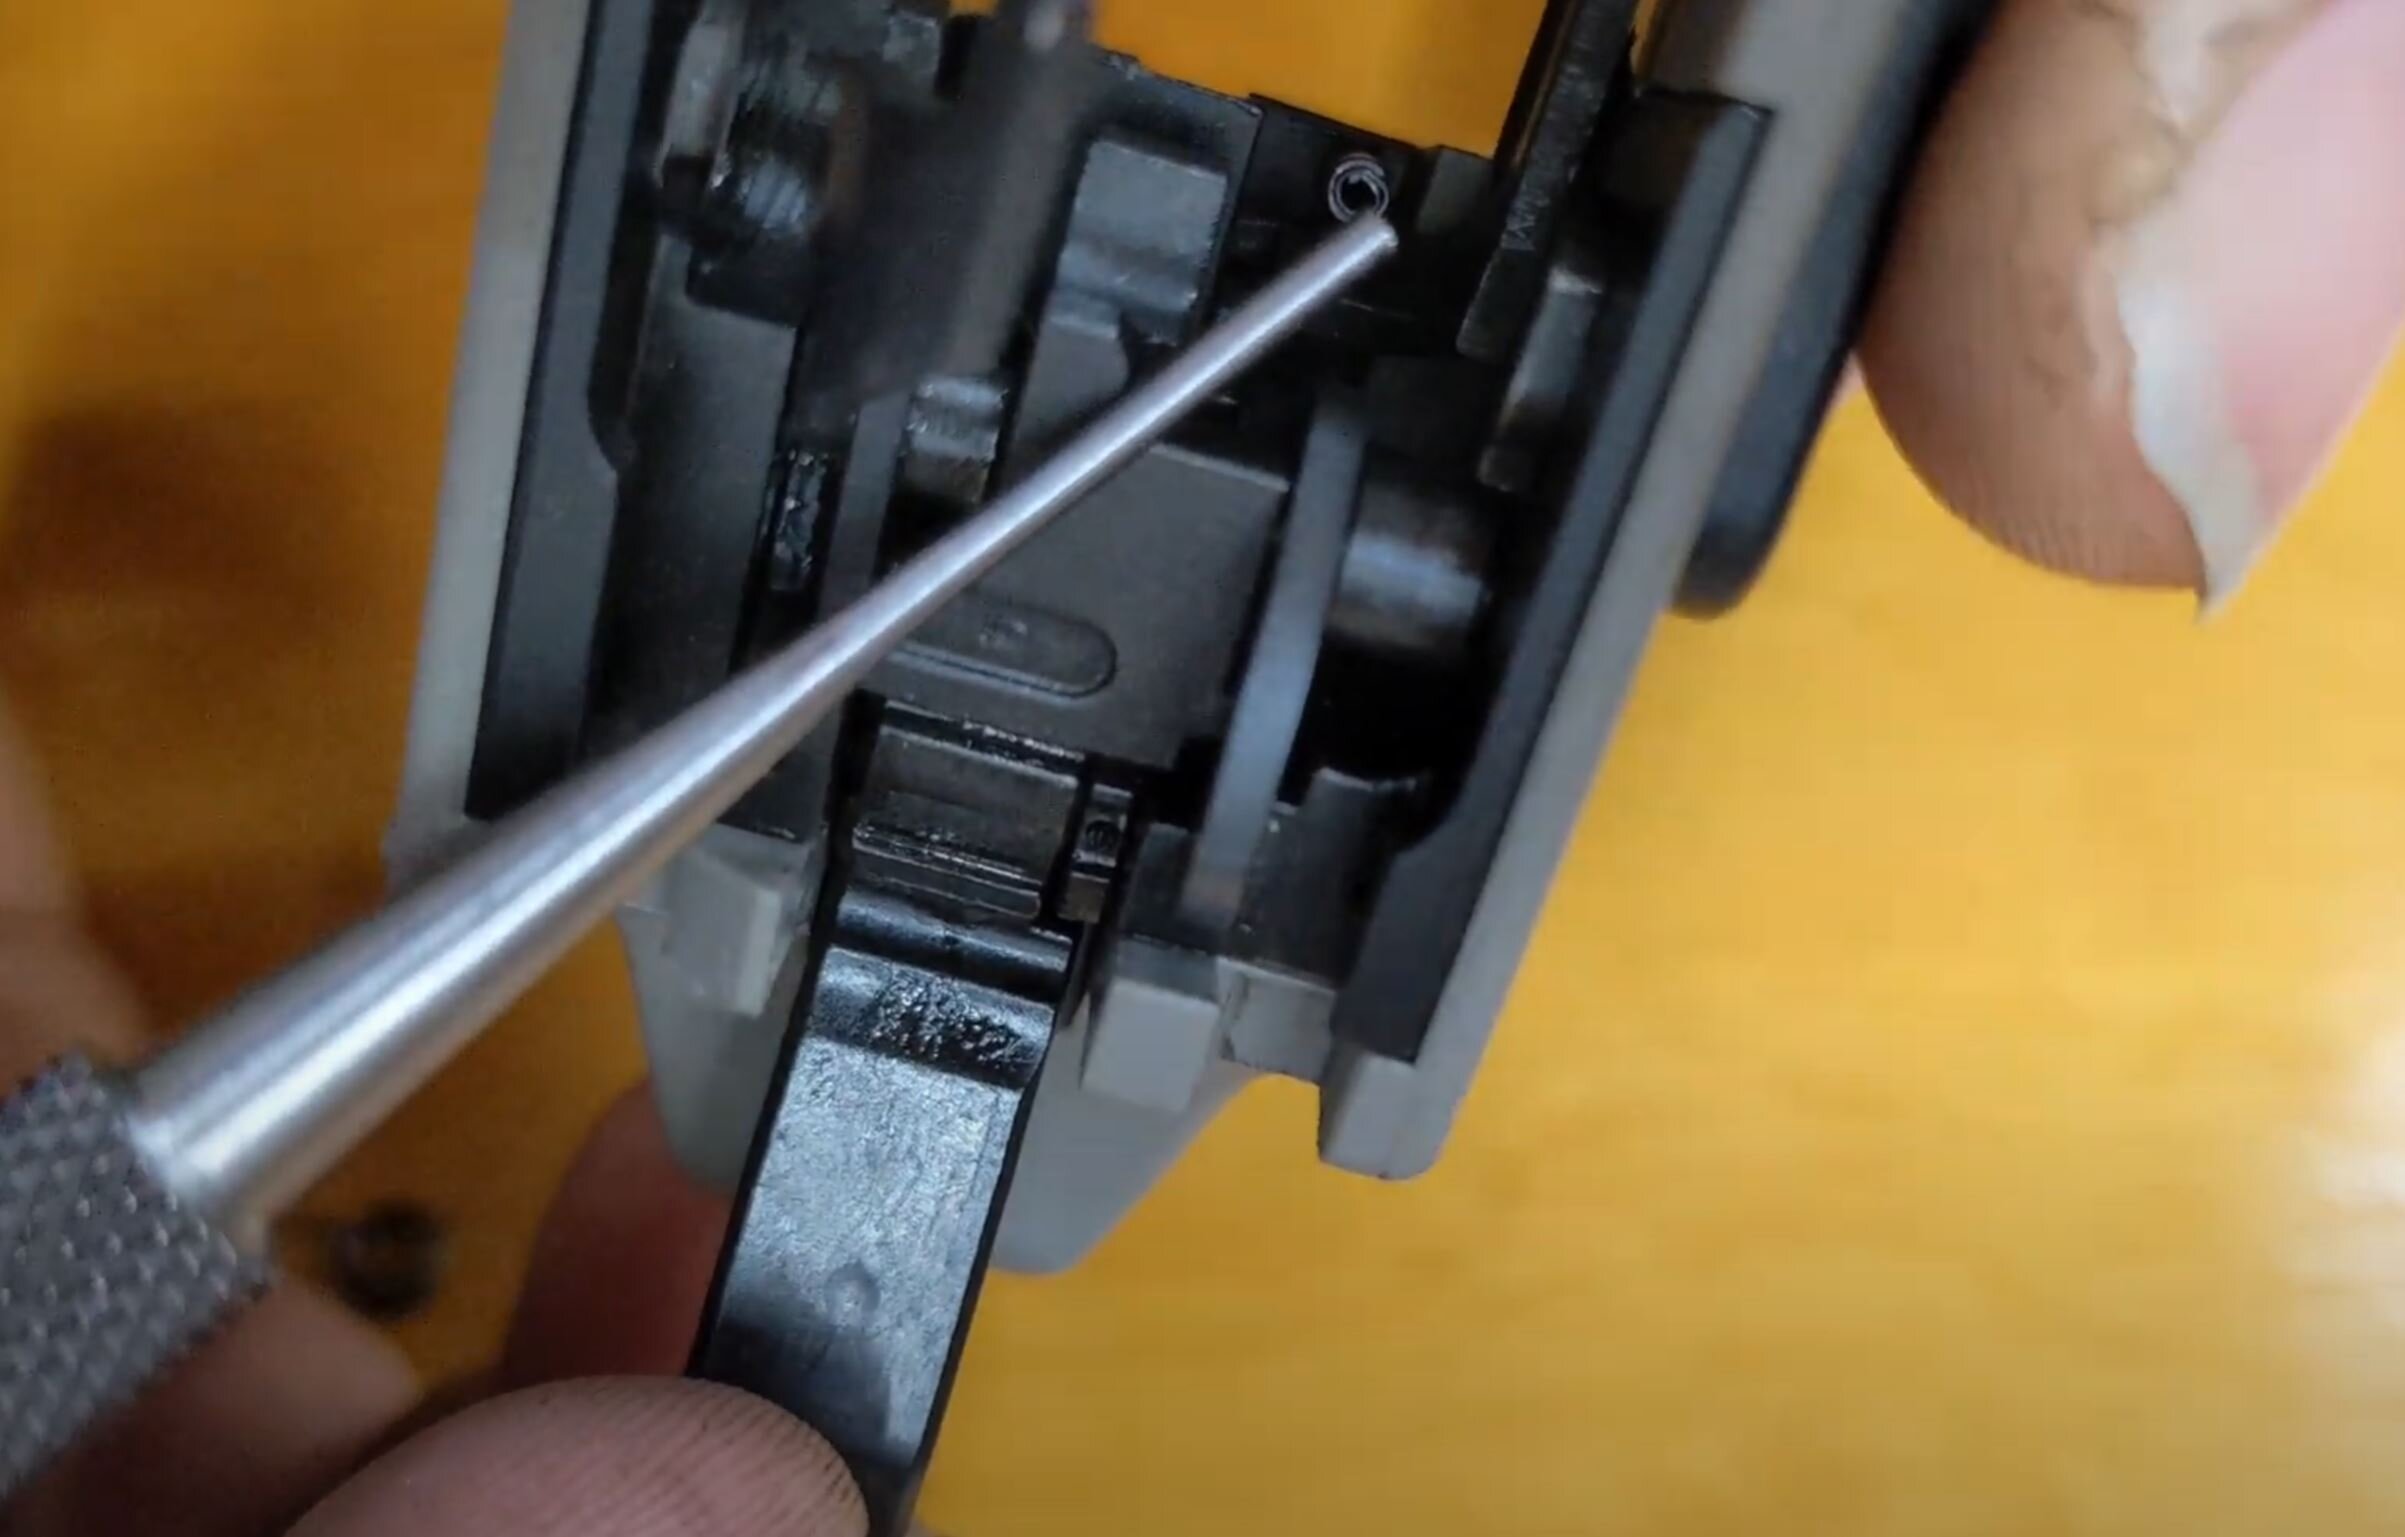
Install the right-hand side decocking lever first. Set it into place in the down position. Then twist it into the parallel orientation.
Before you put the left-hand side in, use a needle nose pliers to set the long leg of the decocking lever spring into the roll pin.
Take the left-hand side decocking lever and start it through the decocking lever spring.
Once through the spring, tilt the decocker back and pull the spring over until it’s underneath. Push the decocker into place.
Make sure the decocker is spring loaded and locked in.
Step 6: Main Spring Reassembly
Insert the main spring into the bottom of the grip. Then, insert the plunger so it’s lined up at the same angle as the grip of the frame. Push the main spring plunger in and start the pin. You might be able to push it in with your thumb—otherwise you can use your workbench or a punch.
Using a needle nose pliers, put the slide stop spring down into the frame. The short leg is closer to the front of the gun and goes down into the hole on the side of the frame.
Push it down and get it underneath the trigger bar.

Step 7: Slide Reassembly
Put the firing pin block into the rear of the frame. The notch goes toward the middle of the slide.
Then slide the firing pin spring onto the firing pin.
The notches of the firing pin should be facing toward the top of the slide. To completely insert the firing pin, push the firing pin block down as you slide it in.
Hold the firing pin in to get the firing pin roll pin back in. Push it in until you can see the hole in the side of the slide. Insert the pin and use a hammer and punch to install. Drive the roll pin in with an oversize punch and then finish it with the correct size punch. Make sure it’s centered.
Insert the extractor spring guide into the spring. Set them into the hole in the side of the slide.
Hook the boss on the extractor into the side of the slide and then slide it back into place.
Line up the extractor spring with the hole in the extractor. Hold that in place with your fingers as you insert the extractor pin. This pin goes from the bottom up into the slide.
It should start and then you can tap it in with a hammer. Once it’s inside the slide, use a punch to tap it the rest of the way down. Make sure it’s flush.
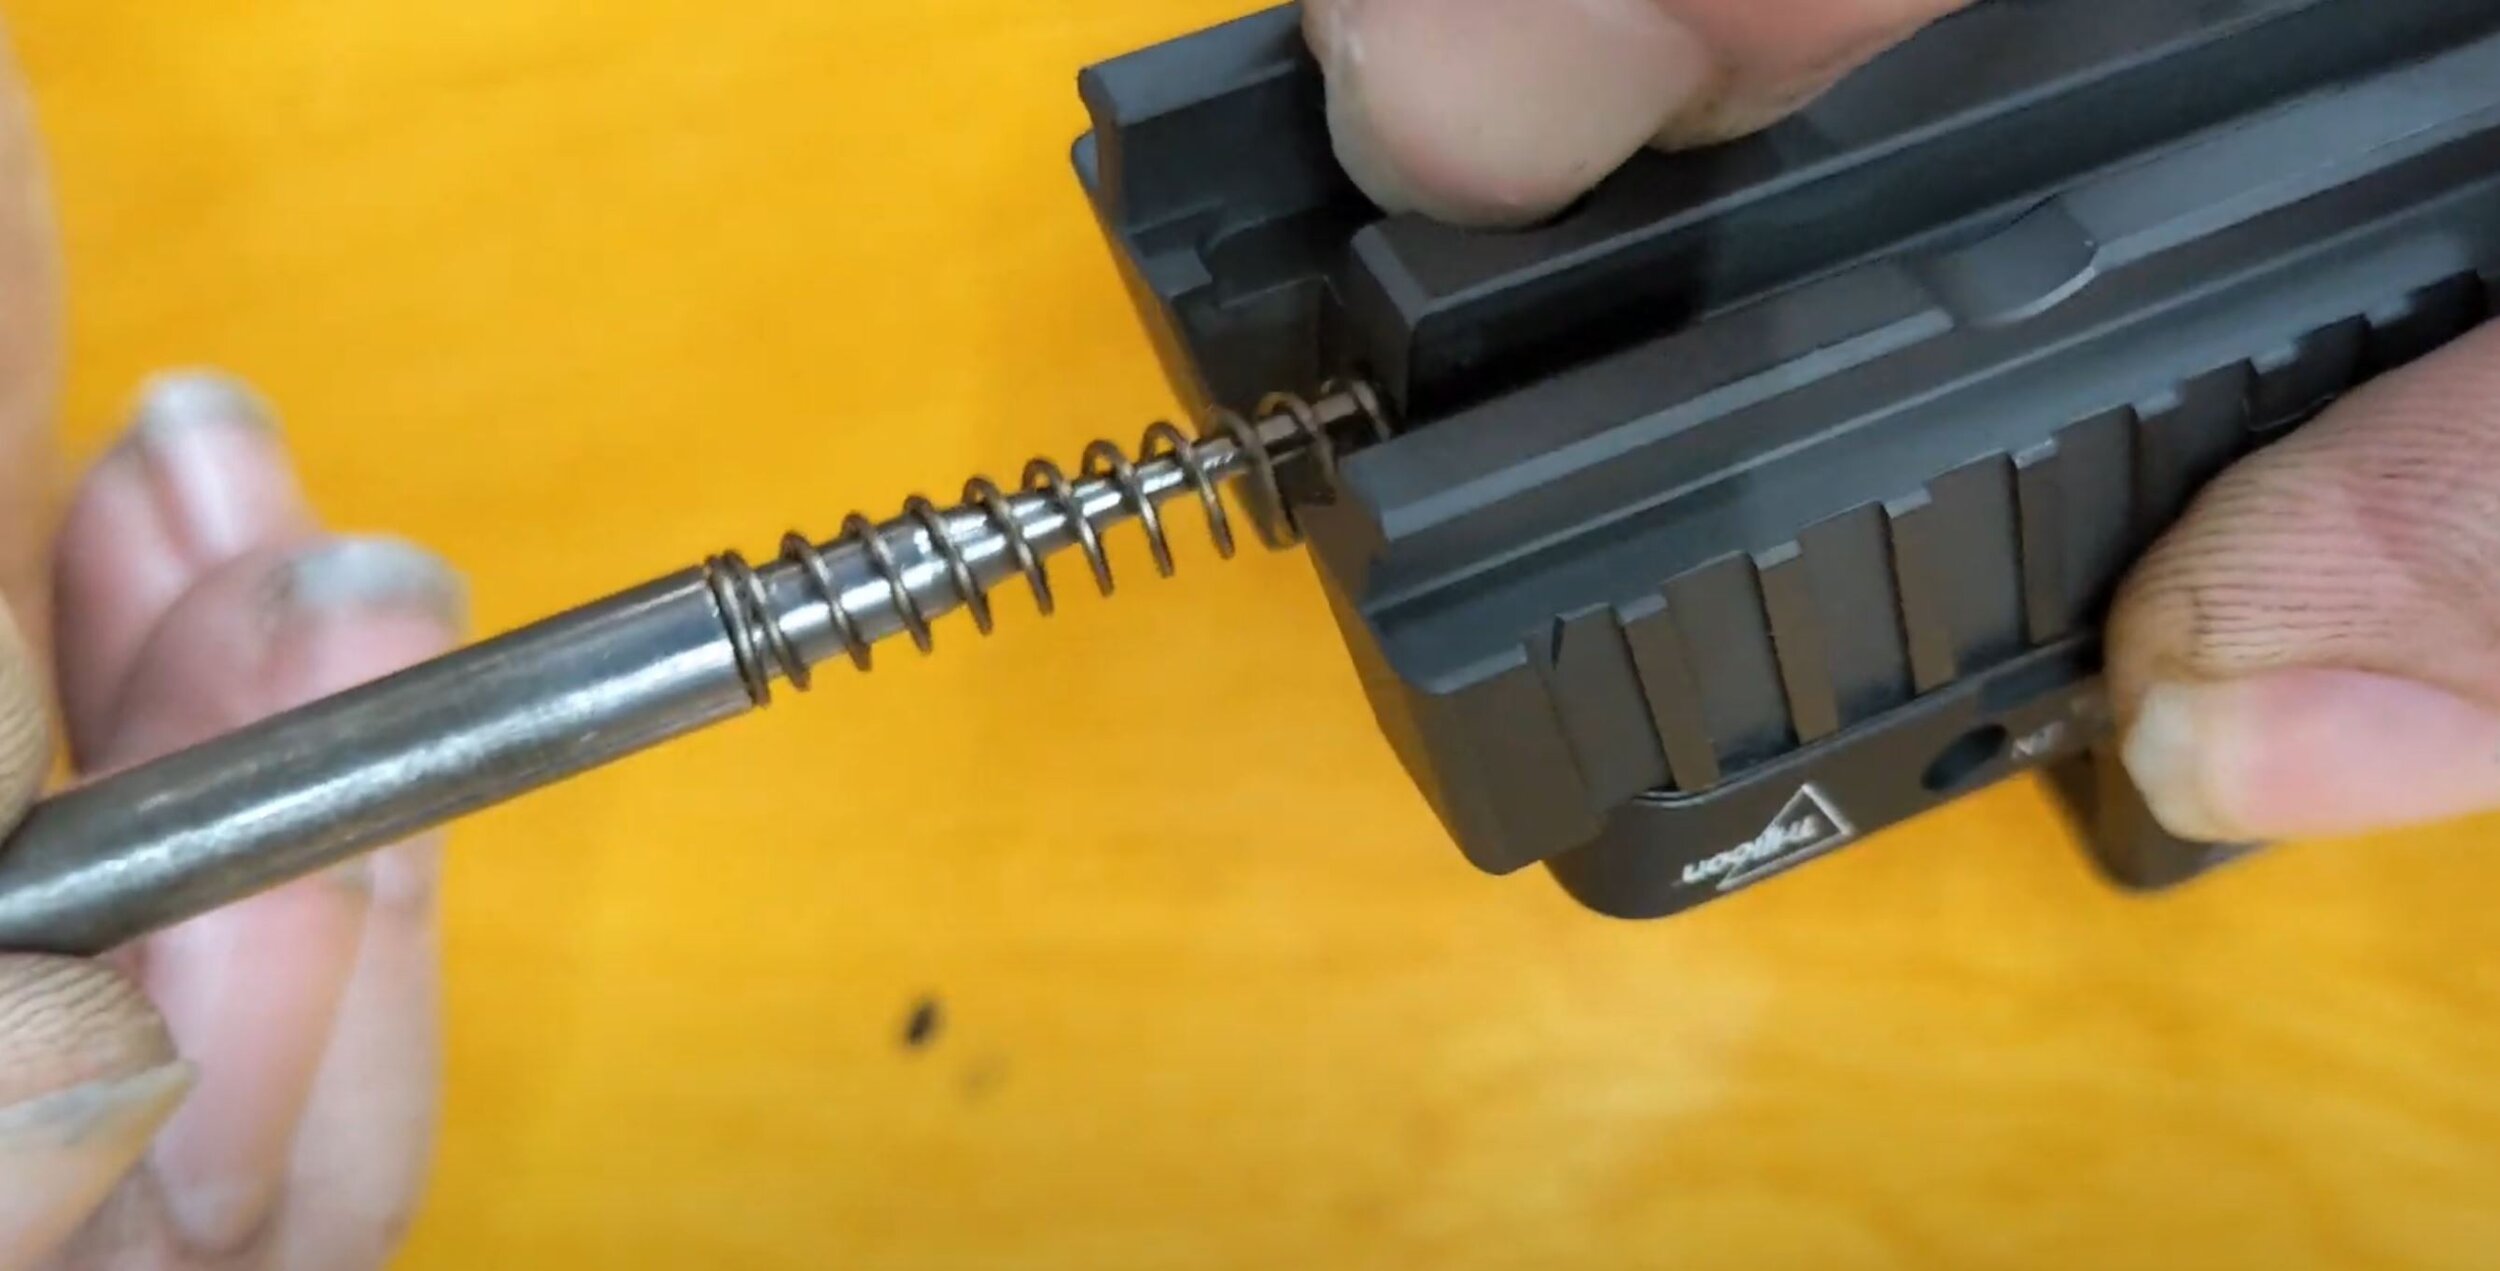
Put your barrel back in, your thread protector back on, and put your recoil spring guide into the recoil spring and install it.
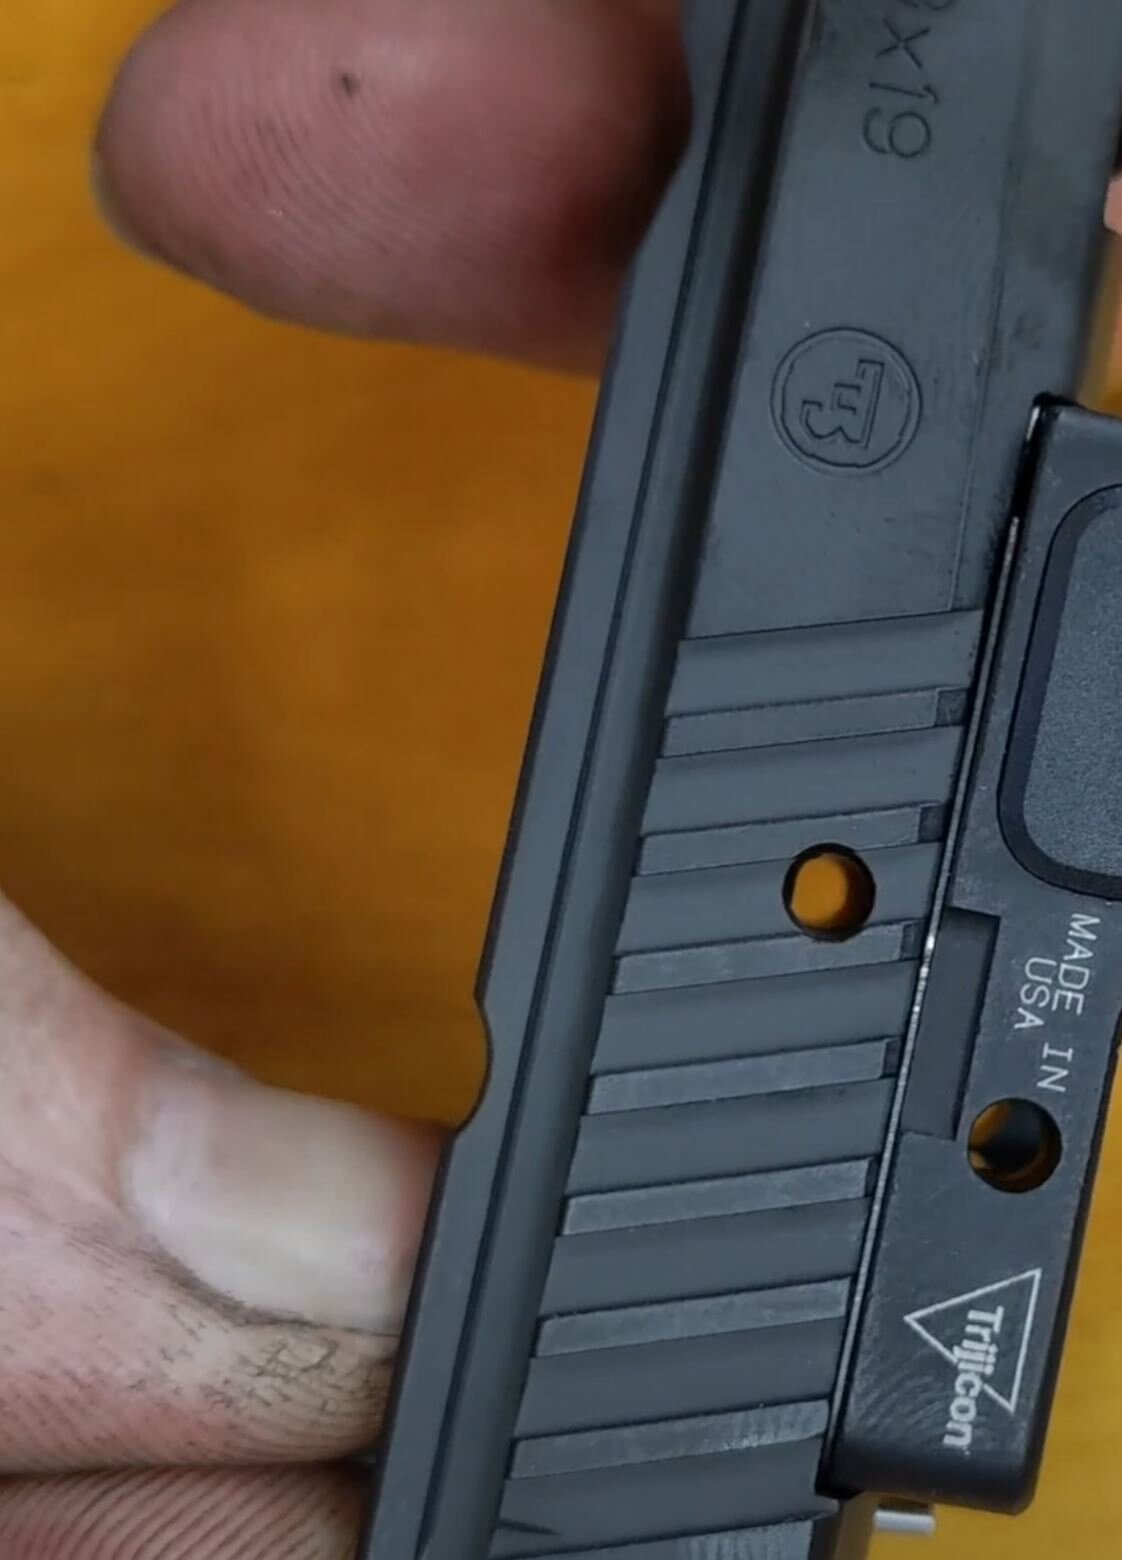
Slip the slide onto the frame and pull it back until the notches line up. Then insert the takedown lever.
That’s how to reassemble a CZ P-09. We hope you found this video and explanation useful. If you have any questions, please comment below. Thanks for reading!