
Feat of the Week: AK Build
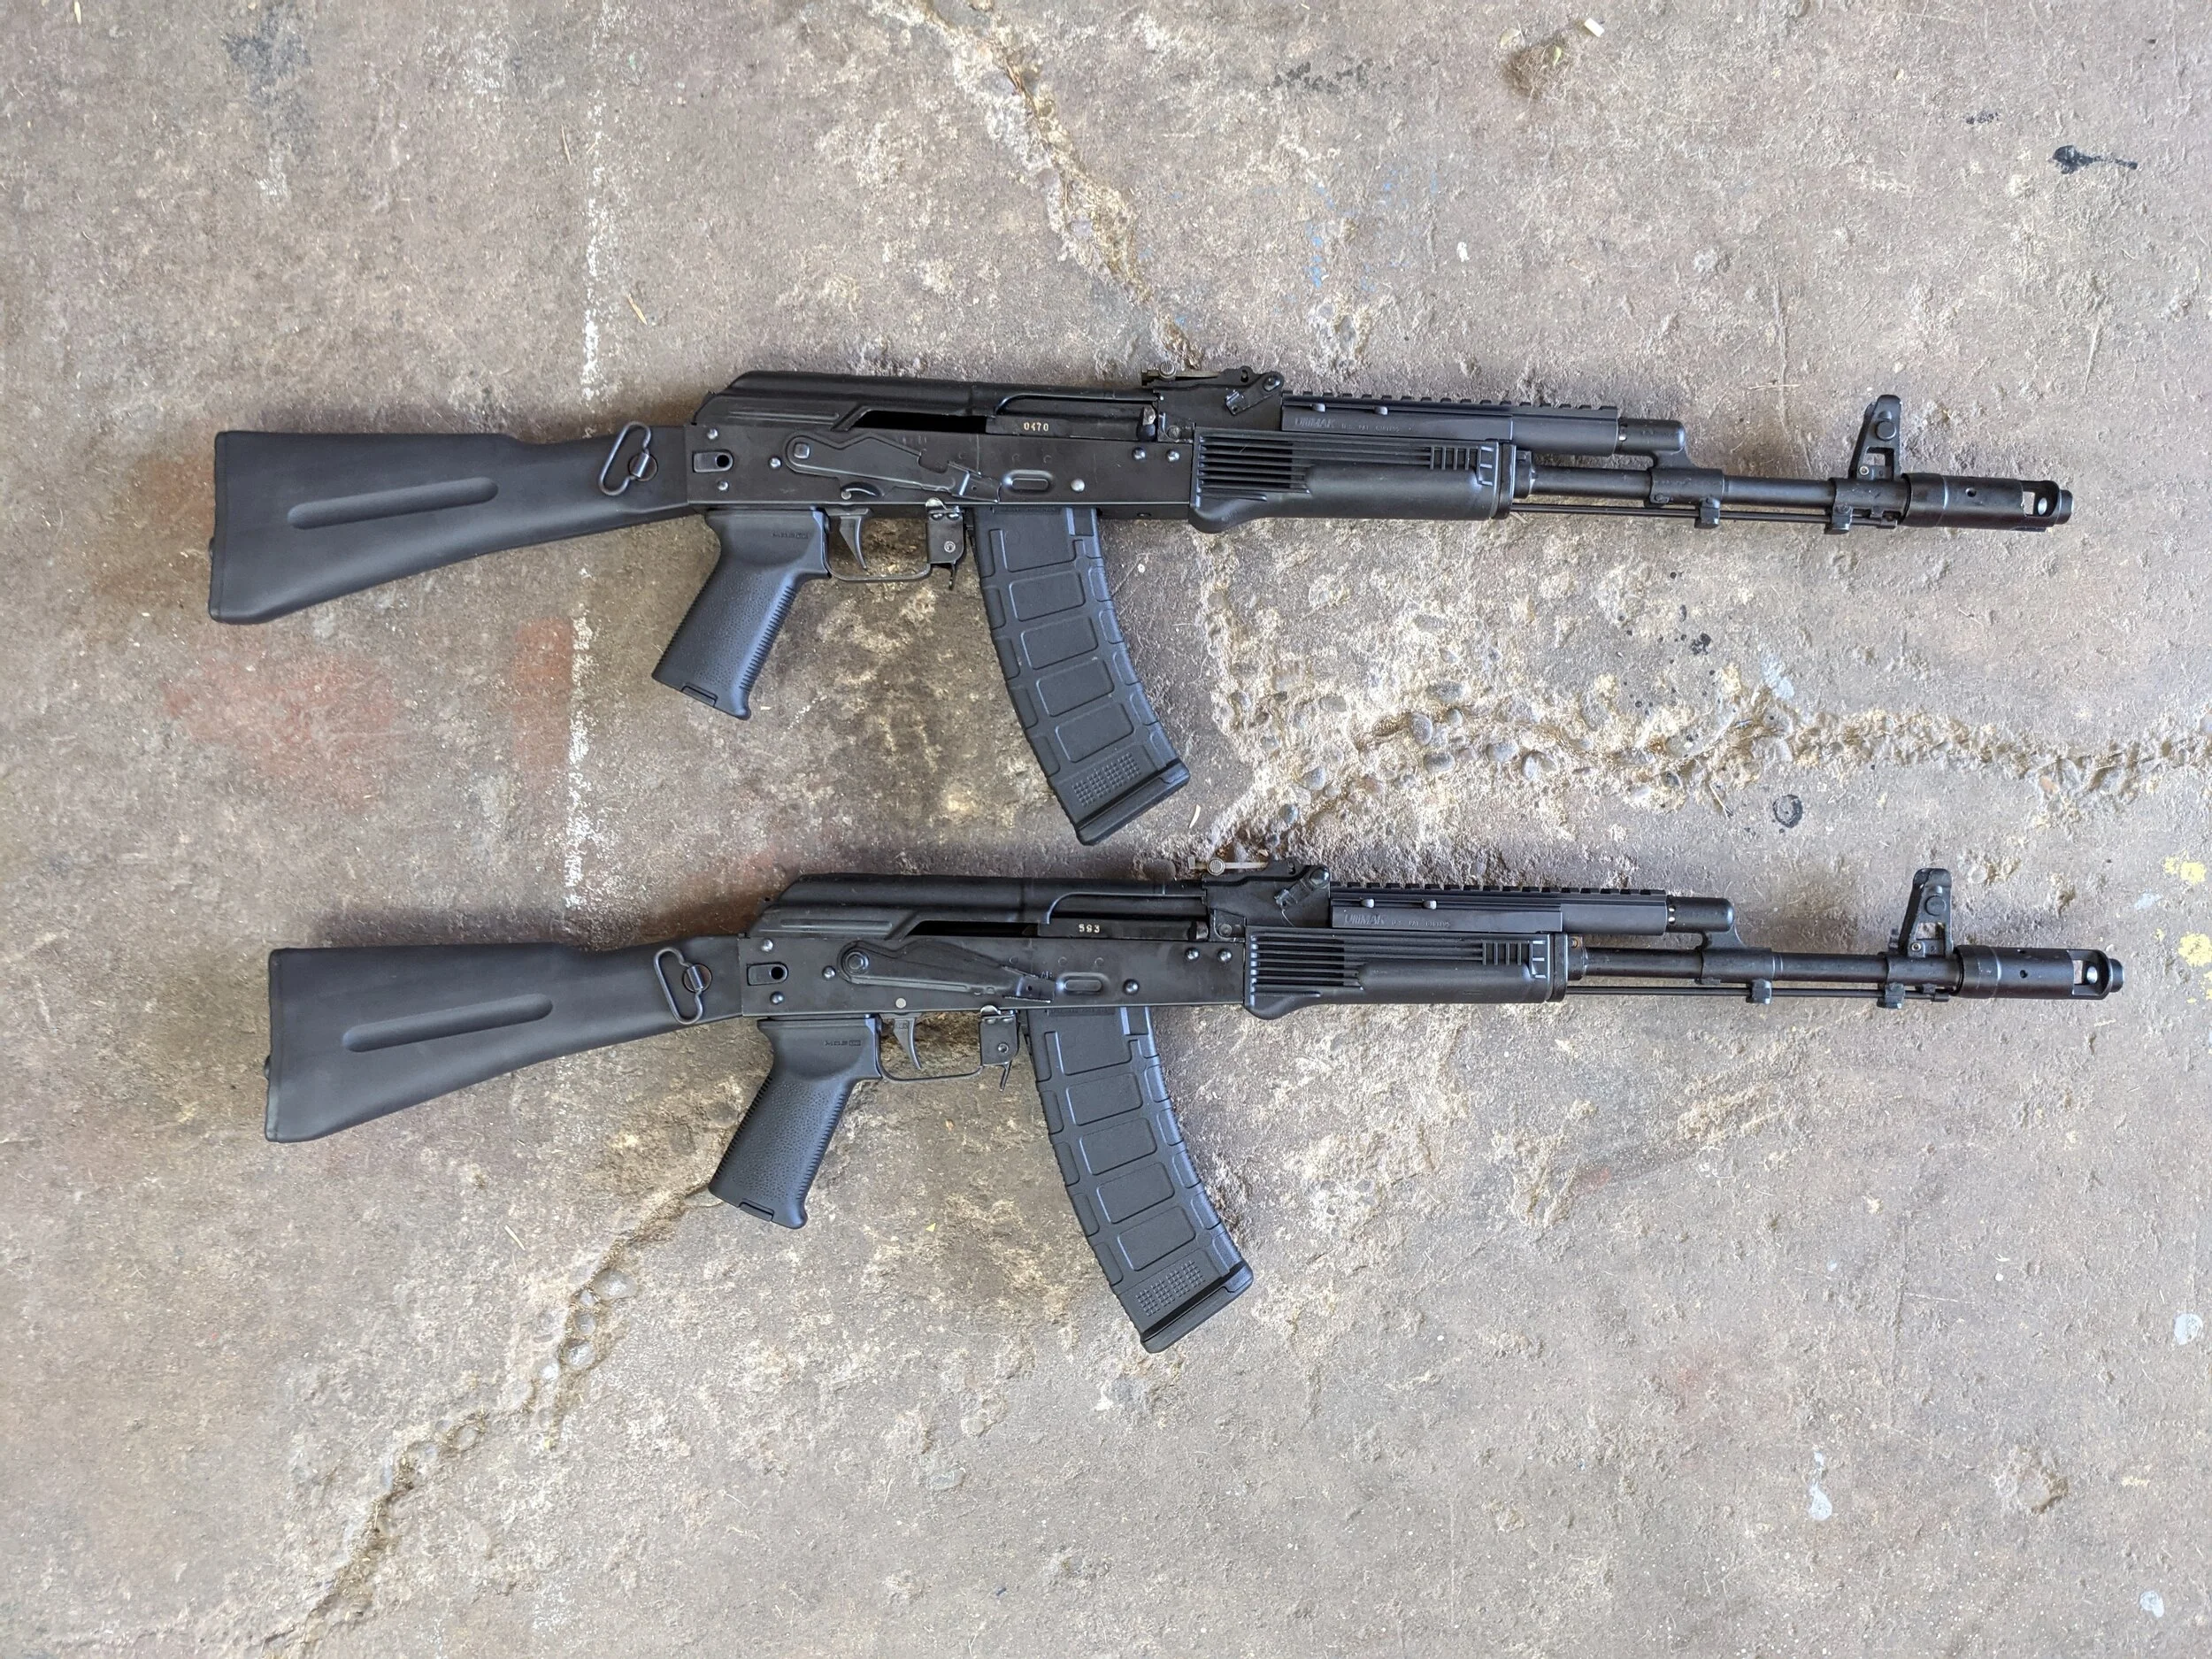
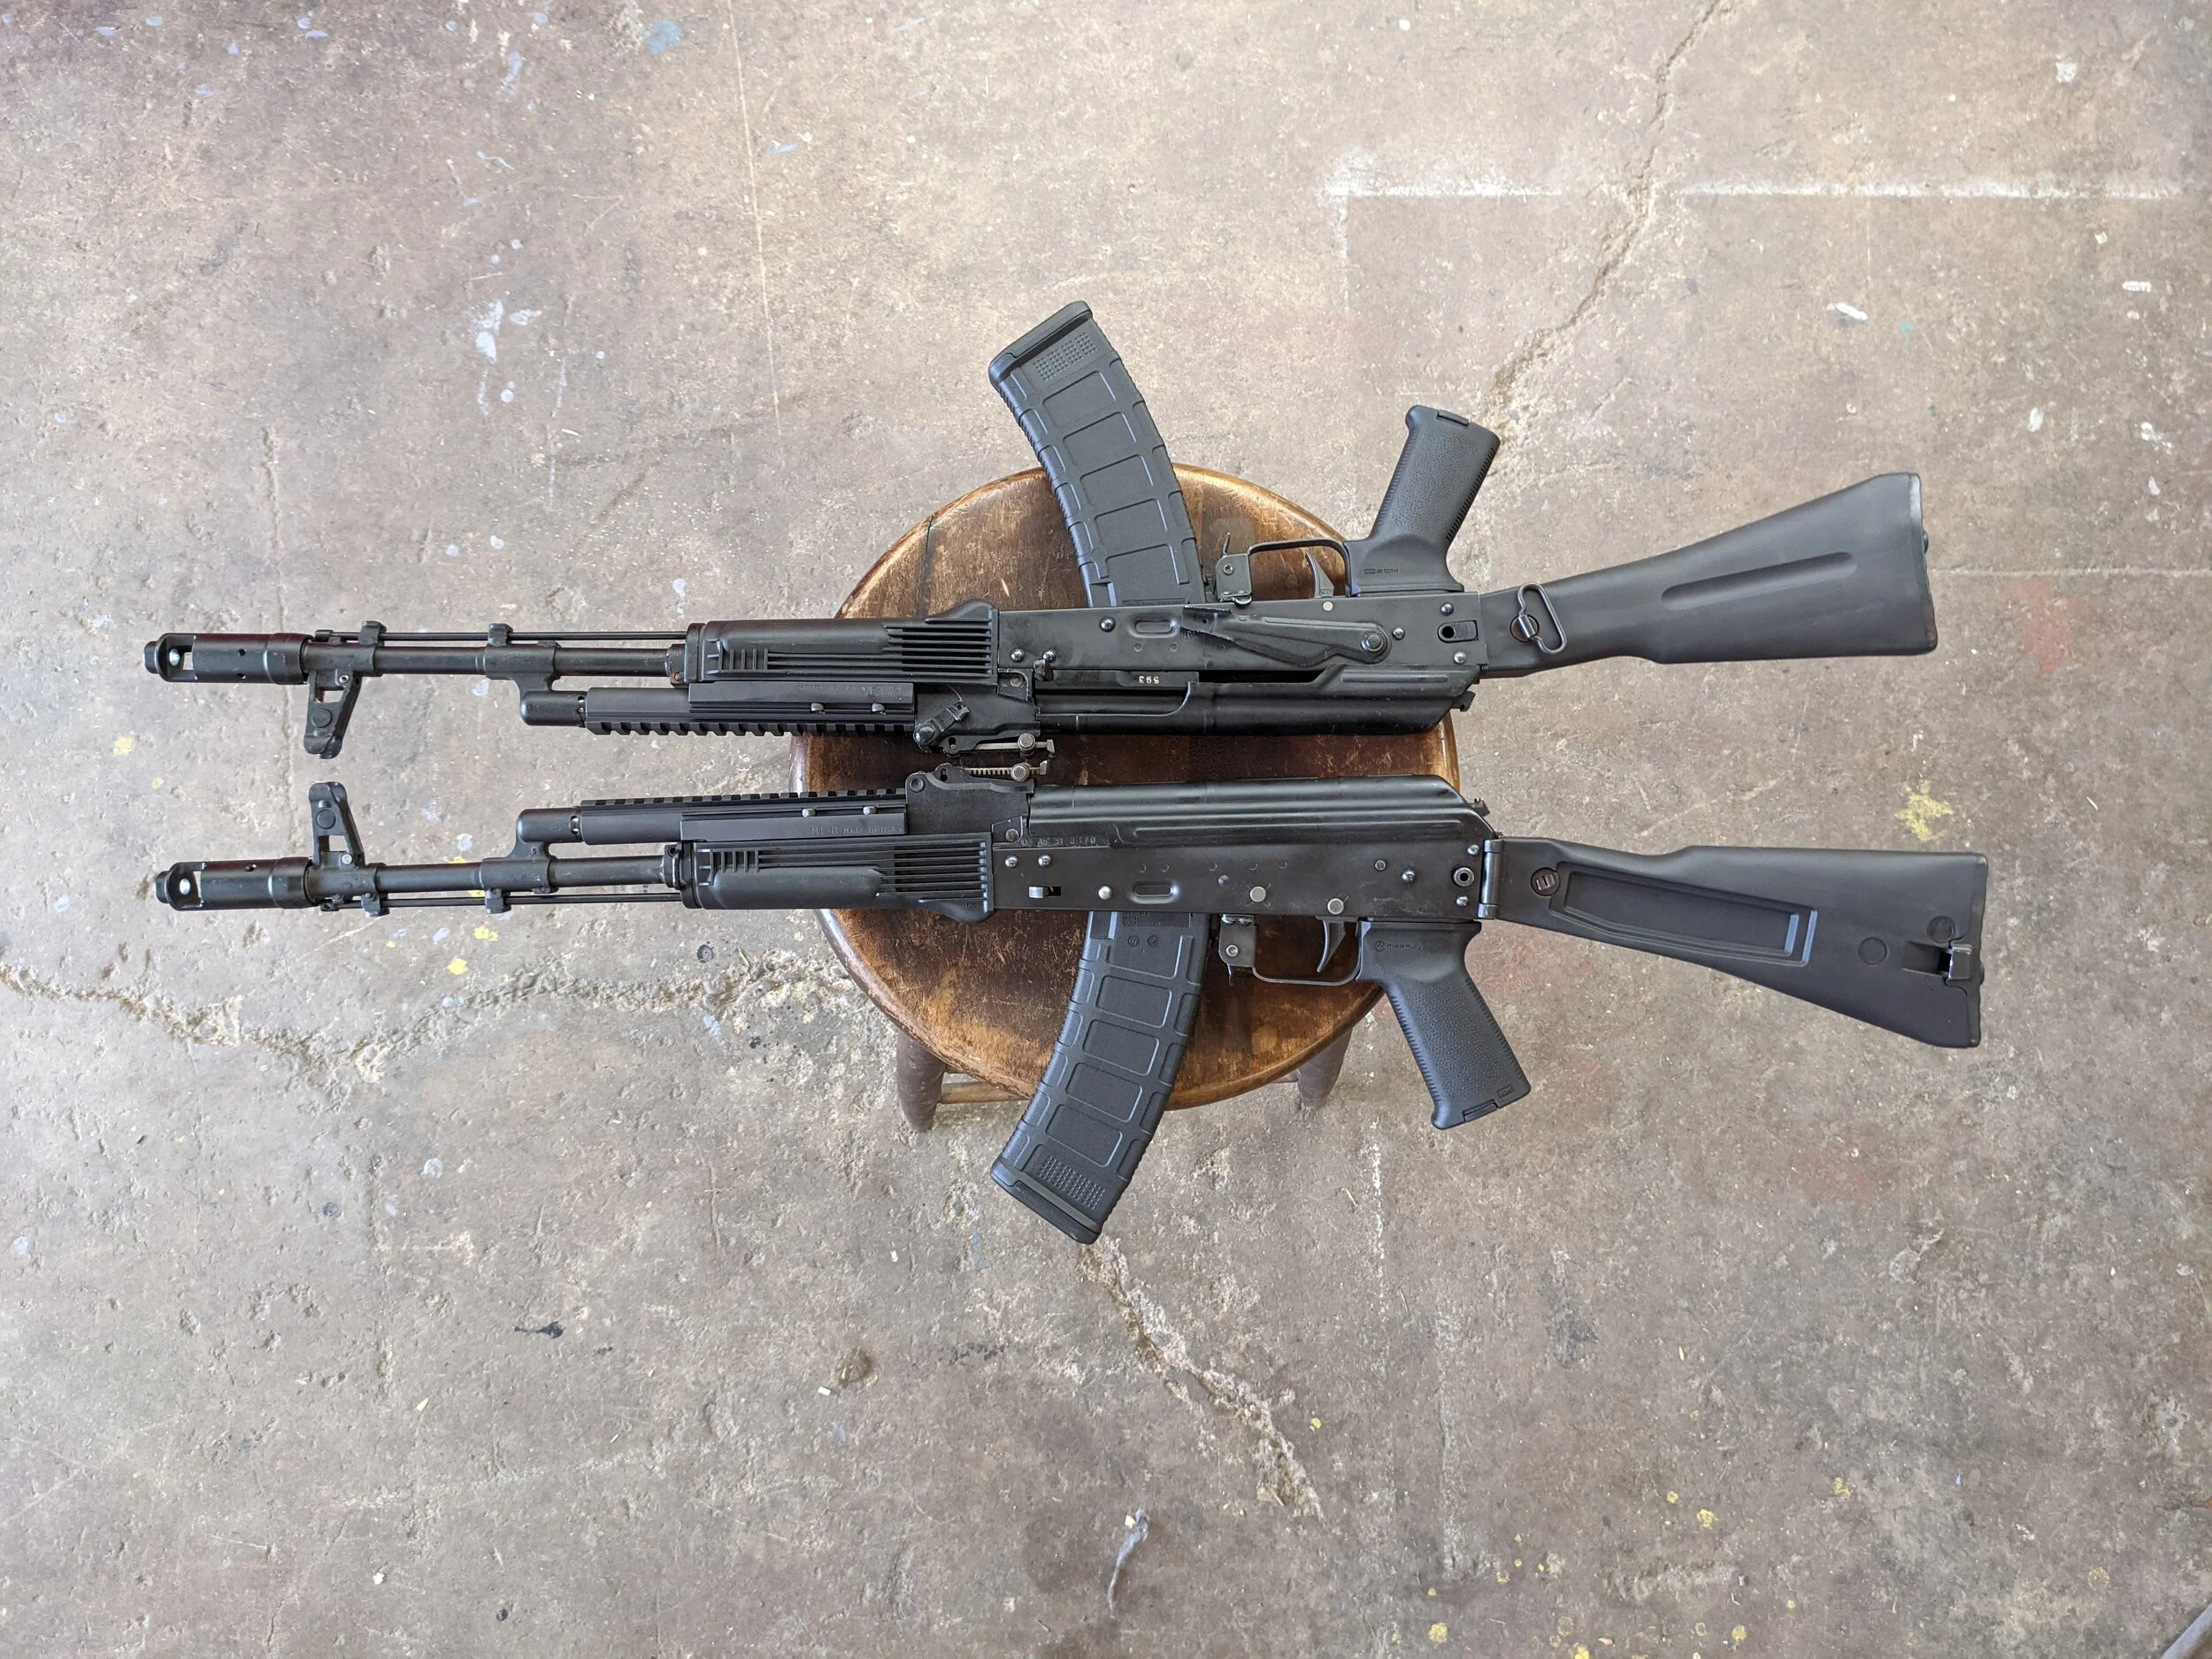
This week’s gunsmithing feat is building two AK-74s from parts kits with original Bulgarian barrels. We can’t wait to share our build story and explain our process of building AKs. So let’s get started!
Building AKs vs ARs
Building an AK is something that non-gunsmiths can do on their own, but it requires a ton of special tooling. Unlike ARs, AKs and their parts aren’t standardized. While building an AR is like a puzzle, building an AK requires more tools and skill. Further, a non-gunsmith might be able to build a functional AK, but it will be hard to build a rifle that looks good.
Most of our AK build customers have purchased and attempted to assemble AK parts kits on their own and have found they don’t have the tools needed for the job. Luckily at our shop, if I don’t have a tool that I need, I can just make them myself!
The Build Story
This customer brought us two AK-74 parts kits with original Bulgarian barrels and asked us to build a rifle for him. He must have had the parts kit for awhile—probably before a lot of the import rules changed. Like it's predecessors, the AK-74 was licensed to and produced in other countries—namely Bulgaria and East Germany. To make these parts kits legal for import, the receiver and barrel are cut up so it’s no longer considered a gun. This can’t be repaired or welded because they remove all of the parts from the receiver so that there’s just six rivets holding together the front of the gun.
The first thing we do when we get a parts kit is check to make sure all of the parts work together. Because the bolt, barrel, and trunnion on this parts kit were already matched, our build process was easier since we didn’t have to source parts which fit together. But most of the time, this isn’t the case and the parts don’t work together because there are so many AK variants—different barrels, gas block diameters, front sight diameters, and gas system lengths—and because parts kits are often sourced from multiple guns.
The next thing we do when we receive a parts kit is check to make sure that it has all the parts and that they are in good condition. Often, these imported kits are missing parts or have some worn parts. In this case, the customer’s kits were only missing a few smaller parts and everything else was in good condition. We were able to source replacements from parts dealers. In all, these two kits have probably been the most complete parts kits we have ever received. Usually we need to do way more matching and sourcing.
With his kits, the customer also brought pre-made, serialized receivers so we didn’t have to make and serialize receivers for him. While we are set up for and are capable of doing this (permitted per our Type 7 Manufacturing license), customers with pre-made receivers have a faster build process. For some customers, we have made and serialized receivers, but this isn’t too common because there are a lot of affordable AK receivers out there.
After ensuring all of the parts are there and that they all work together, we completely dismantle the old, cut up chunk of receiver and disconnect it from the front trunnion. Then we begin building the rifle from the ground up.
AK Build Steps

Headspace on a Variety of Cartridges
By Amendola90 - Own work, CC BY-SA 3.0, https://commons.wikimedia.org/w/index.php?curid=22934519
First, we rivet the trunnion into the receiver using our 20 ton hydraulic press and our riveting fixture. Luckily this tool has a bunch of attachments so it works for almost any AK.
Next we press the barrel into the trunnion and make sure we have the proper headspace. Headspace is the distance from the chamber feature limiting the cartridge insertion depth to the closed breech face. Ensuring proper headspace is important on any gun because if the headspace is too small, the gun won’t chamber and will be unreliable. And, if the headspace is too big, it’s possible for the gun to explode. To test proper headspace, we use a go/no go gauge.
Headspace on AKs is even more important than other rifles because AKs are notorious for expanded headspace over time. Because the barrel is pressed in, the pressure of firing the gun forces the barrel out. When we set the headspace on our AK builds, we make it as small as possible so that if it does move, it has to go a long way before getting too large. Anyone who owns an AK and shoots it often should regularly check their headspace with a go/no go gauge.
Then, using our mill or drill press, we drill and ream the barrel cross pin hole. This pin holds the barrel in place and maintains the set headspace.
After fixing the barrel in place, we begin the barrel population. We install the rear sight block, gas block, and front sight. All of these are put on with the press and specialized tooling. Because all AKs are different, we usually have to make new tools and fixtures for each build. Using one inch by two inch steel, we mill slots and drill holes to create the tools for this part of the process. We also make dies for the press. Obviously, with all of the extra work to make custom tools, this part of the build takes the longest. Once each part is pressed on, we drill and ream the cross pin holes which go through both the barrel and each part.
My first AK parts kit was a Romanian Underfolder that my friend and I built during night machine in gunsmithing school at Trindad State. Because we didn’t have all of the proper press tools for it, we pressed the front sight on crooked. This is actually extremely common. I’ve seen so many AKs—built from parts kits and factory ones—with a crooked front sight. So, my first build turned out to be functional but ugly. Since then, I’ve acquired the necessary tooling—in some cases made the necessary tools—and skills to build functional, good-looking AKs with straight front sights.
Finally, we rivet in the rear trunnion and assemble the rest of the gun—installing the stock, trigger, bolt, and piston.
Next Up
We hope you enjoyed this week’s gunsmithing feat. Thank you for following along! We post new blogs every Tuesday at 10am PST. Please comment for any content you want to see.
If you loved the services you saw today, check out our online store! You can start shopping by clicking here. Or drop us a message here. We look forward to meeting you and gunsmithing for you
Please subscribe to our blog below and don’t forget to follow us on social media!